Working with full-sheet plywood as a solo woodworker can feel like wrestling a bear. At 4×8 feet and weighing up to 80 pounds, these unwieldy sheets challenge even experienced craftspeople.
But with the right approach, tools, and techniques, you can confidently tackle large plywood projects without an assistant.
What Is Full-Sheet Plywood?
Standard full-sheet plywood measures 4 feet by 8 feet (48″ × 96″) and comes in various thicknesses ranging from 1/4″ to 1″. The weight varies based on thickness and wood type, with 3/4″ sheets typically weighing between 50-80 pounds.
These dimensions make full sheets perfect for large projects like:
- Cabinets and built-ins
- Furniture pieces
- Wall paneling
- Shelving units
- Workshop fixtures
Pro tip: Understanding plywood grades is essential for project success. Grade markings like A-1 or B-2 indicate the quality of the face and back veneers. A-grade faces have minimal defects and are ideal for visible surfaces, while C or D grades work well for structural, hidden elements.
Essential Tools for Solo Plywood Work
Working alone with full sheets requires specific tools designed to compensate for the lack of an extra pair of hands:
Cutting Tools
- Track saw - The gold standard for breaking down sheets with precise, splinter-free cuts
- Circular saw with guide - A more economical option when paired with a quality straight edge
- Table saw - Excellent for smaller pieces after initial breakdown
Support Systems
- Portable workbench - Provides stable support at a comfortable working height
- Sawhorses with plywood supports - Budget-friendly option for basic support
- Track saw guide rail - Ensures straight, accurate cuts when properly secured
Clamping and Securing
- Quick-grip clamps - For holding plywood securely during cuts
- Bench dogs - Work with dog holes in your workbench to secure material
- Guide rail clamps - Specifically designed to hold track saw rails in place
Safety Equipment
- Safety glasses
- Hearing protection
- Dust mask
- Work gloves
Step-by-Step Breakdown Process

1. Prepare Your Workspace
Before bringing in that unwieldy sheet, set up for success:
- Clear a space large enough for the full sheet plus working room (minimum 6×10 feet)
- Ensure solid, level flooring
- Set up your portable workbench or sawhorses
- Have all tools and supplies ready and accessible
- Plan your cuts carefully, marking measurements on a cut diagram
Safety first: Never rush the setup phase. A properly prepared workspace prevents accidents and improves accuracy.
2. Transport and Position the Sheet
Moving a full sheet alone requires technique:
- For carrying: Stand the sheet on its long edge and "walk" it by pivoting back and forth
- For loading onto a bench: Tilt the sheet against the bench edge, then slide it up and over
- Using a dolly: Position the sheet centered on a furniture dolly for easier movement
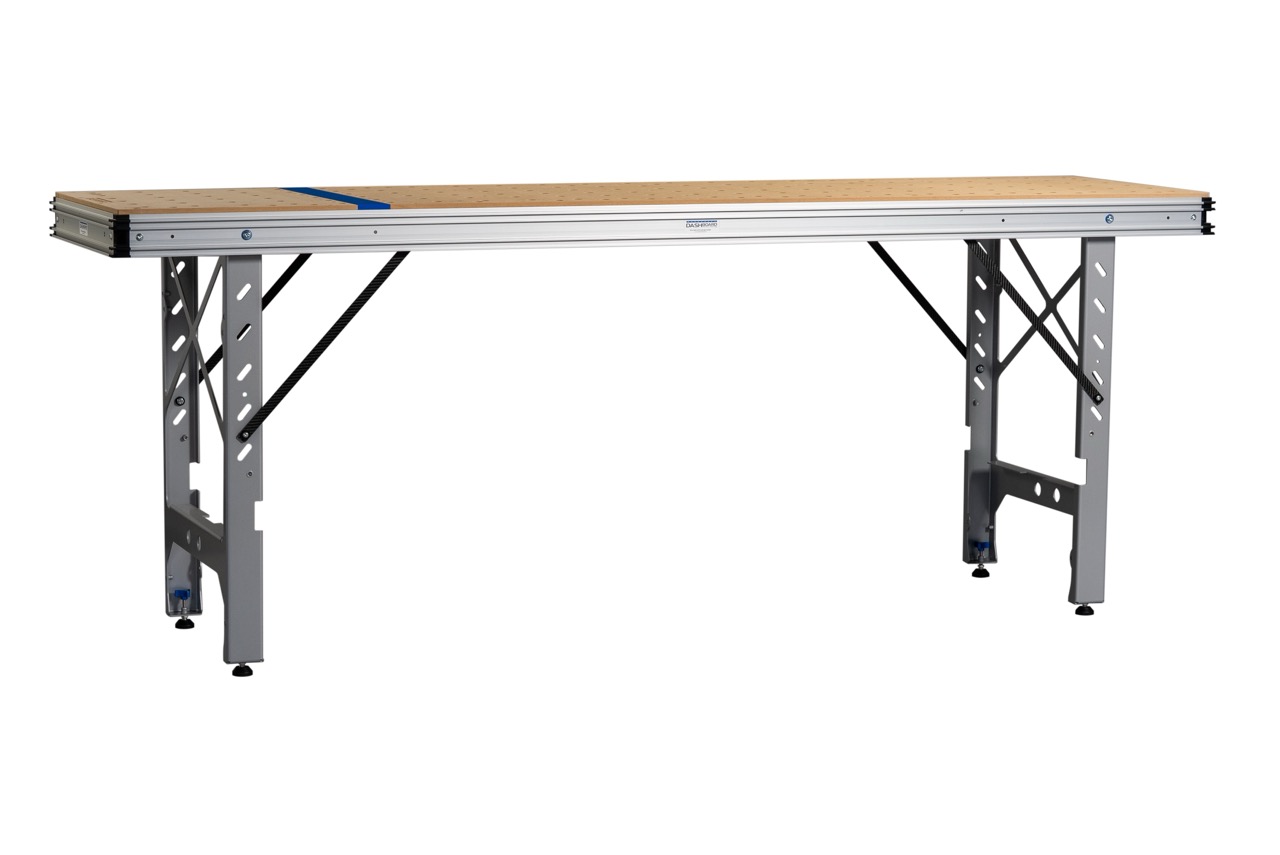
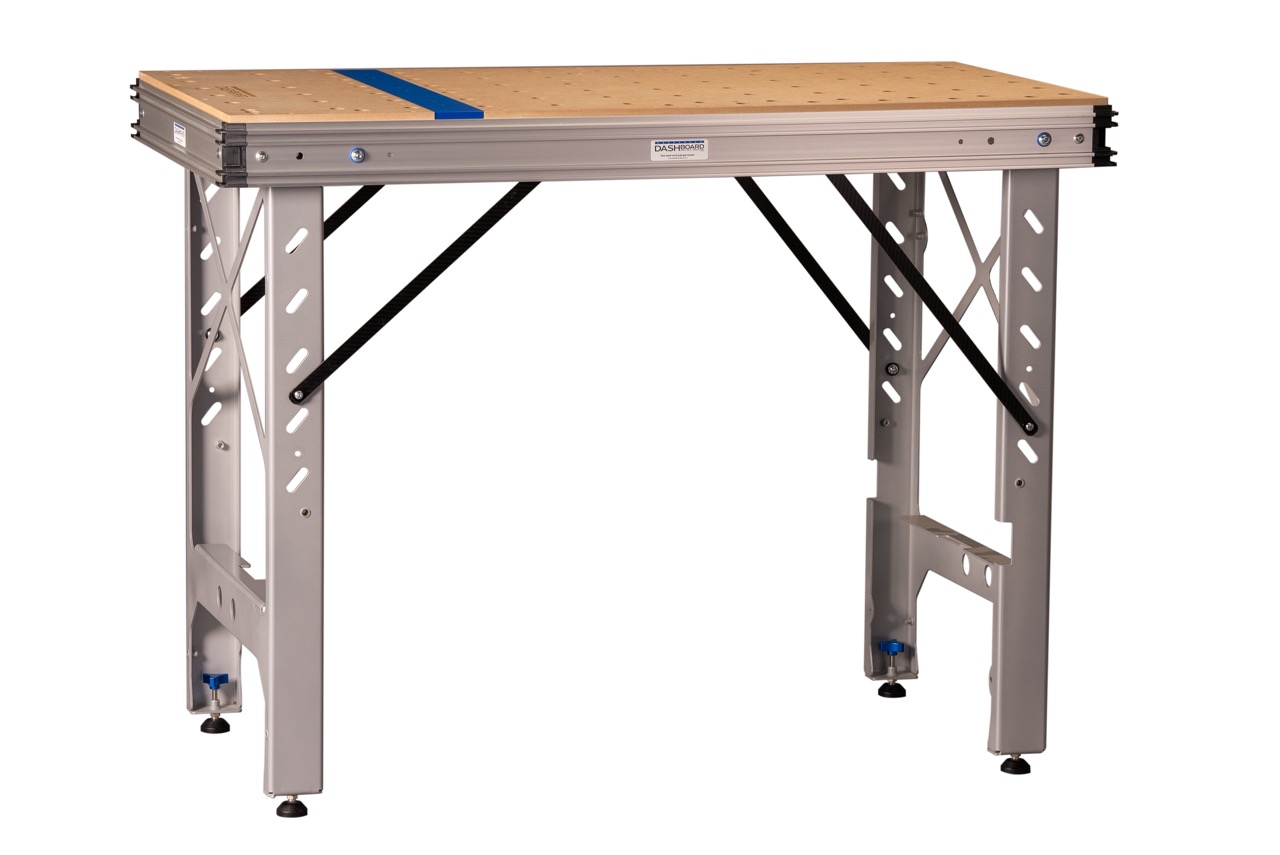
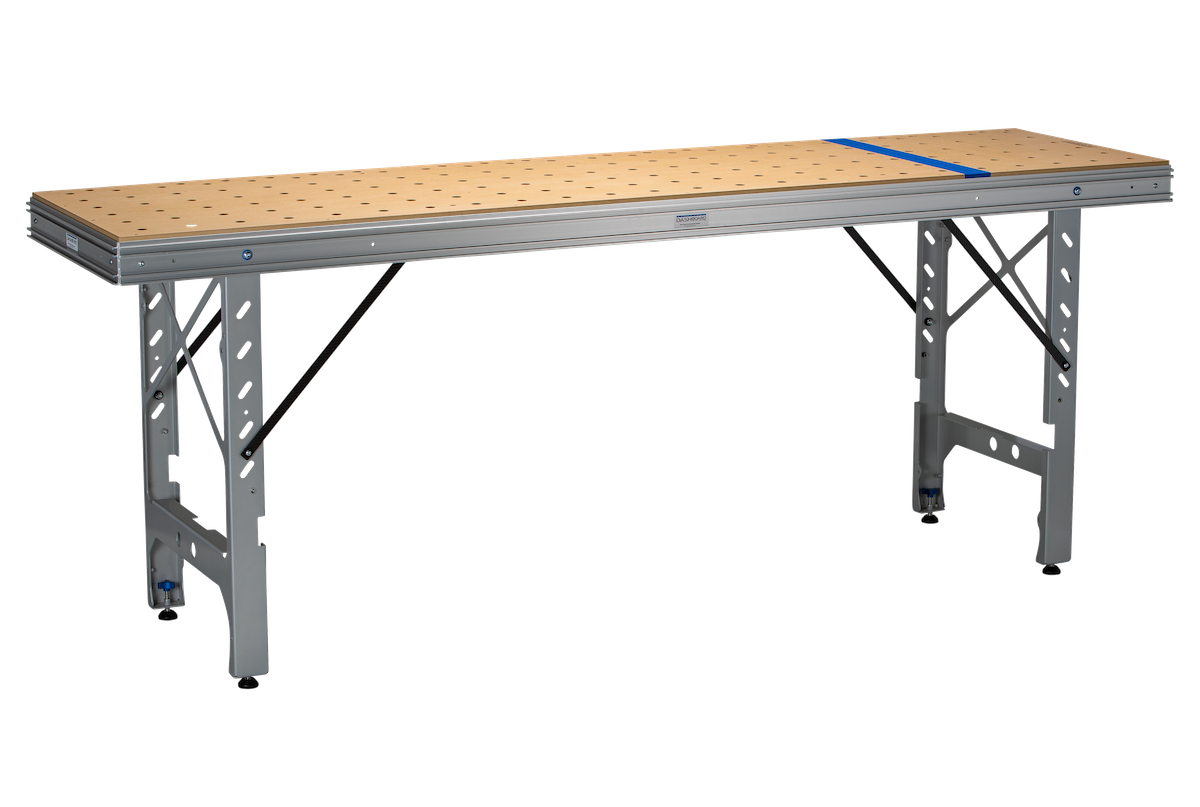
The Dash-Board Workbench and similar portable systems allow for intelligent positioning with their dog hole grid systems, making it easier to secure sheets in precise locations.
3. Secure for the First Cut
The initial breakdown often divides the sheet into more manageable halves:
- Position the sheet on your workbench with minimal overhang
- Align your cut line with the edge of your support surface when possible
- Secure the sheet using clamps or bench dogs
- Double-check that both sections of the sheet are properly supported
Technique tip: For the first cut with a track saw, position the sheet so the offcut piece has support and won't bind or fall as the cut completes.
4. Make Strategic First Cuts
When working alone, the order of cuts matters:
- Start by cutting the sheet into halves or thirds along the long dimension
- For a 4×8 sheet, this typically means making cuts that result in 2×8 or 2×4 sections
- Always cut with the good face up to minimize tear-out on visible surfaces
- Allow the cut piece to remain in place until you've finished the cut completely
5. Secondary Breakdown
Once you have more manageable pieces:
- Reposition smaller sections on your workbench
- Create a new cut plan for each section based on your project needs
- Make precise cuts following the same securing principles
- Label each piece according to your project plan
Efficiency tip: Organize cut pieces immediately after cutting to avoid confusion and wasted material.
Advanced Techniques for Solo Woodworkers
Utilizing a Portable Workbench System
A high-quality portable workbench like the Dash-Board Workbench transforms full-sheet breakdown from a struggle to a straightforward process:
- Guide rail bracket systems allow for perfectly square and repeatable cuts
- Dog hole grids provide multiple secure clamping points for any sheet size
- Track stars and outriggers extend support beyond the bench surface for full sheets
- Surface-mount fences ensure consistent, accurate crosscuts
Creating a Cutting Grid
For ultra-precise cutting without measuring each time:
- Set up your workbench with parallel guides
- Use a rip gauge to set exact dimensions
- Position stop blocks for repeatable cuts
- Make multiple identical pieces in a fraction of the time
Edge Treatment After Cutting
Complete your plywood pieces with proper edge finishing:
- Sand cut edges to remove splinters and roughness
- Apply edge banding for a finished look on visible edges
- Use a router with a flush trim bit to perfect edge banding
- Consider solid wood edge strips for maximum durability
Common Mistakes and How to Avoid Them
Inaccurate Measurements
Problem: Cutting pieces that are too small or imperfectly sized. Solution: Measure twice, cut once. Use stop blocks and guides for consistent results.
Blade Tear-Out
Problem: Splintered, rough edges on the cut face. Solution: Use a fine-tooth blade, cut with the good face up, and employ zero-clearance supports or scoring cuts.
Material Sagging
Problem: Unsupported material bends during cutting, causing binding or inaccurate cuts. Solution: Ensure proper support across the entire sheet, especially for the offcut piece.
Ignored Safety Precautions
Problem: Risking injury from improper handling techniques. Solution: Never sacrifice safety for speed. Use proper lifting techniques and keep your work area clear.
Storage Solutions for Cut Plywood
After breakdown, proper storage preserves your materials:
- Store full sheets vertically with proper support to prevent warping
- Keep smaller pieces flat on a level surface
- Use spacers between stacked pieces to allow air circulation
- Label all pieces clearly with dimensions and intended use
Master Full-Sheet Breakdown as a Solo Woodworker
Working with full-sheet plywood alone doesn't have to be intimidating. With proper preparation, the right tools, and systematic technique, you can safely and accurately break down sheets for any project. Investing in quality tools like a portable workbench system pays dividends in precision, efficiency, and reduced frustration.
Remember that the perfect cut starts with proper support—whether you're using a professional system like the Dash-Board Workbench or creating your own solution, prioritize stability and control throughout the process.
What plywood project are you tackling next? Share your experiences or questions in the comments below!
FAQs for Full Sheet Plywood Breakdown
Can I break down full sheets without a track saw?
Yes. While a track saw is ideal, you can use a circular saw with a quality straight edge clamped to your workpiece. For best results, use a fine-tooth blade and take your time to ensure the guide doesn't slip during cutting.
What's the minimum workspace size needed for handling full-sheet plywood?
Aim for at least 6×10 feet of clear floor space. This provides room for the 4×8 sheet plus additional space to maneuver around it. If space is limited, consider having sheets pre-cut at the store into more manageable pieces.
How do I prevent tear-out when cutting plywood?
Place the good face up when cutting, use a fine-tooth blade (60+ teeth), and ensure your cut line is properly supported. For extra protection, apply painter's tape along the cut line or make a shallow scoring cut before the full-depth cut.
What's the best way to transport full sheets from the store as a solo woodworker?
Most stores offer basic cutting services to break down sheets into manageable pieces. Alternatively, use a roof rack with proper tie-downs, or rent/invest in a utility trailer. For in-workshop transport, a panel carrier or furniture dolly works well.
Which portable workbench features are most important for plywood breakdown?
Look for a workbench with a large, stable work surface, multiple clamping options (like dog holes), and the ability to support the sheet's full weight. Features like guide rail brackets and parallel guides dramatically improve accuracy and ease of use for repetitive cuts.