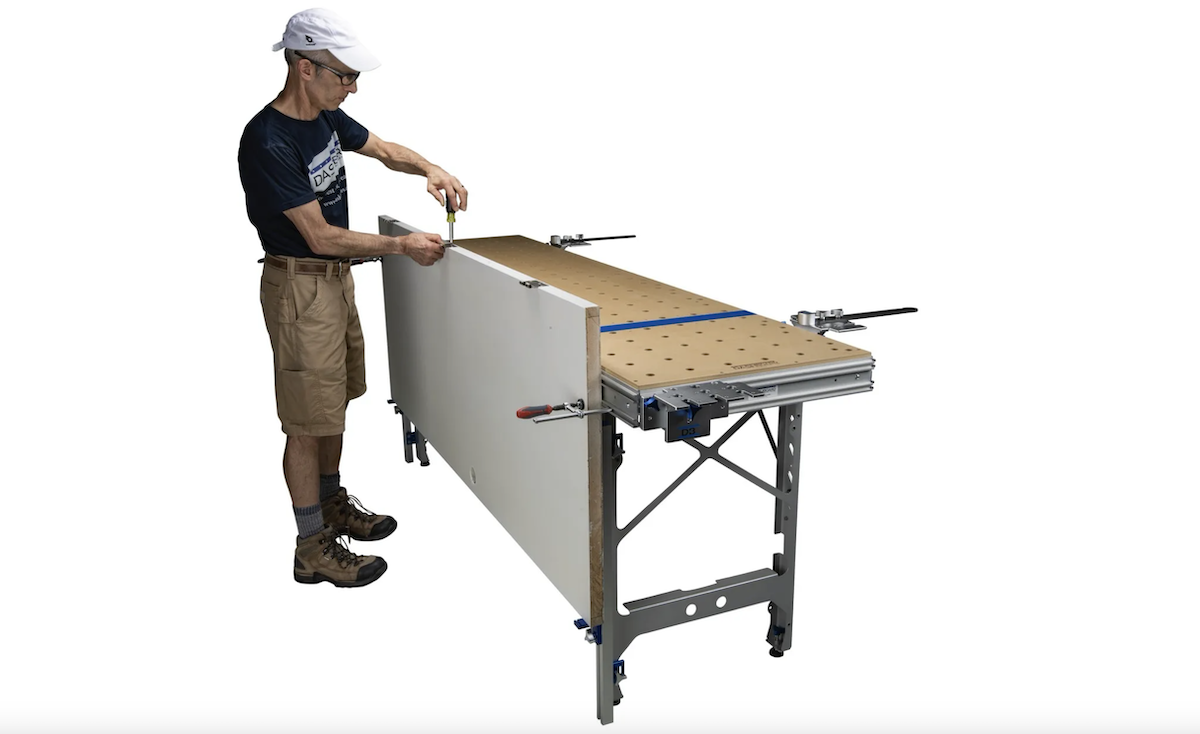
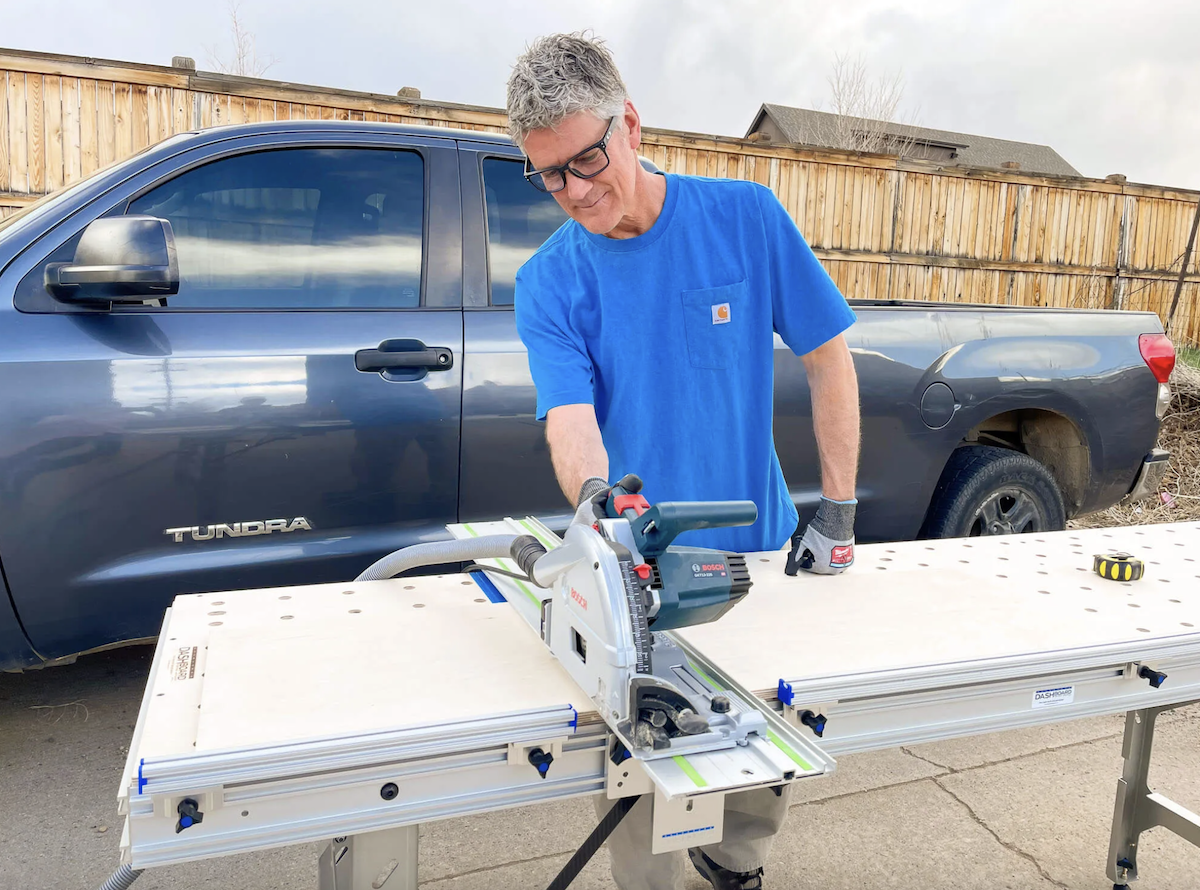
The promise of a portable woodworking bench is simple: take your cutting capability with you. The reality is messier. A garage has a sloped floor. A client's driveway has cracks and gravel. A basement has low ceilings and a support post in the worst possible spot. An unfinished room on a job site has subfloor that undulates like a roller coaster.
None of these is a proper shop. All of them are places where real work needs to happen.
Setting up a cutting station that actually performs in these conditions requires more than unfolding a bench and hoping for the best. It requires understanding what each environment throws at you and configuring your setup to handle it.
What "Complete Cutting Station" Means in Practice
A cutting station isn't a workbench with a saw sitting on it. It's a system where you can crosscut material to precise, repeatable lengths, rip sheet goods to consistent widths, and support your workpiece fully through every cut, all without improvisation.
That last part is what separates a real cutting station from a folding table with clamps. Improvisation is slow. It introduces variability. And it's the reason most portable setups produce work that's "close enough" instead of actually accurate.
A complete cutting station, regardless of where you set it up, gives you three things: a flat and stable work surface that doesn't flex under cutting loads, a way to hold your guide rail square for crosscuts and parallel for rips, and physical stops that let you reproduce dimensions without re-measuring.
Reading the Room (or the Driveway)
Every location has its own challenge. Knowing what to expect before you unload the truck saves time and frustration.
The Garage
Garage floors slope toward the door for drainage. That slope might only be a few degrees, but it's enough to throw off a work surface that doesn't compensate. The Dash-Board's leg levelers adjust independently by hand, with the feet pivoting on their mounts to conform to angled surfaces. On a typical residential garage floor, you're adjusting one or two legs to stabilize the bench.
The other garage challenge is space. If the car stays parked on one side, you're working in a single bay. A full-size Dash-Board bench at 92 inches long and about 24 inches deep fits in that bay with room to walk alongside for rip cuts. If even that's tight, the ShortCut at roughly 46 inches long provides the same cutting capability with the right accessories in half the footprint.
The Job Site
Job sites are unpredictable. Subfloor might be uneven. The room might be partially framed with limited access. Power might be running off a generator 50 feet away.
The bench handles uneven surfaces with its levelers. The more important job site consideration is positioning. Set up the bench so you have clearance on the side where you'll be pushing the saw. Think about where your material stack will go (ideally close, so you're not carrying full sheets across the site). And think about where offcuts will land so they don't trip someone or fall on a cord.
If you're doing trim work or cabinet installation and need the bench in a finished room, the rubber feet won't scratch hardwood or tile. And because everything installs and removes without tools, you can easily reconfigure mid-day if the task changes.
The Driveway or Patio
Uneven ground, whether it's a cracked driveway or a gravel pad, is handled the same way as anywhere else: independent leg levelers. On gravel or soft ground, setting the feet on a couple of flat boards prevents them from sinking under load.
The Basement
Basements have low ceilings and support columns. The bench working height of 35.5 inches keeps everything well below standard basement ceiling heights. The real issue is columns. You can't move them, so you plan around them. Position the bench so the column doesn't interfere with the swing of your guide rail or the path of long material.
Basements also tend to be damp. The Dash-Board's aluminum construction handles moisture without the warping or joint failure that affects wooden benches in humid environments.
The Setup Sequence
Regardless of location, the setup follows the same sequence. What changes between environments is which accessories you configure.
Level the bench. This always comes first. Even in a space that looks flat, check. The levelers take about a minute to adjust. On a surface you've used before (your own garage, for example), you'll dial in faster because you know which legs need adjustment.
Configure for the task. This is where the setup diverges based on what you're cutting.
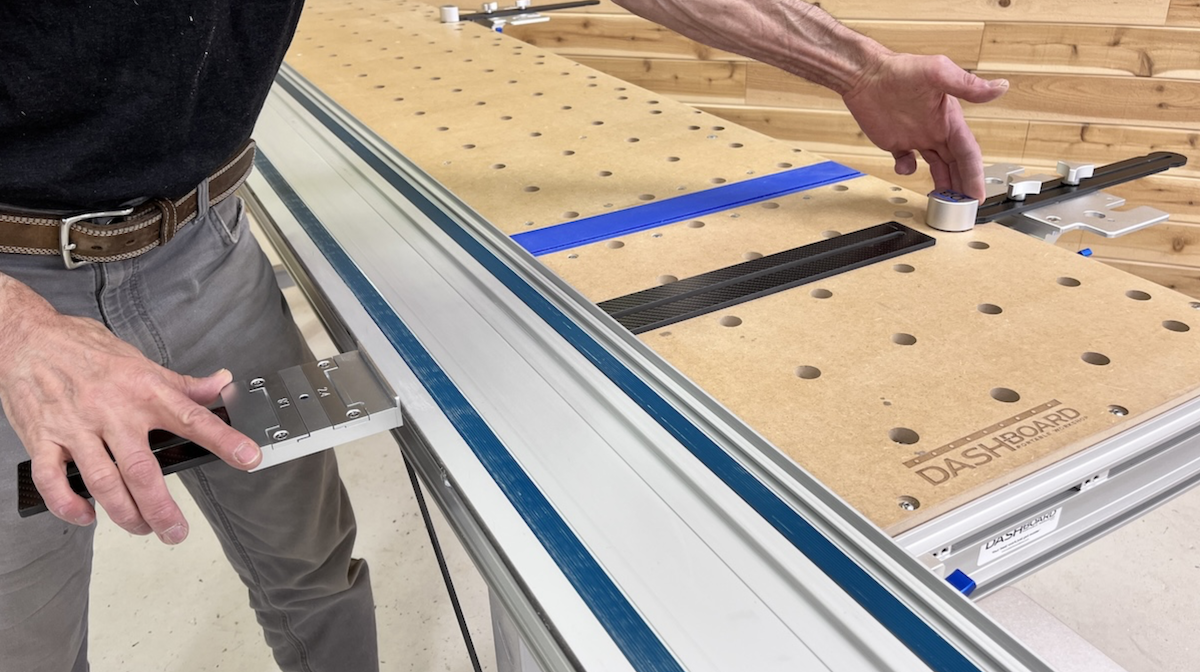
If you're crosscutting trim or panels: Mount the Guide Rail Brackets into the clamp tracks on the bench sides. Set a fence and flip stop in the 20mm dog holes on the benchtop for repeatable lengths. Total additional setup time is a few minutes.
If you're ripping sheet goods: Position Track Stars in the clamp tracks to extend material support. Set Parallel Guides into the dog holes on the benchtop to position the guide rail at a consistent distance. Add the Rip Gauge if you're doing batch rips to the same width. A few minutes more.
If you're doing full-sheet breakdown: Add Outriggers to the bench sides for support and rip stop capability. This is the most involved configuration, but it's still tool-free and takes under 10 minutes from a cold start.
Verify once, then work. Make a test crosscut and check it with a square. Make a test rip and verify the width. Once confirmed, the stops and brackets hold position. You're not re-checking between cuts. You're cutting.
How Long This Actually Takes
I've seen this question framed as "how fast can you set up," which misses the point. Speed matters, but confidence in the setup matters more. Rushing through leveling or skipping a test cut doesn't save time. It costs material.
That said, realistic setup times from vehicle to first confirmed cut:
Crosscut-only configuration: 5 to 7 minutes. That's bench deployment, leveling, brackets mounted, fence and stop set, test cut verified.
Rip cut configuration: 7 to 10 minutes. Same as above plus Track Stars and Parallel Guides positioned and Rip Gauge set.
Full-sheet breakdown with Outriggers: 10 to 15 minutes. This is the full system deployed for maximum capability.
For comparison, setting up a table saw on a job site, verifying the fence is parallel to the blade, rigging outfeed support, and running power takes longer than any of these configurations. And the table saw doesn't fold up and fit in your truck when you're done.
Changing Tasks Mid-Day
One advantage of a modular system that doesn't get talked about enough: you can reconfigure without starting over.
If you spend the morning crosscutting trim to length and the afternoon ripping shelf material, you don't need a second workstation. Remove the fence and flip stop. Slide Track Stars into the clamp tracks. Drop in Parallel Guides. Set the Rip Gauge. You've changed from a crosscut station to a ripping station in a few minutes, on the same bench, in the same footprint.
On a job site where tasks shift throughout the day, this matters. You're not hauling multiple setups or dedicating floor space to single-purpose stations.
What This Setup Replaces
A complete Dash-Board cutting station, depending on configuration, replaces the combination of a table saw, miter saw stand, outfeed table, and roller supports that a traditional portable shop requires. Each of those is a separate piece of equipment with its own footprint, weight, setup time, and calibration needs.
The track saw on the Dash-Board replaces the table saw for rips and the miter saw for crosscuts. The fence and flip stop system replaces the miter saw's length stop. The Outriggers and Track Stars replace roller stands and outfeed tables. All of it packs into significantly less vehicle space than the individual tools it replaces.
Not every woodworker will make that full switch. Some jobs genuinely require a miter saw or a table saw. But for trim carpentry, cabinet installation, furniture building, and general sheet goods work, the portable cutting station handles the vast majority of what those tools do.
From People Who Work This Way
Charles D. from Arizona, reviewing the Dash-Board Workbench:
"The fit and finish are superb and the engineering that went into this design is meticulous. Customer service was phenomenal."
And David Gates from Colorado, who's used the system since the early prototypes:
"The Dash-Board system has been my go-to work table since early prototype units and has greatly improved my on-site workbench and cutting process."
Where to Start
If you're building a portable cutting station for the first time, the bench is the foundation. Everything else layers on top based on what you cut. The full system and accessory details are at dashboardpws.com, and Rob's team in Boulder answers questions directly at (303) 376-5703, usually the same day.
Frequently Asked Questions
Can I set up on gravel or dirt? Yes. The leg levelers compensate for uneven ground, and the feet pivot to conform to angled surfaces. On soft ground, set the feet on flat boards or pavers to prevent sinking under load.
How do I keep the bench from moving on smooth concrete or tile? The rubber feet grip most hard surfaces. On polished concrete or tile, the bench's weight and low center of gravity keep it stable during normal cutting. A rubber mat under the feet adds friction if needed.
What's the minimum space I need? For the full-size bench with ripping capability, roughly 6 feet of width and 9 feet of length. The ShortCut reduces the length to about 6 feet. Both assume clearance on one side for walking alongside during cuts.
Can I leave the bench set up outdoors between work sessions? The aluminum frame handles weather without rusting or warping. The MDF benchtop should be sealed and must be covered to protect it from rain and snow. For multi-day outdoor projects, cover the bench or bring it under shelter overnight.
Do I need all the accessories from day one? No. The bench alone is a stable, rigid work surface. Guide Rail Brackets are the highest-impact first addition for crosscut accuracy. Build from there based on what your projects demand.