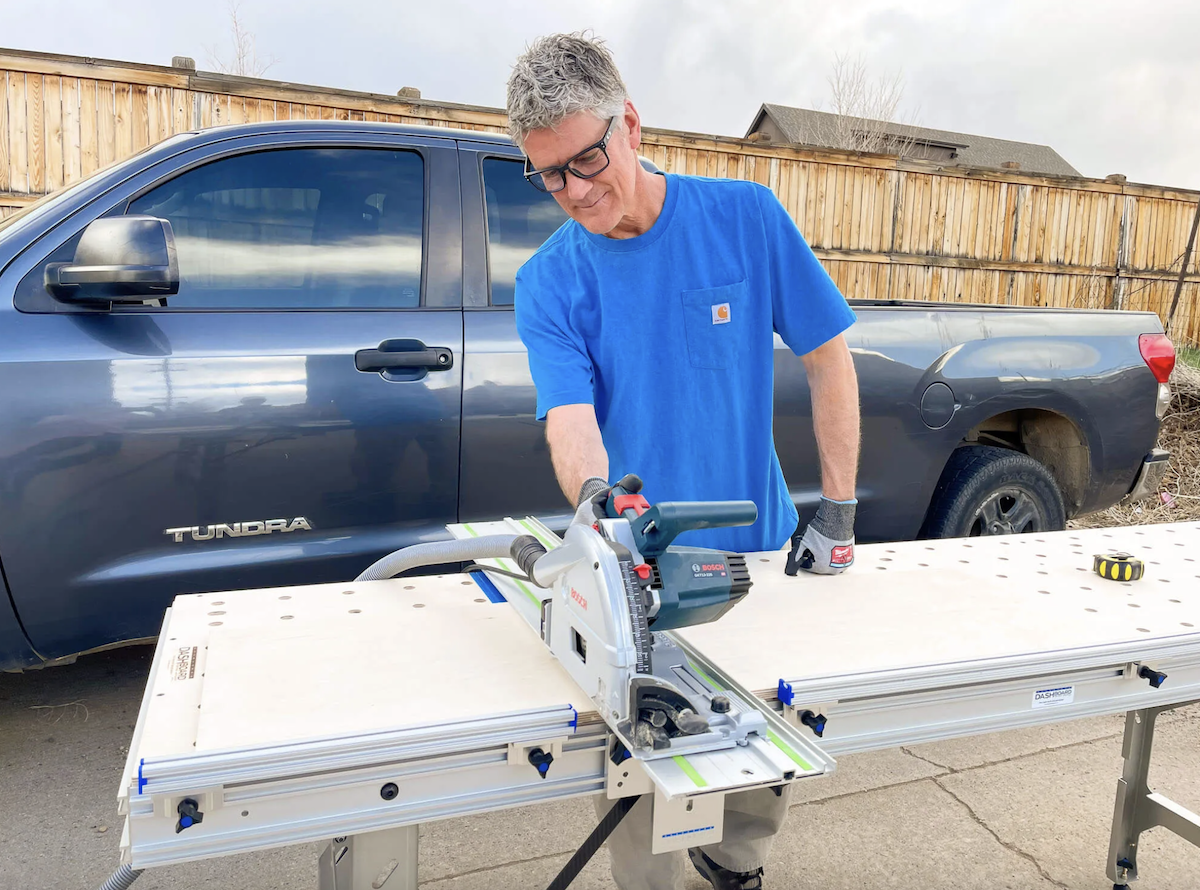
A track saw should make perfectly square crosscuts. The blade follows the rail, the rail is straight, and the cut should come out at exactly 90 degrees. In practice, most track saw users know it doesn't always work that way.
You set the rail, check it with a square, make the cut, and then discover the piece is a hair off when you try to fit it. Or you get one good crosscut, reposition for the next one, and the angle shifts just enough to matter. Over a project that requires dozens of identical pieces, those small errors compound into gaps, misaligned joints, and wasted material.
The problem is almost never the saw. It's how the guide rail is being held in position.
Why Track Saw Crosscuts Go Out of Square
Understanding why crosscuts miss the mark helps you fix the issue at its source instead of chasing symptoms. Here are the most common causes.
The Rail Shifts When You Reposition Material
This is the number one reason track saw crosscuts aren't consistent. You set the rail square, make a cut, lift the rail to remove the piece, set the rail back down for the next cut, and it's not quite in the same position. Even a fraction of a degree of rotation produces a visible error across a 24-inch or 48-inch crosscut.
If you're using rail dogs or clamps to position the guide rail, this happens every single time you pick the rail up. The dogs don't guarantee the same angle when you set the rail back down. They just hold it wherever you placed it.
The Reference Edge Isn't Straight
When you square a guide rail using a combination square or speed square against the edge of your workpiece, you're assuming that edge is straight. Factory edges on plywood are usually reliable. But if you're crosscutting a piece you've already ripped, or working with dimensional lumber, the reference edge might not be true. A bowed or rough edge will set your rail at whatever angle the imperfection creates.
The Work Surface Isn't Flat
A guide rail sitting on a surface that dips or humps will tilt, and that tilt translates into angular error in your cut. This is especially common on sawhorse setups where the plywood can sag between supports, or on benches that have warped over time.
You're Re-Squaring for Every Cut
Even if you're careful, manually squaring the rail for each crosscut introduces human variability. You might be accurate to within half a degree most of the time, but over 20 or 30 cuts in a session, a few will be off. In cabinet work or furniture building where pieces need to fit precisely, "most of the time" isn't good enough.
The Fix: Take Squaring Out of Your Hands
The common thread in all of these problems is that the guide rail's angle relative to the workpiece depends on how you set it each time. The solution is to remove that variable by mechanically fixing the rail's position so it's square every time, regardless of who placed it or how many times it's been moved.
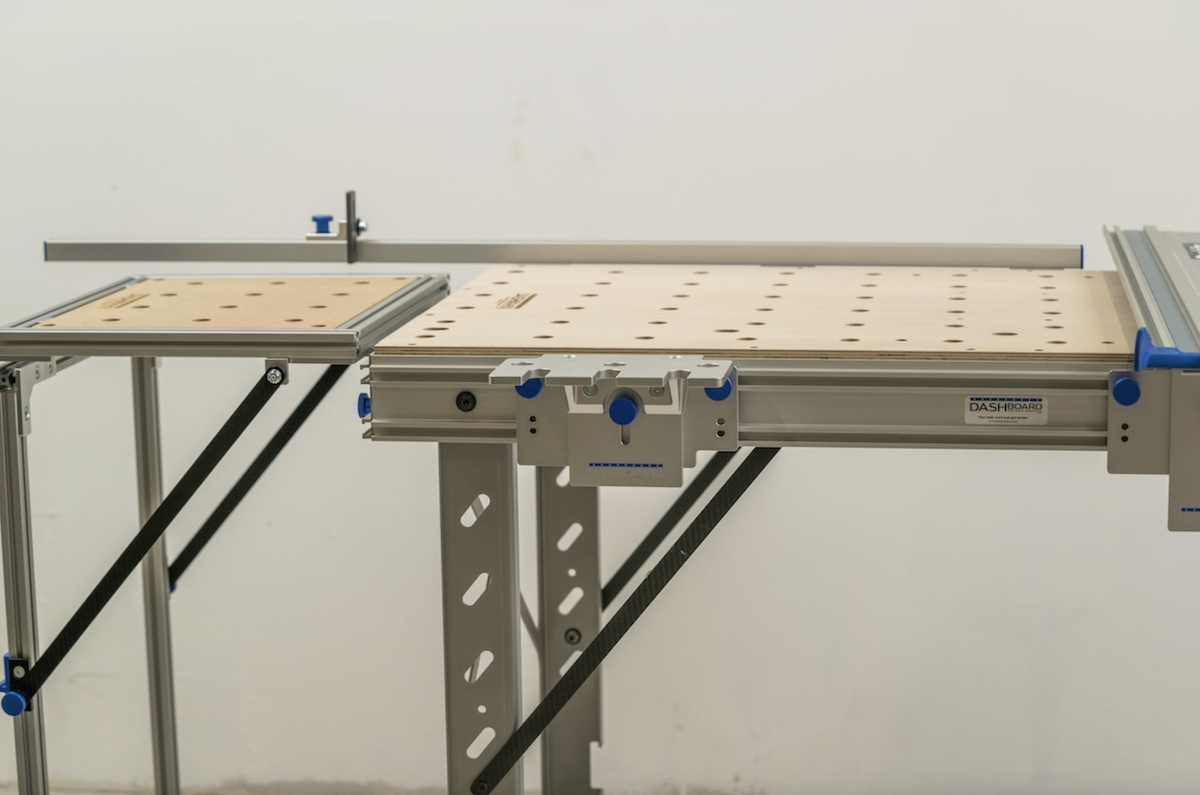
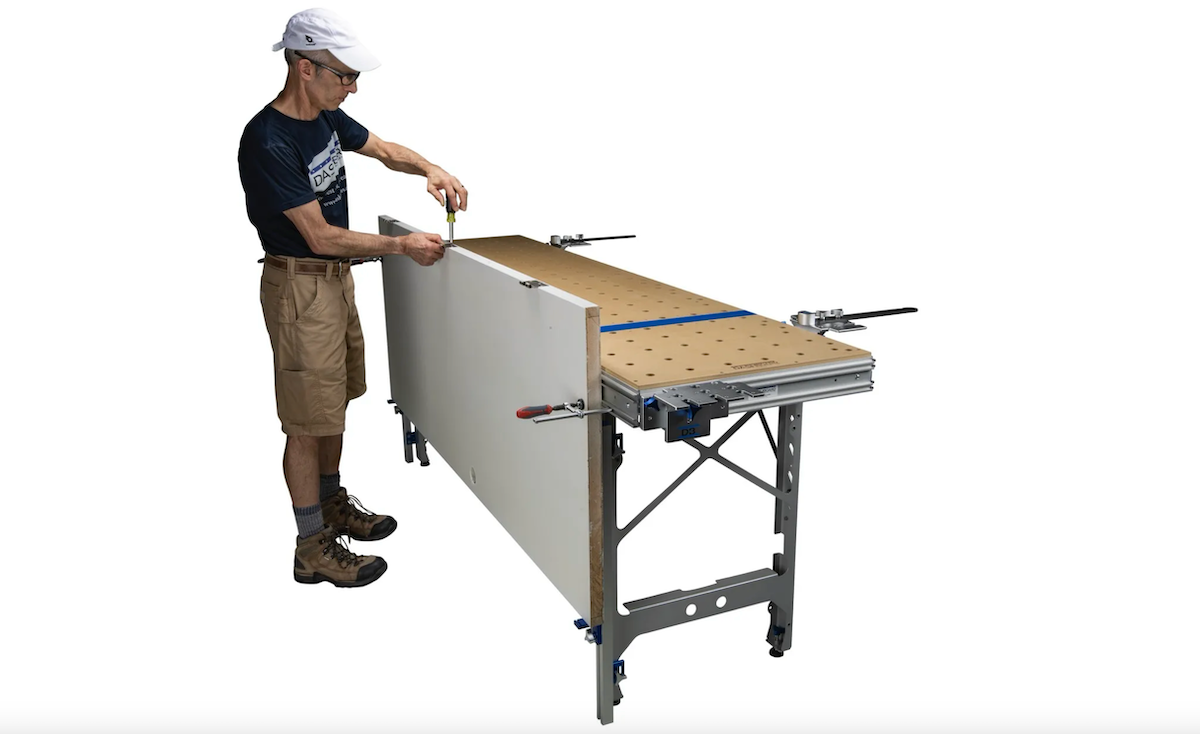
That's what the Dash-Board Guide Rail Bracket Set ($359) does. It mounts to your workbench through 20mm dog holes using a T-bar system, and it holds the guide rail in a fixed, calibrated position. Once you set it square and verify with a test cut, the brackets maintain that alignment. You can lift the rail, remove material, set the rail back, and the angle doesn't change.
The brackets work with guide rails from Festool, Makita, DeWalt, and other major brands. They install without tools, and when you're not crosscutting, they drop below the table surface so they don't interfere with other work.
This changes the crosscutting process from "set the rail, check with a square, hope it's right" to "drop the rail on the brackets and cut." The squaring is built into the setup, not dependent on your technique in the moment.
How to Set Up Guide Rail Brackets for Square Crosscuts
Getting the brackets dialed in correctly takes a few minutes up front and saves hours over the life of the setup. Here's the process.
Mount the brackets. Install the Guide Rail Bracket Set into your bench's 20mm dog holes. The T-bar mounting system locks them into position. Place the brackets so they'll support the guide rail across the width of your typical crosscuts.
Set your fence. The F2 Surface Mount Fence ($199) provides the reference edge that the brackets hold the rail square to. Mount the fence to the bench using the Fence Blocks that come with it. The fence sits in the 20mm dog holes and adjusts to your preferred position.
Square the rail to the fence. Place your guide rail on the brackets and use a reliable square to check the angle between the rail and the fence. Adjust the bracket position until the rail sits at exactly 90 degrees to the fence. The integrated SpiRail Dogs in the brackets simplify this alignment.
Verify with a test cut. Make a crosscut on a piece of scrap. Measure the cut piece at both edges with a reliable square or check the offcuts against each other. If the cut is square, you're done. If it's slightly off, micro-adjust the brackets and test again.
Lock it down. Once verified, tighten all knobs firmly. The brackets will maintain this position until you deliberately change it.
From this point forward, every crosscut uses the same mechanical reference. You don't re-square. You don't re-check. You drop the rail on the brackets, position your material against the fence, and cut.
Adding Repeatable Dimensions
Square crosscuts solve half the problem. The other half is cutting pieces to identical lengths. That's where fences and stops come in.
The Reversible Flip Stop ($49) attaches to the F2 or F1 Fence and provides a physical reference point for your cut dimension. Set the stop at the distance you need, push your material up to it, and every piece comes out the same length without measuring.
For batch work like cutting cabinet sides, shelves, or face frame pieces, the combination of squared brackets and a flip stop turns crosscutting into an assembly-line operation. Set the rail once, set the stop once, and cut as many identical pieces as you need.
Track Stars ($299/set of 2) expand this capability by allowing you to mount fences beyond the physical bench surface. If your crosscuts need to be wider than the bench allows with the standard fence position, Track Stars provide additional mounting points that extend your capacity.
The Maximum Cutting Height
One specification worth knowing: the Guide Rail Bracket Set has a maximum cutting height of 2.9" (74mm). This accommodates standard sheet goods (3/4" plywood, 1" MDF), most dimensional lumber used in cabinet and furniture work, and stacked cuts on thinner materials. If you're working with material thicker than 2.9", the brackets won't accommodate it.
Compatible with Your Existing Setup
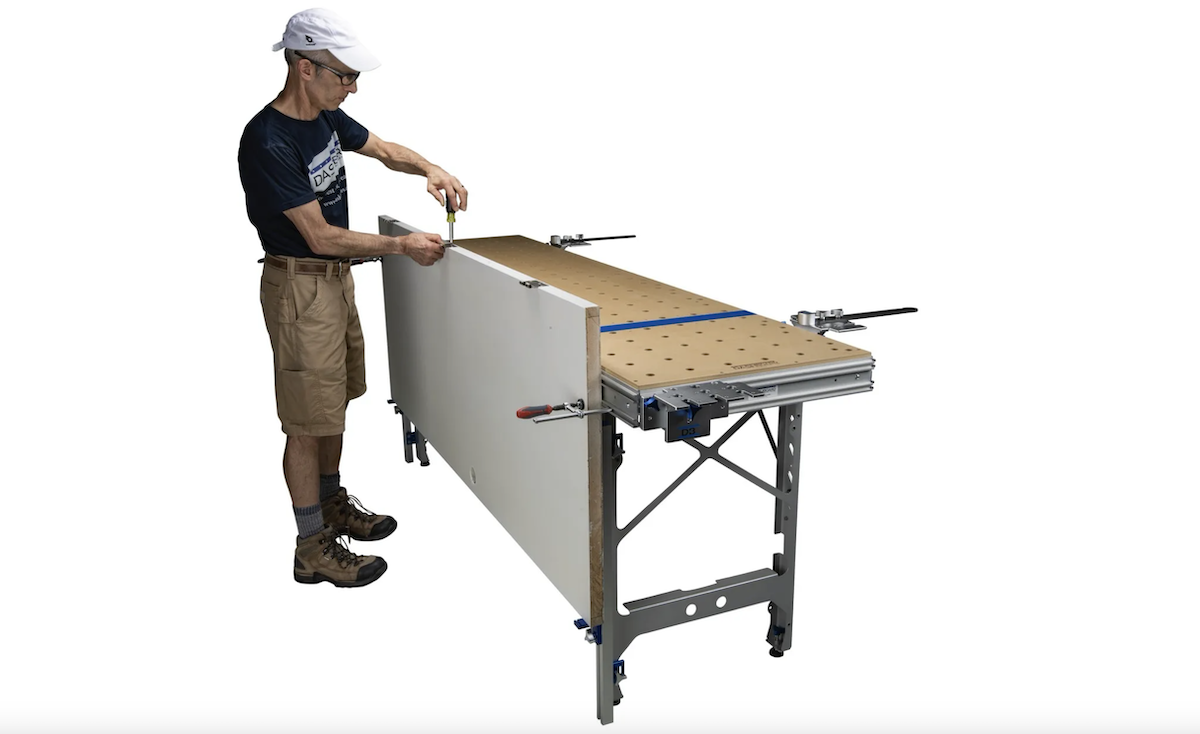
The Guide Rail Bracket Set works with any workbench that has 20mm dog holes, including the Dash-Board Workbench ($1,699), ShortCut ($1,099), Festool MFT3, Parf Guide tables, and DIY MFT builds. If you already own a compatible table, you don't need to replace it to get the benefit of squared crosscuts.
The brackets are also part of the Core MFT Bundle ($799), which adds the F2 Fence, Reversible Flip Stop, Track Stars, and SpiRail Dogs for a complete crosscut and support system at a bundled price.
The Bottom Line
Perfectly square crosscuts with a track saw come down to one thing: how the guide rail is held in position. If you're relying on rail dogs, clamps, or manual squaring for every cut, you're introducing variability that shows up in your finished work.
Guide rail brackets that mechanically fix the rail's angle eliminate that variability. You calibrate once, verify once, and then make square crosscuts reliably for as long as the setup stays in place. For any woodworker who depends on accurate crosscuts, it's the single most impactful upgrade to a track saw workflow.
Visit dashboardpws.com to explore the Guide Rail Bracket Set and complete accessory lineup, or call (303) 376-5703 with questions. Free shipping on all orders over $100 in the contiguous U.S.
Frequently Asked Questions
How often do I need to re-square the guide rail brackets after the initial setup?
Once calibrated, the brackets maintain their position through normal use. Check square periodically as part of good shop practice, and always verify after transporting the bench to a new location. Most users find the brackets stay accurate indefinitely unless deliberately adjusted.
Can I make miter cuts with this setup, or only 90-degree crosscuts?
The F2 Surface Mount Fence adjusts through a wide range of angles, so you can set up miter crosscuts as well. However, the guide rail brackets themselves are optimized for 90-degree work. For angled crosscuts, you would adjust the fence angle rather than the bracket position.
What's the widest crosscut I can make?
With the guide rail mounted on the brackets and fences on the bench surface, standard crosscut width depends on your rail length and bench size. The full-size Dash-Board bench supports crosscuts over 48" (1219mm) with the right configuration. Adding Track Stars and the Wingman ($59) extends this further.
Do I need the F2 Fence, or can I use the brackets without it?
The brackets hold the guide rail, and the fence provides the reference edge that the material registers against for consistent positioning. You can use the brackets without a fence, but you lose the ability to set repeatable cut dimensions with a flip stop. For maximum accuracy and efficiency, the fence and brackets work together.
Will this work with a circular saw and straight edge instead of a track saw?
The Guide Rail Bracket Set is designed for track saw guide rails. If you use a circular saw with a compatible guide rail (such as the Festool, Makita, or DeWalt rail systems), the brackets will hold that rail just as they would with a track saw. A standard straight edge or shop-made guide would not mount in the brackets.