Your Cart
Product Title
$0
$0
-
+
Your cart is empty.
Add Discount Code?
Add Cart Note?


You check with a square. It looks good. You make the cut. You hold the two pieces together and there's a sliver of light along the edge. It's close, but it's not square.
On one cut, that sliver doesn't matter. On a cabinet with eight shelves, four sides, and a face frame, it matters on every joint. Small angular errors don't cancel each other out. They stack.
Track saws are capable of perfectly square crosscuts. The saw runs on a straight guide rail. The cut path is straight by definition. So when crosscuts come out at 88.5 degrees instead of 90, the saw isn't the problem. The setup is.
This is the most common cause by a wide margin. You set the guide rail perpendicular to the reference edge, verified it, made the cut, then lifted the rail to pull the finished piece. When you set the rail back down for the next cut, it landed in a slightly different orientation. Maybe you bumped it. Maybe the rail dogs don't locate it precisely. Maybe you just set it down a fraction of a degree off and didn't notice.
On a 12-inch crosscut, a fraction of a degree is invisible. On a 48-inch crosscut, it's a visible gap at the joint.
The fundamental issue is that most rail-positioning methods, including rail dogs, clamps, and manual squaring against a reference edge, establish the rail's angle fresh every time you pick it up. Each placement is a new opportunity for error.
When you square a guide rail using a square placed against the edge of your workpiece or your bench, you're trusting that edge to be straight. Factory edges on quality plywood are generally reliable. But if you're crosscutting a piece you've previously ripped, or working with dimensional lumber that has a slight bow, the reference edge might not be true.
A guide rail set "square" to a bowed edge isn't square. It's perpendicular to the bow. The cut will follow the rail perfectly and still come out wrong because the reference was wrong.
A guide rail sitting on a surface that isn't flat will tilt. Even a slight hump or dip under one end of the rail changes its effective angle relative to the material. This is especially common on sawhorse setups where plywood sags between supports, on older MFT tables that have developed a twist, or on any surface that's been cut into so many times the kerf slots have created ridges.
A flat, rigid bench surface eliminates this variable. If your bench is flat and the rail is positioned correctly, the only thing left to control is the rail's rotational angle.
Most track saw users try to solve the squaring problem with more careful technique. They buy a better square. They check from both sides. They make test cuts and micro-adjust. This works, in the sense that any individual cut can be made square with enough care.
The problem is time and consistency. Checking square before every cut adds 30 to 60 seconds per crosscut. Over a project that requires 40 crosscuts, that's 20 to 40 minutes spent squaring. And despite the extra time, some cuts will still be off because manual squaring depends on human judgment every single time. Your fifteenth squaring of the day won't be as precise as your first.
The real fix isn't better technique. It's removing the technique from the equation entirely and replacing it with a mechanical reference that holds the rail square regardless of who placed it or how many cuts they've already made that day.
The Dash-Board Guide Rail Bracket Set was designed to solve exactly this problem. The brackets mount in the T-tracks (clamp tracks) on the side of your bench, and they hold the guide rail at a fixed angle relative to the work surface. You calibrate the angle once, verify it with a test cut, and from that point forward the rail returns to the same position every time you set it on the brackets.
The mechanics are straightforward. The front bracket has a precision-milled slot that our SpiRail Dog slips into. The rail self-aligns into position without sideways pressure from the user. A smooth, robust pivot mechanism lets you swing the rail up out of the way to reposition material, then drop it back down. The angle doesn't change because the brackets, not your hands, define it.
This is fundamentally different from rail dogs or clamp-based systems. Those systems prevent the rail from sliding sideways but do nothing about rotation. The brackets control rotation, which is the axis that determines whether your crosscut is square.
Because we use a patent-pending slot to register the guide rail rather than a locating pin or "tooth" like other brands, no part of the front bracket rises above the plane of the work surface. It can, when you need it to, but when not in use it simply adds a bit more real estate to your bench without inhibiting any other operations. Maximum cutting height is 2.9 inches (74mm), which handles standard sheet goods and most dimensional lumber.
The initial calibration takes a few minutes and only needs to happen once (unless you deliberately change the bracket position).
Mount the brackets in the clamp tracks. Slide the T-bars into the tracks on the bench sides and position the brackets where you want the crosscut to occur. On the Dash-Board bench, this means placing them so your guide rail spans the full width of the work surface without the saw kerf crossing a line of dog holes (the included Universal Setup Blocks and bench dogs help you find the right position).
Set a fence. The F2 Surface Mount Fence installs in the 20mm dog holes on the benchtop. This provides the reference edge that the material registers against. The fence needs to be parallel to the line of dog holes, which is straightforward because the fence blocks follow the hole grid.
Square the rail to the fence. Place the guide rail on the brackets and use a reliable square to check the angle between the rail and the fence. Adjust bracket position until you're at 90 degrees. The integrated SpiRail Dogs on the brackets help with fine alignment.
Verify with a test cut. Cut a piece of scrap. Check the cut with a square, or use the five-cut method if you want high confidence. If it's square, tighten everything down. If it's slightly off, micro-adjust and test again.
That's it. From this point, every crosscut uses the same mechanical reference. You don't re-square. You drop the rail, register the material against the fence, and cut.
Once the rail is mechanically squared, the next variable is cut length. If you're measuring and marking each piece individually, you're still introducing human error on the dimension even though the angle is now locked.
A Reversible Flip Stop on the F2 or F1 Fence provides a physical length stop. Push the material against the flip stop, and the cut happens at the same dimension every time. For batch work, you set the stop once and cut as many identical pieces as you need. The angle is controlled by the brackets. The length is controlled by the stop. Neither depends on measuring in the moment.
If you've calibrated the brackets and verified with a test cut but subsequent cuts are coming out wrong, the issue is usually one of three things:
The material isn't registering consistently against the fence. If the workpiece has a rough or bowed edge, it contacts the fence differently on each cut. Solution: reference a factory edge or joint the edge before crosscutting.
The knobs have loosened. Vibration from repeated cuts can (very rarely) gradually loosen bracket hardware. Check all knobs periodically, especially after a long cutting session. Tightening them is a 10-second habit that prevents creeping error.
The five-cut method is the gold standard for verifying crosscut squareness. You make five successive crosscuts on a single piece, rotating the piece 90 degrees between each cut, then measure the final piece. Any angular error accumulates over the five cuts, making even tiny deviations measurable.
Andrew T. from North Carolina reported his results using the Dash-Board brackets:
"I can not believe the accuracy....5 cut method. 17.25 inch final cut. Absolute zero deviation over that length."
That's the level of accuracy mechanical squaring makes possible. Not because the user was especially careful, but because the system removes the variables that cause error.
The Guide Rail Bracket Set works with any bench that has T-tracks or T-slot extrusion on the sides, including Dash-Board benches, the Festool MFT3, and shop-built tables with 15 series (or larger) extrusion or standard T-track. The brackets accept guide rails from Festool, Makita, DeWalt, Bosch, Mafell, Milwaukee, and compatible brands.
If your table has 20mm dog holes but no T-tracks on the sides, you'll need to add extrusion or T-track before mounting the brackets. The Dash-Board FAQ page at dashboardpws.com has specific recommendations for track sizing and mounting.
Square crosscuts are foundational. Every other operation, from building face frames to fitting shelves to assembling carcasses, depends on parts that were cut square in the first place. Fixing the squaring problem at the source, with a mechanical reference instead of manual checking, improves everything downstream.
Details on the Guide Rail Bracket Set and related accessories are at dashboardpws.com. For setup questions or help choosing hardware for your specific bench, call (303) 376-5703.
How often do I need to re-calibrate the brackets? Once set and verified, the brackets maintain position through normal use. Check square periodically as good shop practice, and re-verify after transporting the bench to a new location. Most users find recalibration is rarely needed.
Can I make angled crosscuts with this setup? The brackets hold the guide rail at a fixed angle, optimized for 90-degree work. For miter crosscuts, the F2 Fence adjusts through a wide range of angles rather than changing the bracket position. You swing the fence to your desired angle and the material meets the guide rail at that angle instead.
What's the widest crosscut I can make? Standard crosscut width depends on your rail length and bench configuration. The full-size Dash-Board supports crosscuts over 48" with the appropriate setup. Track Stars and the Wingman accessory extend standard capacity by providing additional mounting points beyond the bench surface.
Will a traditional circular saw work with these brackets? No. The brackets are designed for track saw guide rails. A standard straight edge or shop-made guide won't fit.
I already have Festool MFT3 brackets. Is the upgrade worth it? The most direct answer comes from the reviews. Robert Christopher Ruddy: "Festool should buy from Dashboard these hinges. They work. They are built well. They are easy to setup. They are accurate." And Cliff Fent: "This Bracket is far superior to the Festool Version." The difference is mechanical rigidity and the self-aligning SpiRail Dog, which eliminate the play and constant re-squaring that MFT3 brackets require.
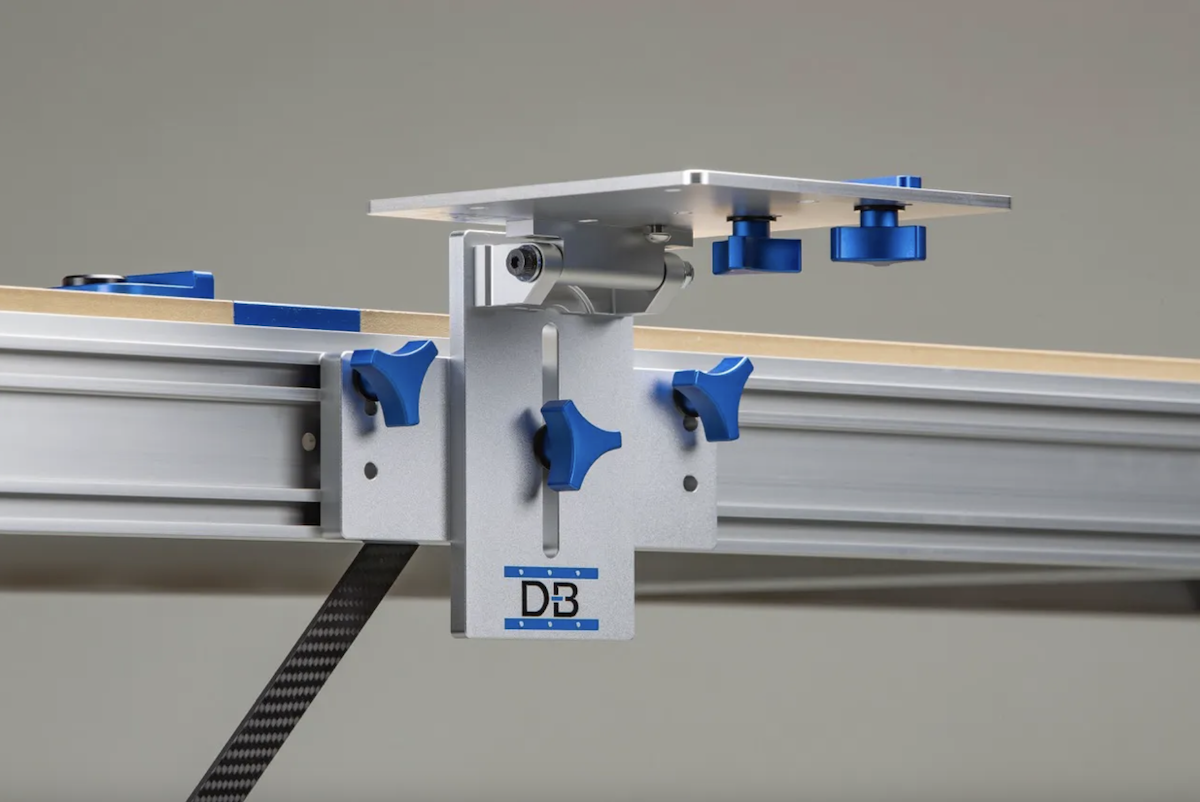
Guide rail brackets hinge your track saw rail to a fixed, repeatable 90-degree position on the bench, so you calibrate square once instead of re-checking it before every cut. Rigid, machined construction with no play is what lets the rail hold that reference through height changes and daily use, turning setup into a one-time task rather than a recurring chore.
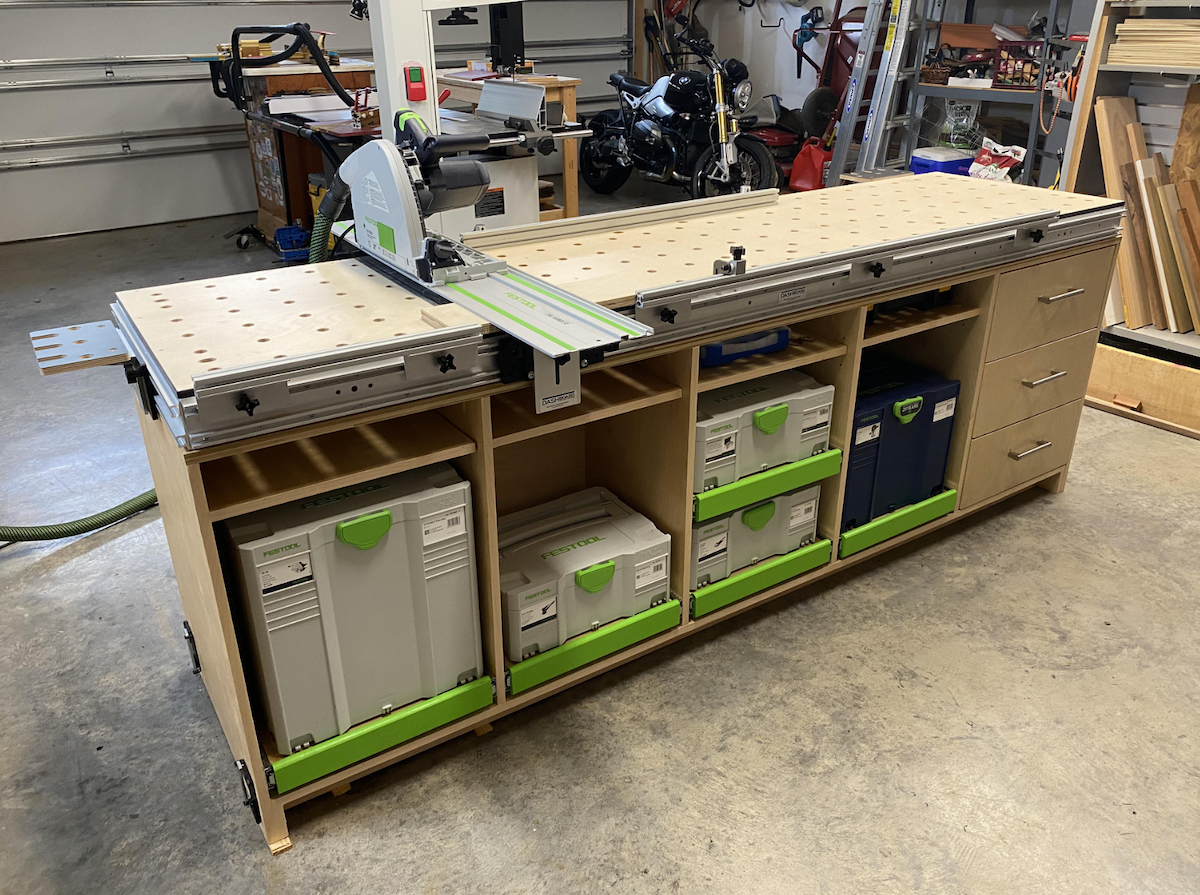
An MFT is a Multi-Function Table built around a perforated 20mm hole grid and guided cutting, letting you crosscut, clamp, sand, rout, and assemble all on one portable surface. It's a strong fit if you do precision crosscuts and sheet goods work, though drift and rigidity issues in some designs are why many owners upgrade to sturdier aftermarket benches and brackets.
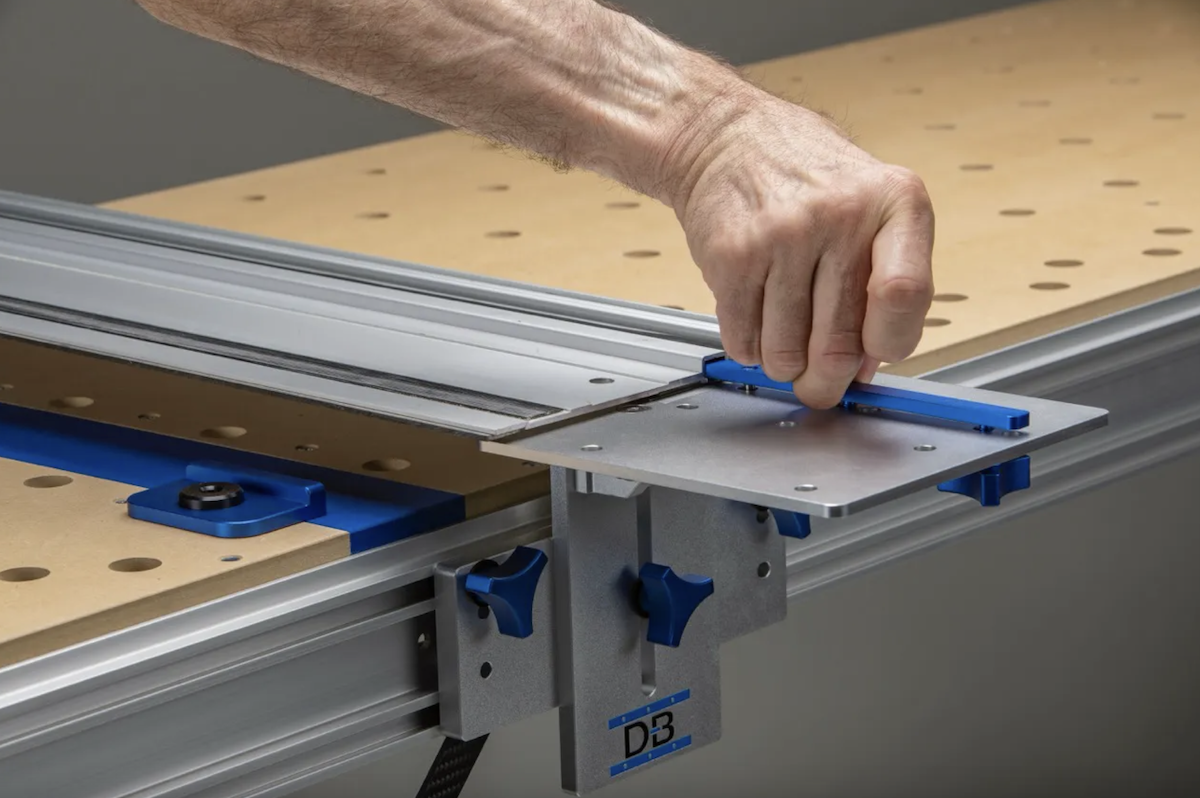
Track saw rail slip almost always comes down to dirty or worn grip strips, dusty or slick surfaces, or not enough downward pressure, and cleaning the strips plus clearing the workpiece solves most cases instantly. For repeatable, no-slip accuracy, clamps work but a fixed bench bracket system locks the rail in place for good.
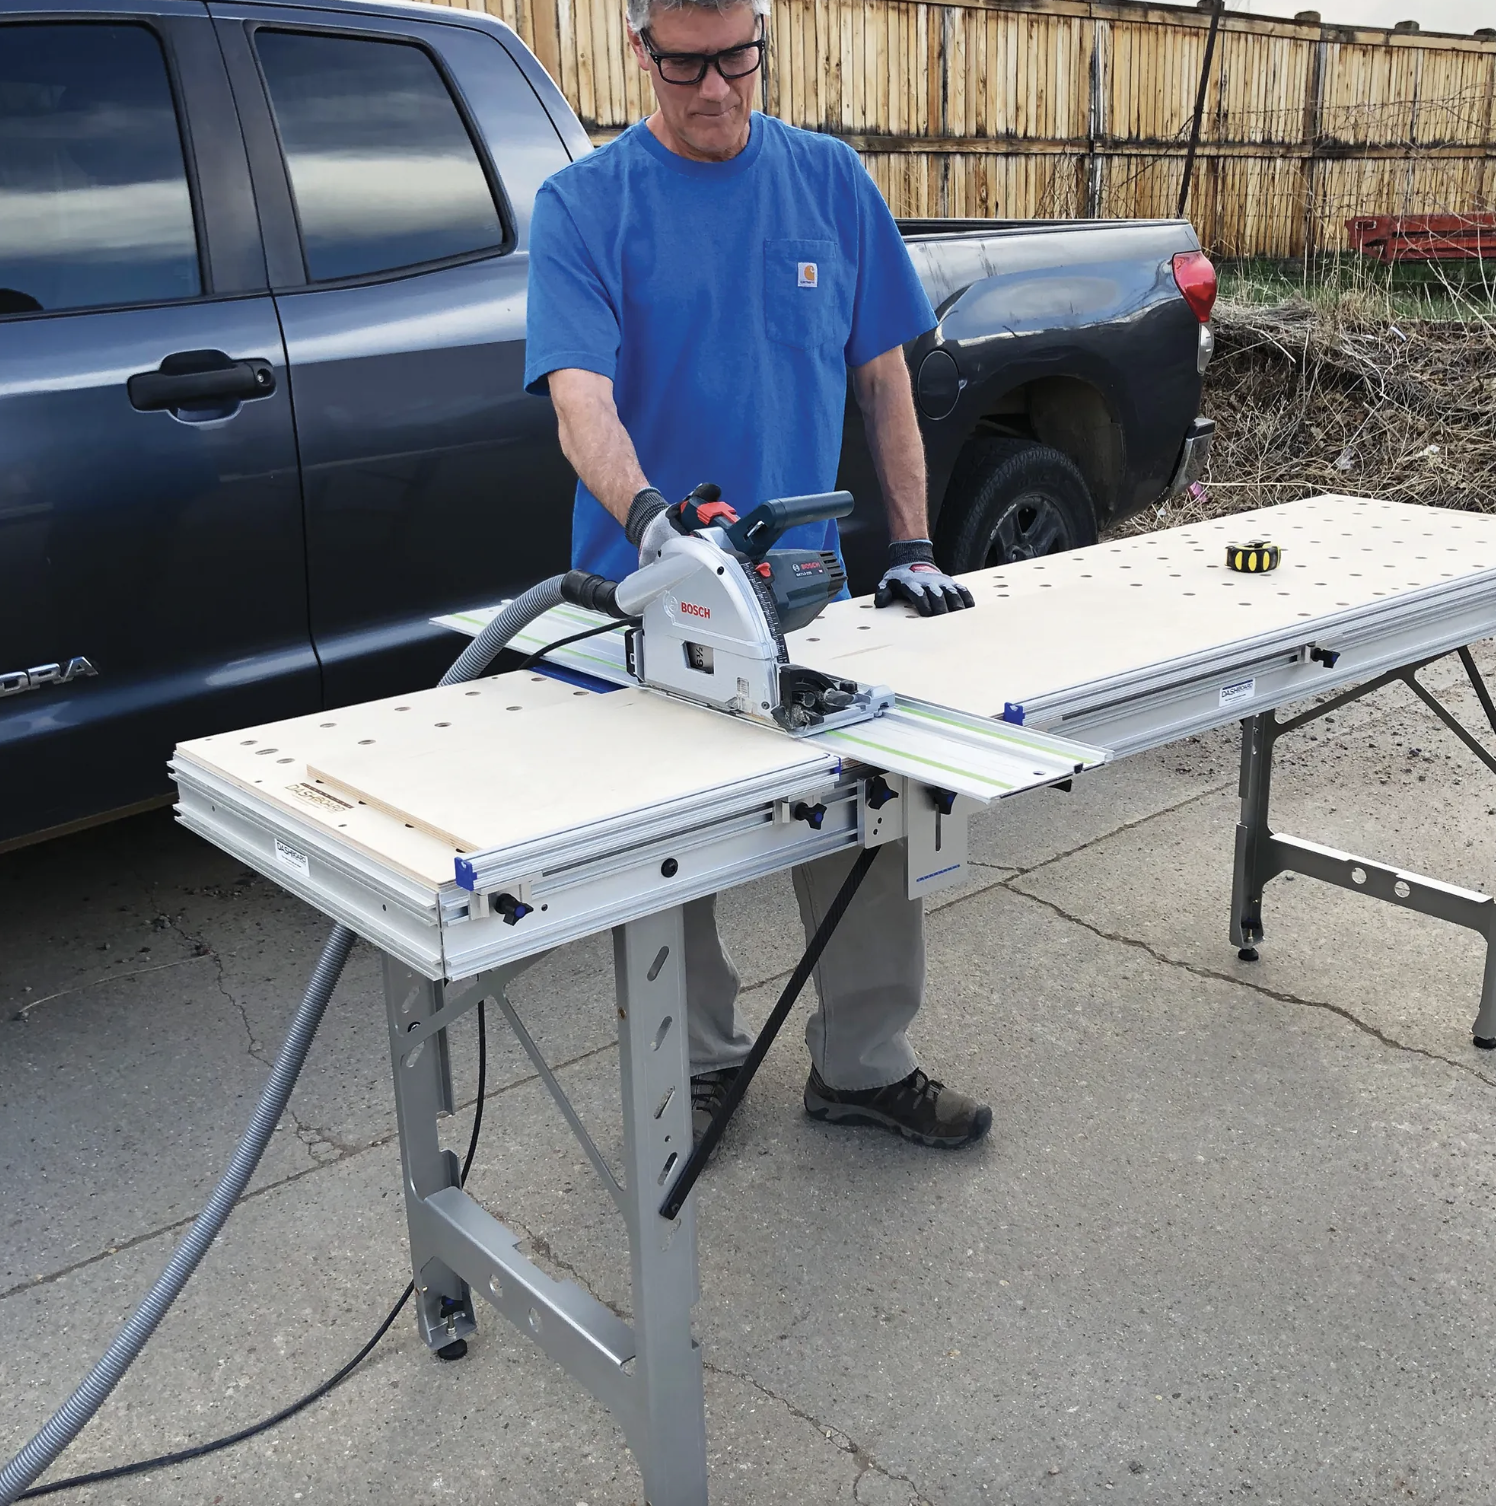
Scribing transfers the wall's true contour onto a cabinet edge so it fits tight against uneven walls and floors, and a portable bench that levels on the spot gives you the stable reference needed to mark and cut that line accurately. Level the piece, scribe to the widest gap, trim with the work fully supported, then test and refine until the fit sits flush.
Solid workholding is the whole game with edge banding, and a rigid portable bench with the right clamping accessories lets you present a panel flat or vertical for clean, even application. Lock the panel down, apply the banding steadily, then trim flush once the bond sets for crisp, consistent edges every time.

Straight edge cutting tools like track saws, guide rails, and guide rail brackets give woodworkers a fixed reference so cuts stay true instead of drifting off line. A rigid bench, squared rail, and the right accessories (fences, flip stops, parallel guides) turn one accurate cut into consistent, repeatable results every time.
