Your Cart
Product Title
$0
$0
-
+
Your cart is empty.
Add Discount Code?
Add Cart Note?


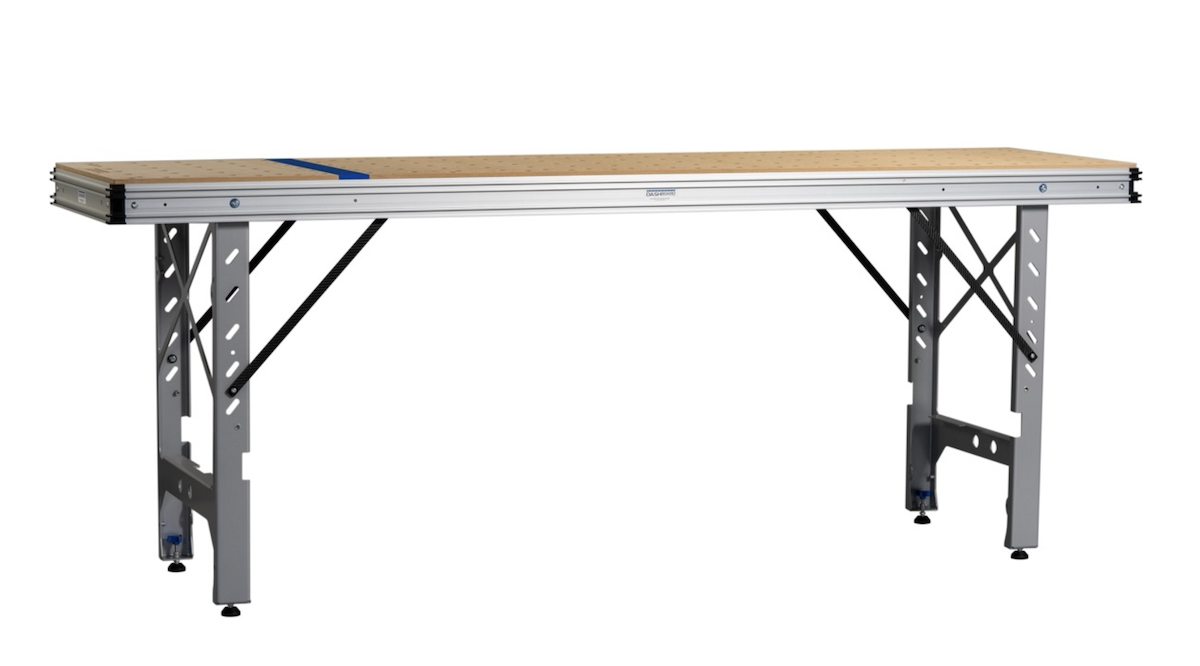
Applying edge banding is one of those finishing steps that looks simple until you try to do it on a surface that moves. A panel that shifts mid-pass leaves you with lifted edges, uneven glue lines, and trim marks you have to sand out later. Most of the trouble comes down to one thing: workholding.
Get the panel locked down at a comfortable height on a surface that doesn't flex, and the rest of the process falls into place. A portable workbench can do that every bit as well as a stationary one, and below I'll cover how to set it up, how to hold the panel for both short and long edges, and how to trim the banding clean.
Edge banding is a thin strip of material, usually wood veneer or PVC, applied to the exposed edges of plywood, MDF, or particleboard. It hides the layered or rough core and gives the panel the look of solid stock. The banding is bonded with heat-activated or pre-glued adhesive, pressed down, then trimmed flush along the faces and ends.
The reason setup matters so much is that every stage of the process puts force on the panel. You press an iron or roller along the edge, you run a trimmer down both faces, and you scrape or file the corners. If the panel rocks or slides during any of that, the bond suffers and the trim wanders. Solid workholding is the whole game.
Before anything else, the bench itself has to be stable. A surface that flexes under hand pressure will telegraph into your work as uneven adhesion and crooked trim lines. A rigid portable bench like the Dash-Board provides a solid foundation that won't shift while you work an edge.
There are two common ways to present a panel for edge banding, and the right one depends on which edge you are banding and how long the panel is.
Flat workholding lays the panel on the benchtop with the banded edge hanging slightly past the bench edge, so the trimmer has clearance below the work surface. This is quick for short edges and small panels.
Vertical workholding stands the panel up on edge so the banded surface faces up at a comfortable working height. This is the better approach for long edges, because it puts the whole length within easy reach and keeps your iron or roller moving in one plane.
A modular portable workbench earns its keep here. On the Dash-Board system, Track Stars mount to the clamp tracks along the sides of the bench and provide adjustable-height support and clamping positions. They let you secure a panel for edge banding and extend support past the physical edge of the bench so a long panel stays stable through the whole pass. The 20mm holes on the bench top accept Bench Dogs and SpiRail Dogs that act as stops and registration points to keep the panel from creeping.
Here is a reliable workflow once your bench is set up:
Edge banding does not demand a massive stationary bench. What it demands is a stable, flat surface and a way to hold the panel still at a workable height. A well-designed portable workbench delivers both, and the modular accessories make it easy to switch between flat and vertical setups as your panels change. For a small shop or a job site, that adaptability means you can band edges in the same footprint where you cut and assemble, without dedicating floor space to a single-purpose station.
The clamp tracks along the sides of a bench like the Dash-Board, combined with adjustable-height support accessories like our Door and Panel Supports, turn a compact bench into a capable edge banding station. You get the workholding you need without giving up portability.
Edge banding on a portable workbench comes down to three things: a rigid surface, secure workholding, and presenting the panel at a height that lets you work the full edge in one smooth pass. Get those right and the banding goes on cleanly, the trim stays true, and you spend less time sanding out mistakes.
If you are setting up your own bench for this work, start by confirming your surface is flat and stable, then add the support and clamping accessories that let you stand panels on edge. From there, dial in your adhesive method on scrap, build a repeatable sequence, and you will find edge banding becomes one of the faster finishing steps rather than one of the most frustrating.
Yes. A portable workbench works well for edge banding as long as it has a flat, rigid surface and a way to hold the panel securely. The main requirement is that the panel cannot shift while you apply, press, and trim the banding. Modular benches that offer clamping positions and adjustable-height supports handle the job comfortably.
It depends on the edge. For short edges, lay the panel flat with the banded edge slightly past the bench edge for trimming clearance. For long edges, stand the panel vertically and clamp it against support accessories so the full length sits at a comfortable working height and stays put through the pass.
Trim the overhanging ends first, then run an edge trimmer or a router with a flush-trim bit along the long edges to flush the banding to the panel faces. Finish by lightly easing the corners with a fine file or sanding block. Keeping the panel clamped throughout makes flush trimming far more accurate.
Not strictly, but they help a great deal. Adjustable-height supports that mount to the bench, like Track Stars on the Dash-Board system, create vertical clamping positions and extend support past the bench edge for long panels. Bench dogs and stops in a 20mm hole grid keep the workpiece registered so it does not creep.
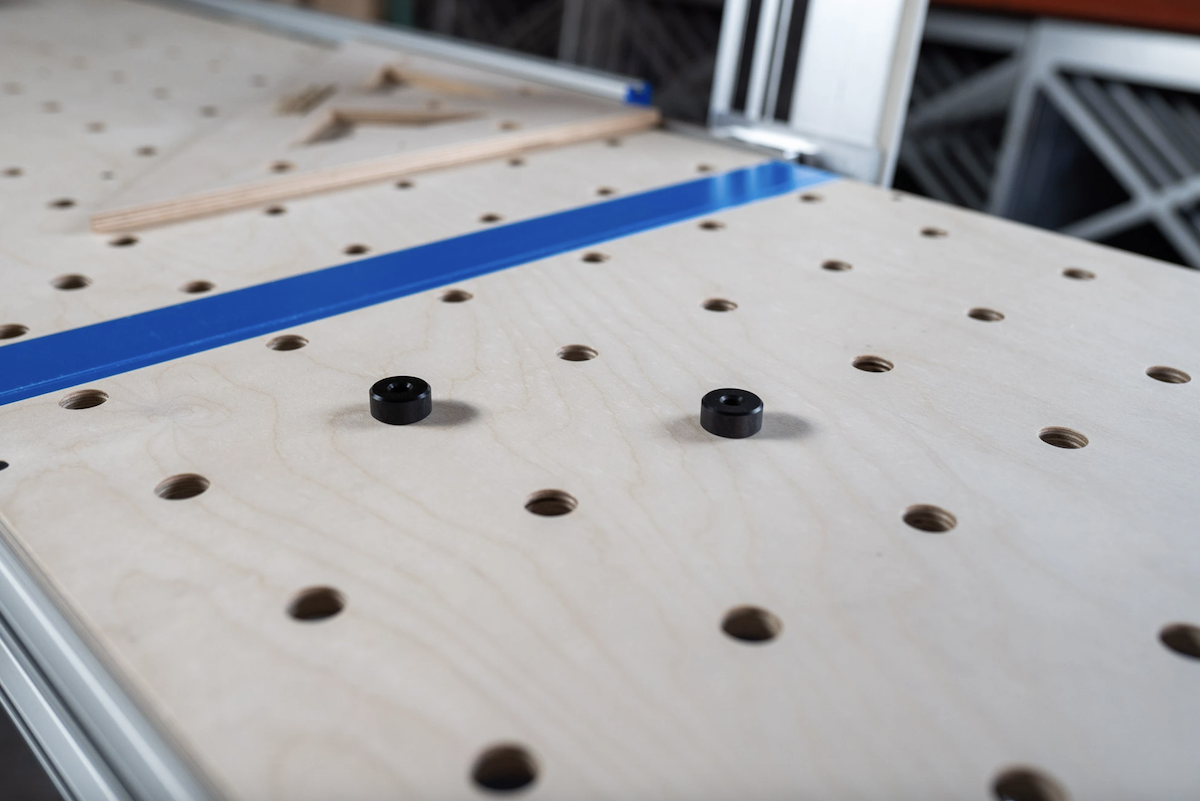
The 96mm grid of 20mm dog holes is the MFT standard Festool set, so any true 20mm/96mm bench shares the same accessories. Since the spacing is fixed, counting holes is more reliable than measuring.
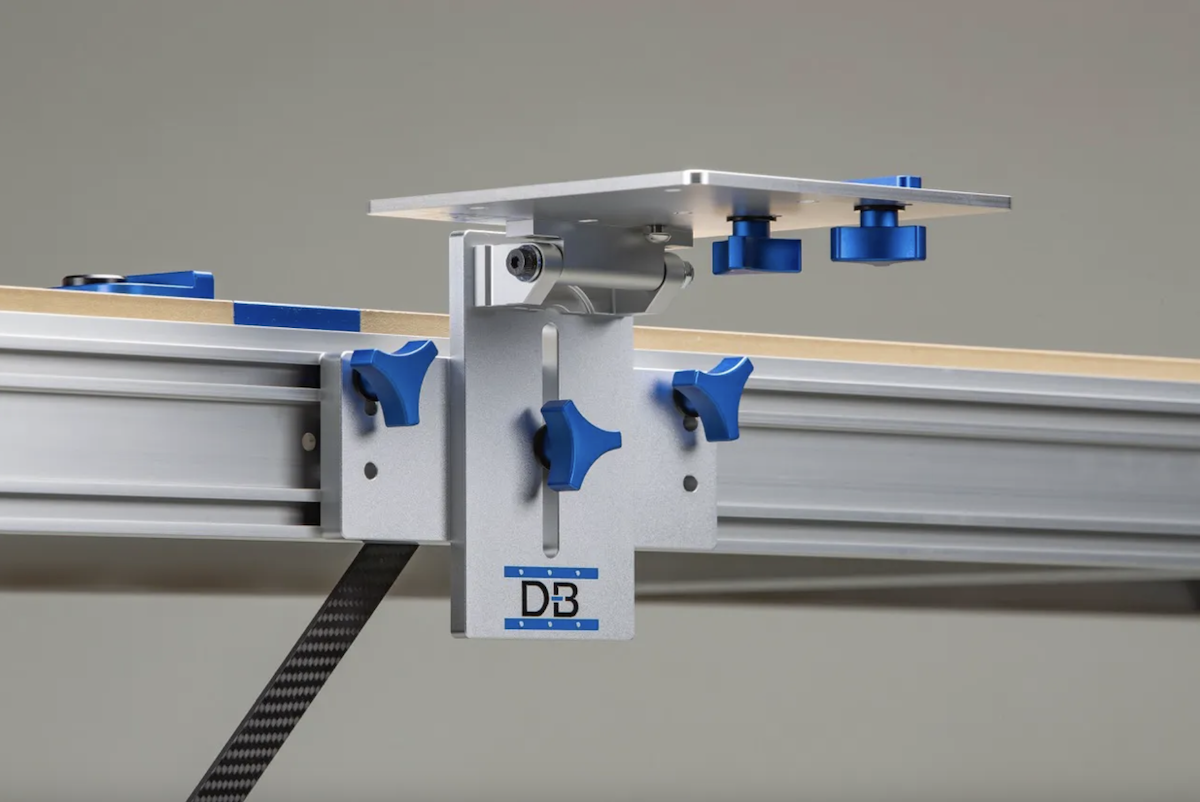
Guide rail brackets hinge your track saw rail to a fixed, repeatable 90-degree position on the bench, so you calibrate square once instead of re-checking it before every cut. Rigid, machined construction with no play is what lets the rail hold that reference through height changes and daily use, turning setup into a one-time task rather than a recurring chore.
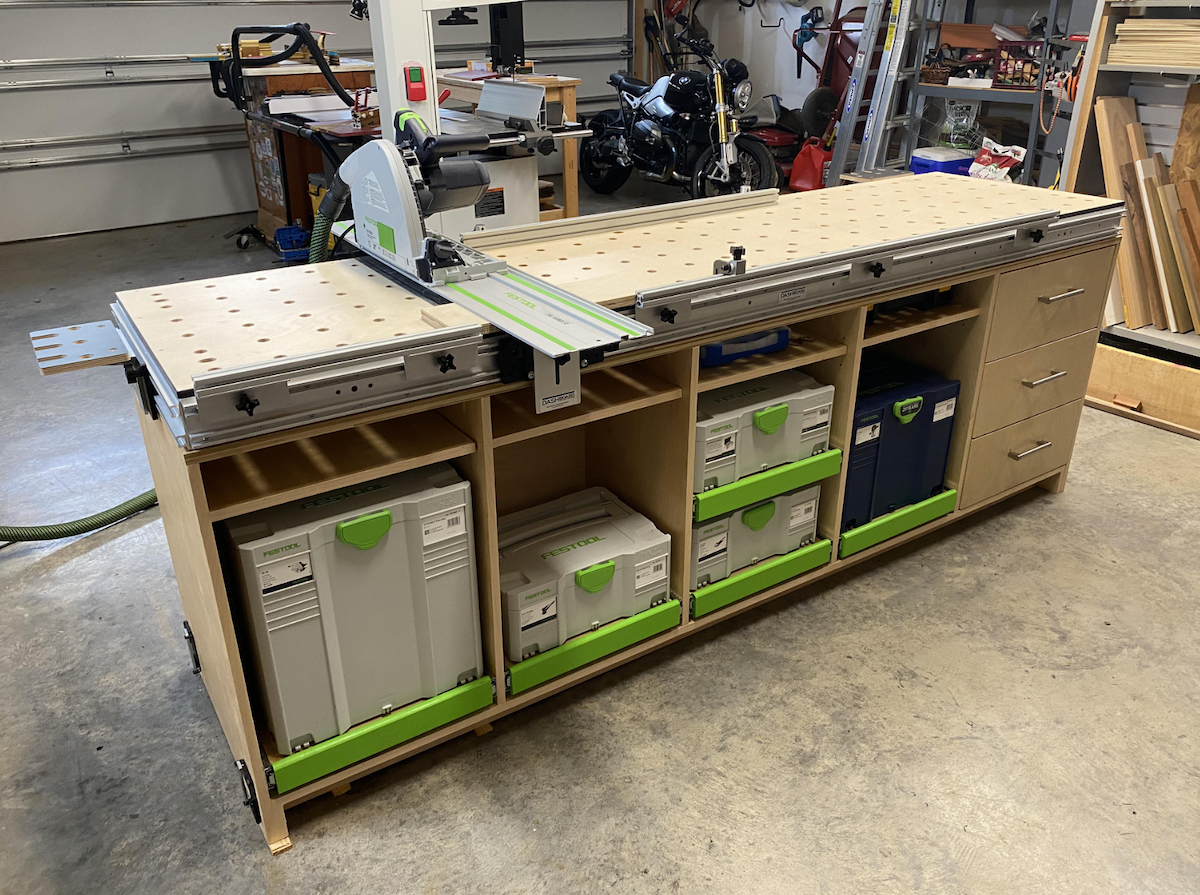
An MFT is a Multi-Function Table built around a perforated 20mm hole grid and guided cutting, letting you crosscut, clamp, sand, rout, and assemble all on one portable surface. It's a strong fit if you do precision crosscuts and sheet goods work, though drift and rigidity issues in some designs are why many owners upgrade to sturdier aftermarket benches and brackets.
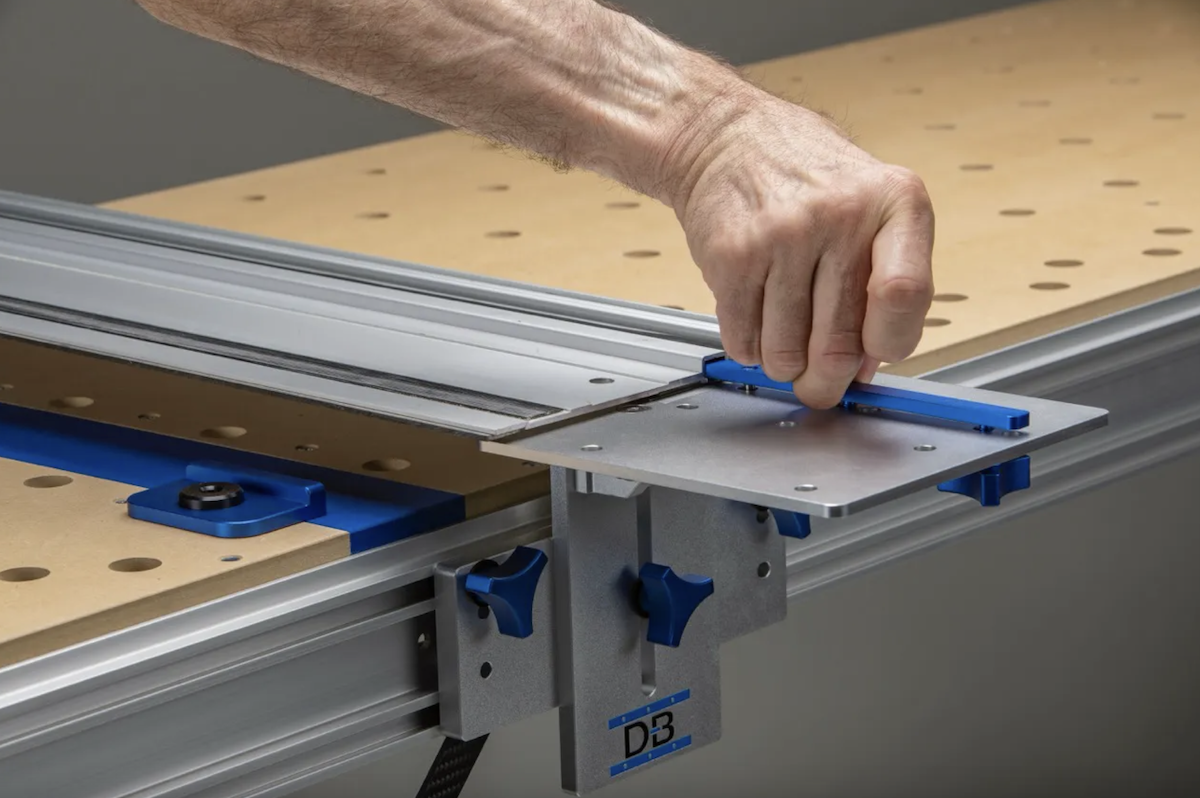
Track saw rail slip almost always comes down to dirty or worn grip strips, dusty or slick surfaces, or not enough downward pressure, and cleaning the strips plus clearing the workpiece solves most cases instantly. For repeatable, no-slip accuracy, clamps work but a fixed bench bracket system locks the rail in place for good.
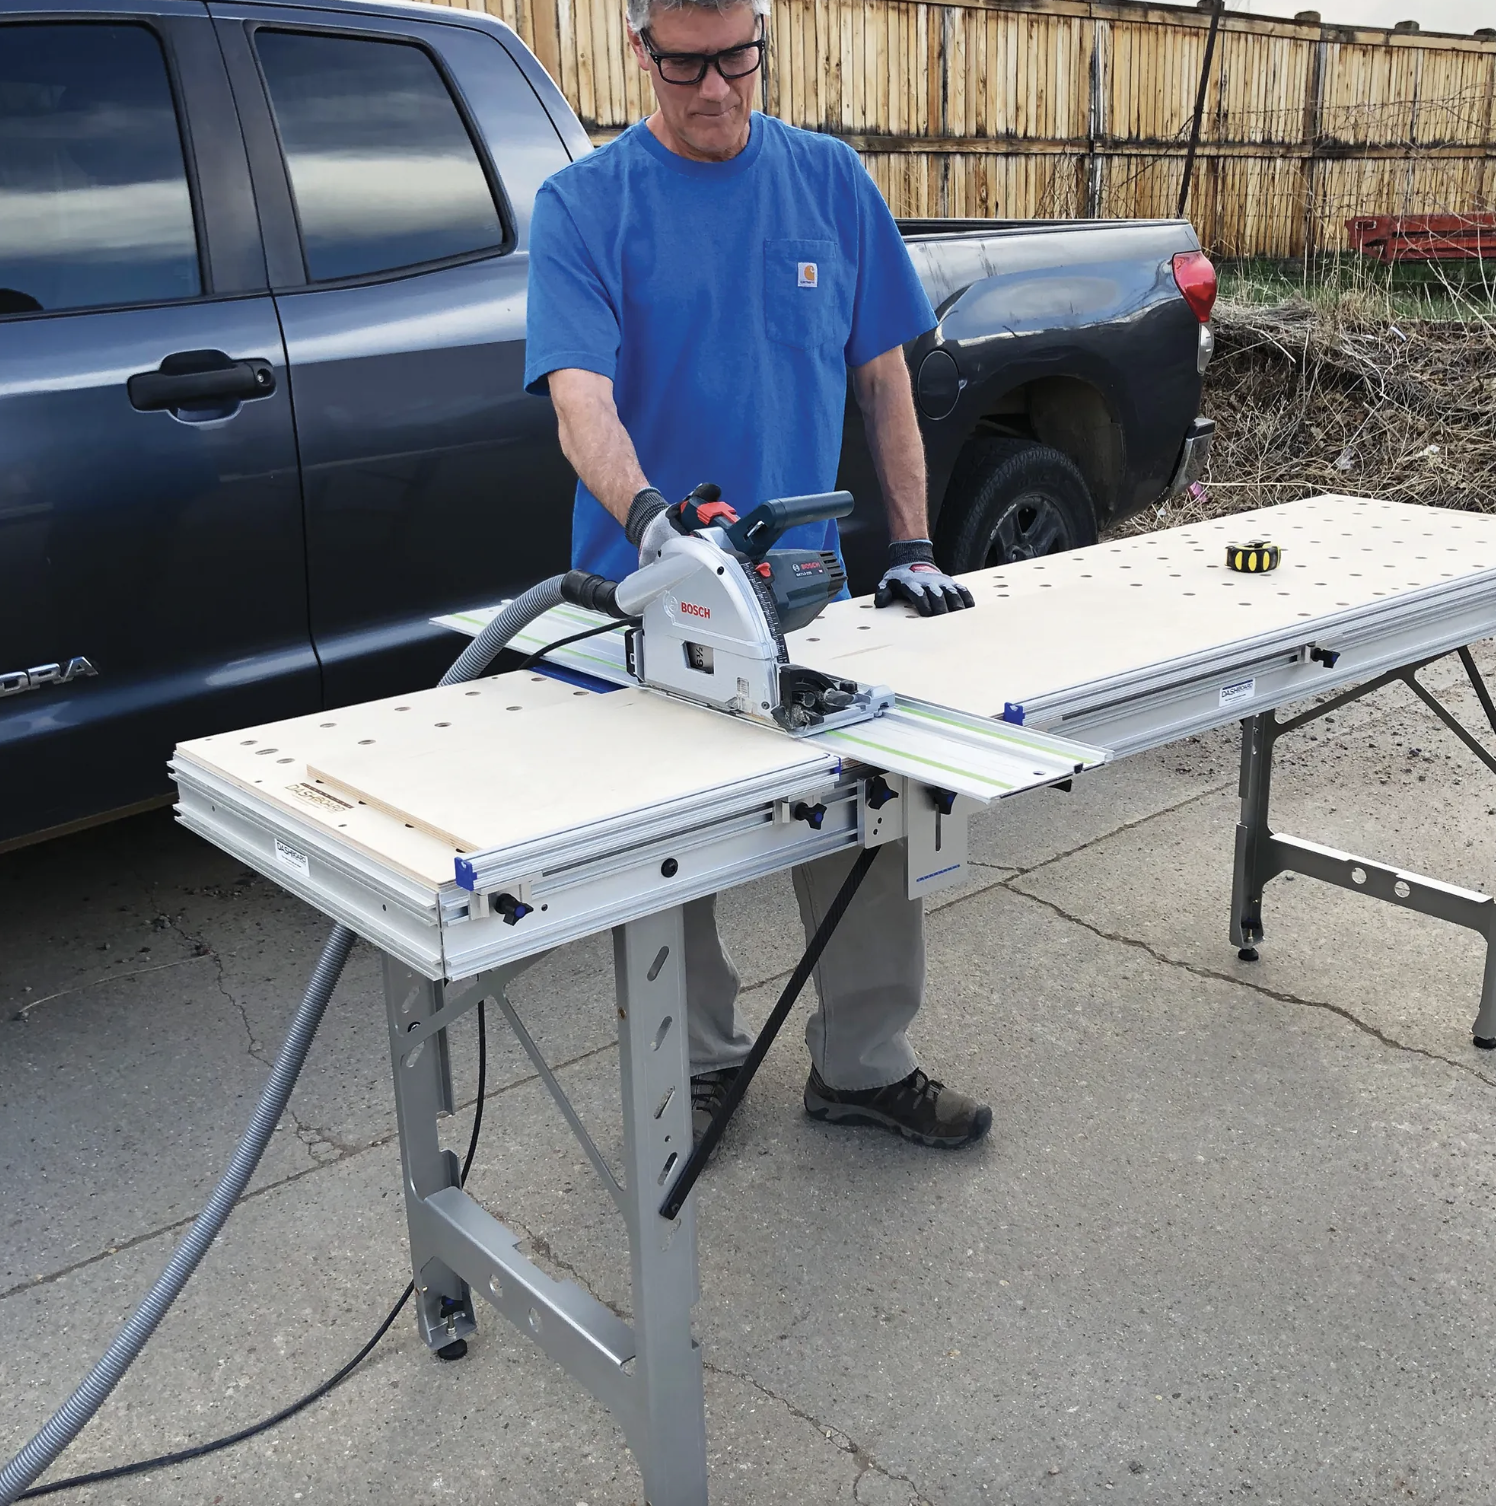
Scribing transfers the wall's true contour onto a cabinet edge so it fits tight against uneven walls and floors, and a portable bench that levels on the spot gives you the stable reference needed to mark and cut that line accurately. Level the piece, scribe to the widest gap, trim with the work fully supported, then test and refine until the fit sits flush.

Straight edge cutting tools like track saws, guide rails, and guide rail brackets give woodworkers a fixed reference so cuts stay true instead of drifting off line. A rigid bench, squared rail, and the right accessories (fences, flip stops, parallel guides) turn one accurate cut into consistent, repeatable results every time.
