Your Cart
Product Title
$0
$0
-
+
Your cart is empty.
Add Discount Code?
Add Cart Note?


If you have ever set up a track saw on an MFT-style bench, you know the ritual: square the rail, make a test cut, check it, nudge the rail, check again, and repeat until it is right. Then you change the rail height or bump the setup and have to start over.
That constant re-squaring is one of the biggest time sinks in precision crosscutting, and it is exactly the problem a guide rail bracket is built to solve. A well-made, all-metal bracket holds the rail in a fixed, square position so you calibrate once and cut all day. Here is how that works and why it changes the way you cut.
A guide rail bracket is a hardware set that attaches your track saw's guide rail to a workbench.
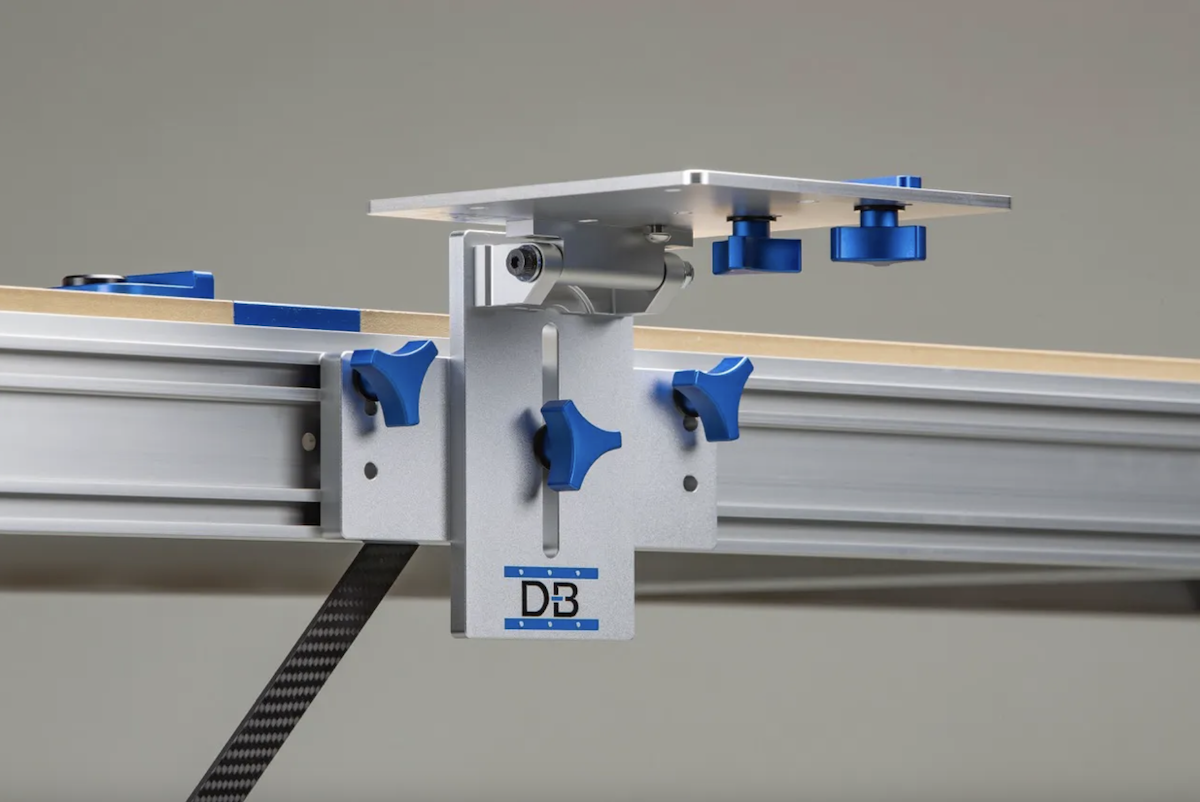
The better designs use a pivoting hinge. Front and rear brackets mount to the edge of the bench, and the rail attaches to them. You lower the rail to cut and swing it up out of the way when you are done. Because the brackets establish a fixed reference, the rail returns to the same square relationship to your fence every time you lower it.
On the Dash-Board system, the Guide Rail Bracket Set is a side-mounted, pivoting bracket set that hinges the rail to a fixed, repeatable 90-degree position so every crosscut lands in the same place. That fixed reference is the whole point: it is what removes the re-squaring from your workflow.
To understand what a guide rail bracket fixes, it helps to understand why so many setups drift out of square in the first place.
The standard hinge and bracket systems on many MFT-style tables are not always reliable when you adjust them. Longtime users report that changing the rail height can throw the cut out of square, because the parts that control the rail can shift as you raise, lower, or lock it. The accuracy you dialed in at one height does not necessarily survive a change.
That is why people end up re-running the five-cut method or re-checking with a square so often. The setup is accurate right after calibration, but it does not hold that accuracy through normal adjustments and handling. Every change reintroduces doubt, and doubt means another test cut.
When the bracket holds the rail in a fixed position with no play, squaring becomes a one-time event. You locate the bracket so the rail is dead square to your fence, lock it in, and from then on the rail returns to that exact position whenever you lower it to cut. Change the height, raise the rail to slide a workpiece across, come back tomorrow: the square reference is still there.
Two things make this possible. The first is rigidity. The Dash-Board brackets are CNC-machined from solid aluminum with no stamped or formed parts, and even the bearings are custom-made, which is what allows the rail to attach tightly with no slop. The second is repeatability of the pivot. Because the rail returns to the same place every time it comes down, the geometry does not wander between cuts.
Dash-Board’s bracket's machined, self-centering components offer the kind of fine control over its 2.9 inch range of height adjustment that lets you set square once and trust it. The practical effect is simple: you stop testing and start cutting.
The calibration is a one-time process. Here is the general sequence:
After this, raising and lowering the rail or changing its height should not require re-squaring, which is the entire advantage over lesser hinges.
The benefits compound across a day of work:
To get the full precision crosscut station, you pair the brackets with a fence that sets your reference edge and a flip stop that sets repeat length, so you can cut identical parts without re-measuring.
The case for Dash-Board guide rail brackets comes down to one idea: square should be something you establish once, not something you chase on every cut. Stamped steel and plastic hinges and clamp-on setups make square a recurring chore because they do not reliably hold position through adjustments. A rigid, self-centering metal bracket makes squareness a fixed property of your setup.
If re-squaring is eating your time, the practical next step is to look at the mechanical connection between your rail and your bench. Prioritize a bracket built from solid, machined parts with no play, set it up carefully once, and then let it do its job. The time you save not testing cuts is the whole return on the investment.
A precision guide rail bracket is a hardware set that attaches your track saw's guide rail to a workbench and holds it in a fixed, location, usually on a pivoting hinge. Unlike stamped steel and plastic rail hinges or clamp-on setups, it returns the rail to the same square position every time, so you calibrate once instead of re-squaring constantly.
Quality brackets stay square through rigid, machined construction with no play and a pivot that returns the rail to the same position every time it is lowered. Once you calibrate the bracket so the rail is square to your fence, that position remains through height changes and daily handling, removing the need to re-check before each cut.
Not entirely. You still calibrate the bracket the first time, verifying the rail is truly square to your fence. The difference is that you do it once. After the bracket is locked in, the rail reliably returns to that square position.
For anyone doing precision crosscutting or multiple, identical cabinet parts, yes. The upfront cost buys rigid, machined hardware that holds a fixed square position, which saves significant time otherwise lost to re-squaring and test cuts.
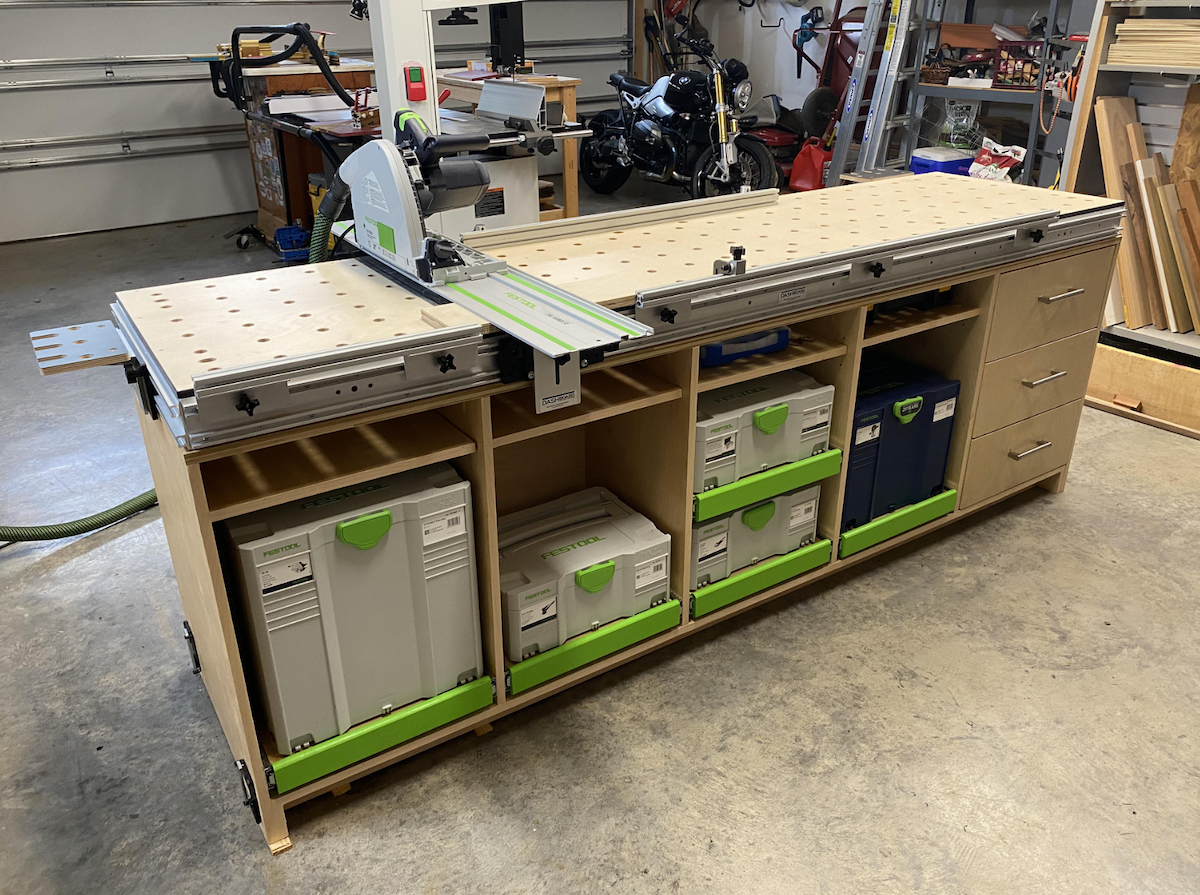
An MFT is a Multi-Function Table built around a perforated 20mm hole grid and guided cutting, letting you crosscut, clamp, sand, rout, and assemble all on one portable surface. It's a strong fit if you do precision crosscuts and sheet goods work, though drift and rigidity issues in some designs are why many owners upgrade to sturdier aftermarket benches and brackets.
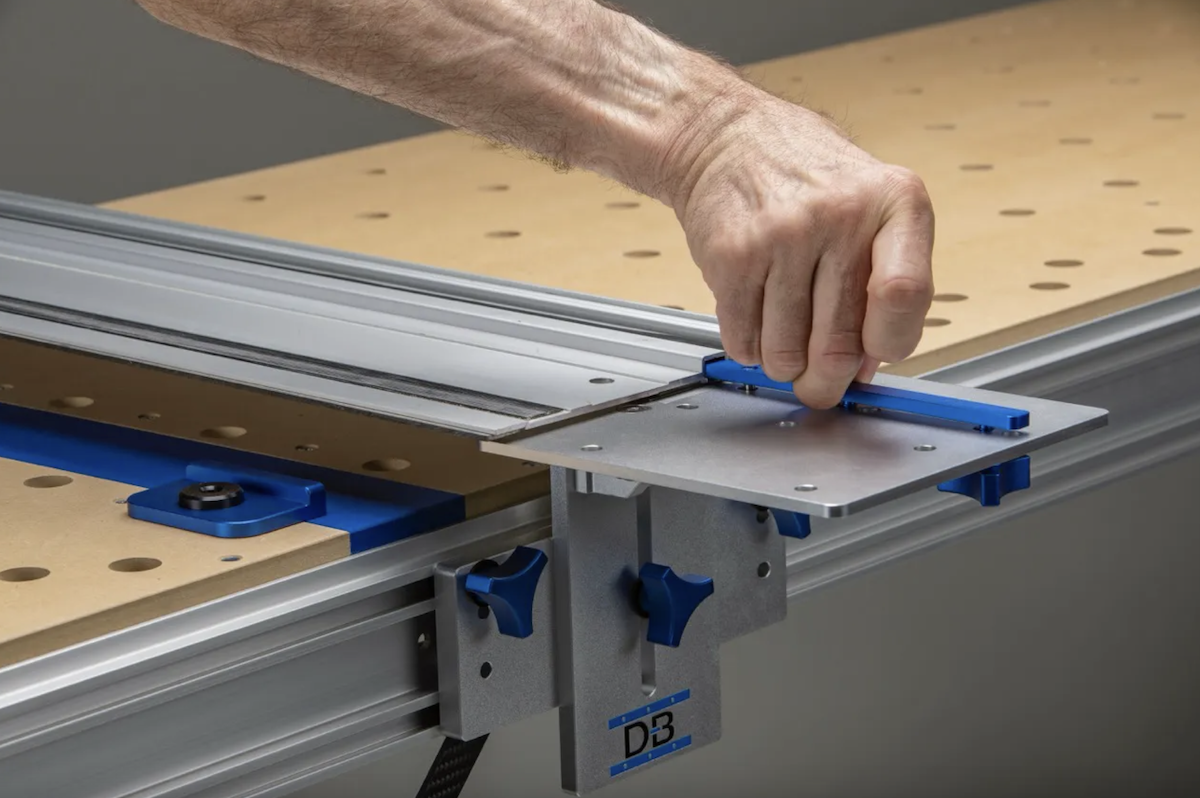
Track saw rail slip almost always comes down to dirty or worn grip strips, dusty or slick surfaces, or not enough downward pressure, and cleaning the strips plus clearing the workpiece solves most cases instantly. For repeatable, no-slip accuracy, clamps work but a fixed bench bracket system locks the rail in place for good.
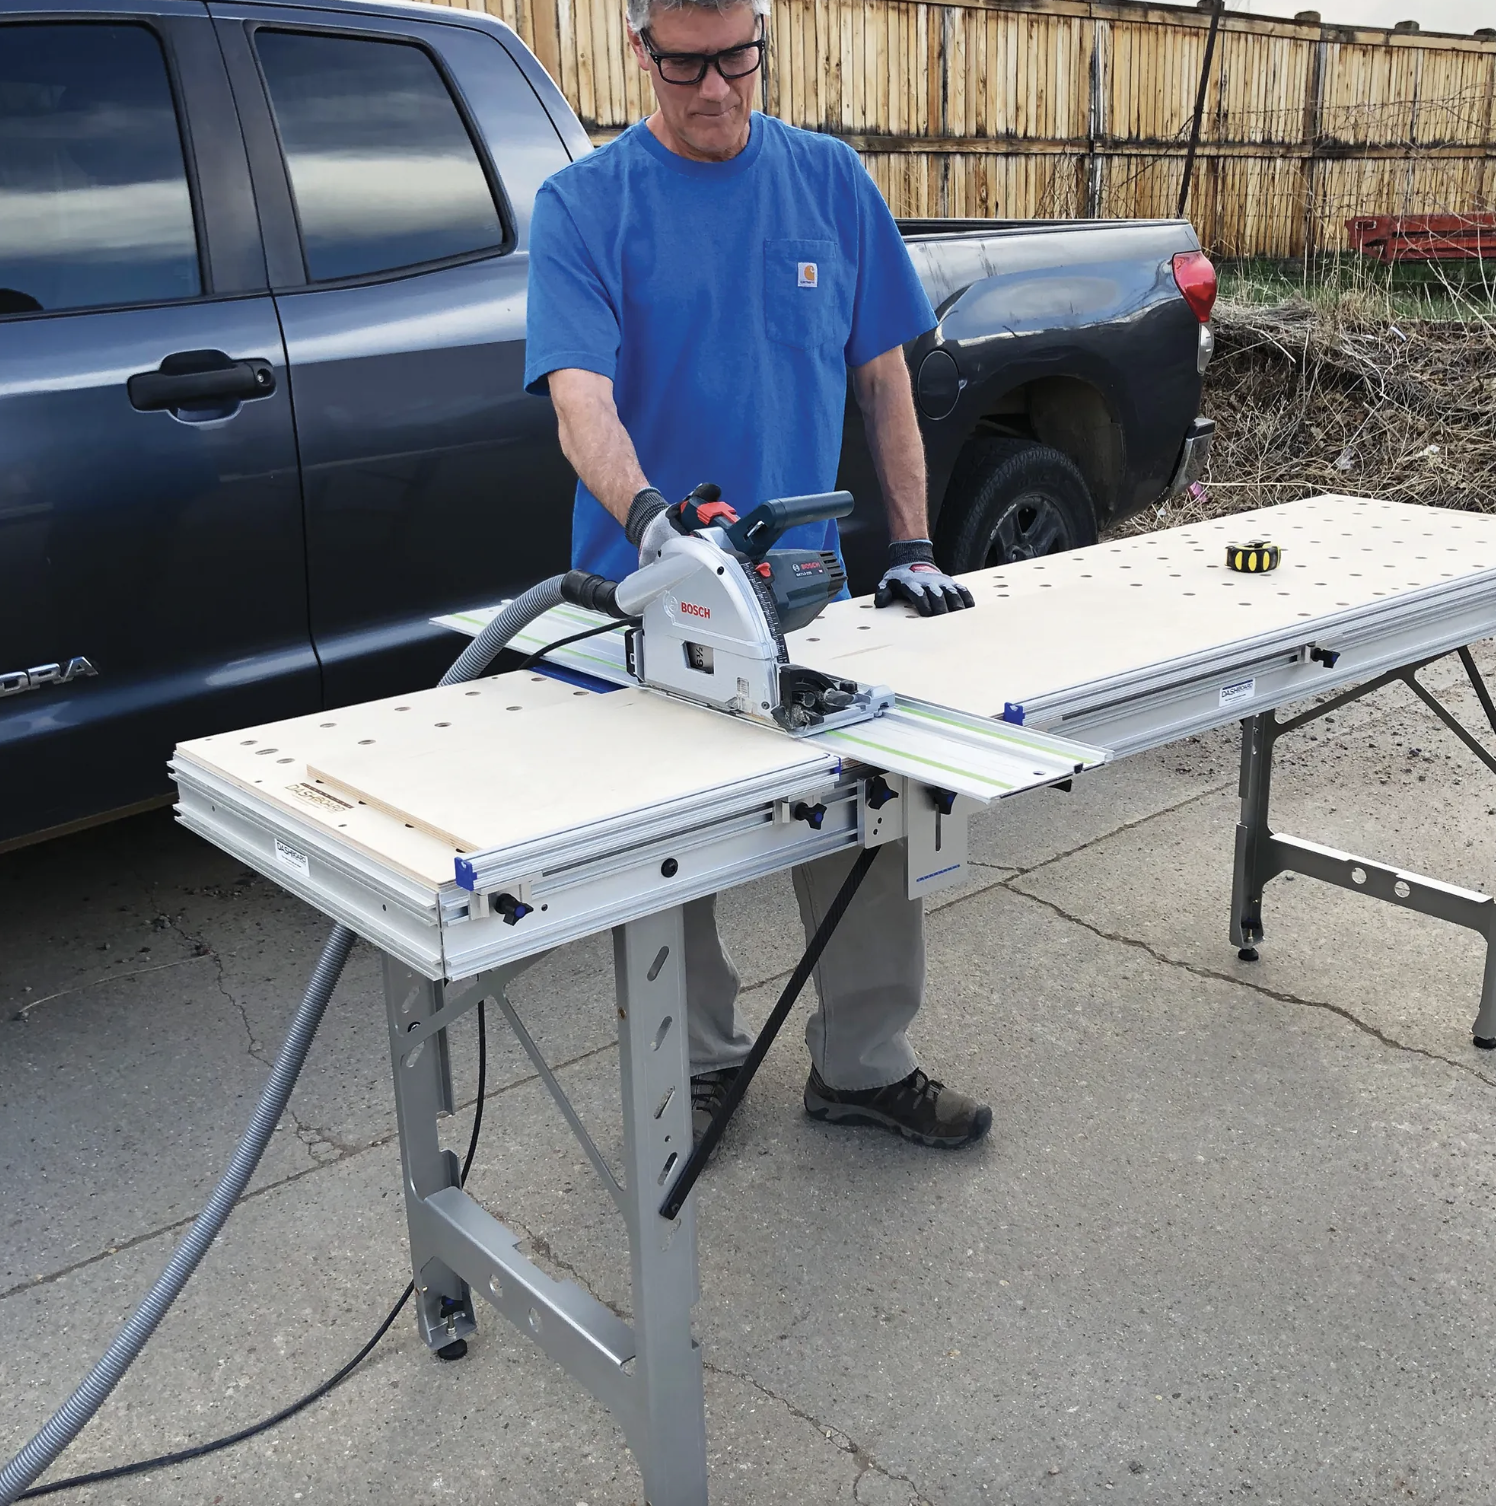
Scribing transfers the wall's true contour onto a cabinet edge so it fits tight against uneven walls and floors, and a portable bench that levels on the spot gives you the stable reference needed to mark and cut that line accurately. Level the piece, scribe to the widest gap, trim with the work fully supported, then test and refine until the fit sits flush.
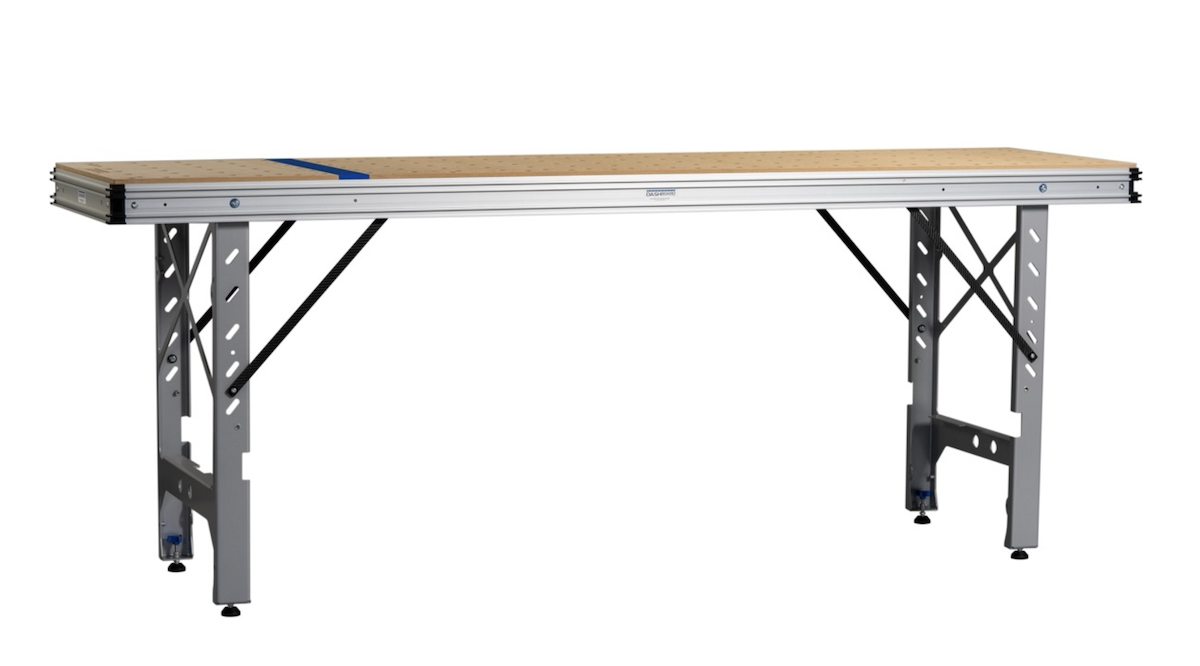
Solid workholding is the whole game with edge banding, and a rigid portable bench with the right clamping accessories lets you present a panel flat or vertical for clean, even application. Lock the panel down, apply the banding steadily, then trim flush once the bond sets for crisp, consistent edges every time.

Straight edge cutting tools like track saws, guide rails, and guide rail brackets give woodworkers a fixed reference so cuts stay true instead of drifting off line. A rigid bench, squared rail, and the right accessories (fences, flip stops, parallel guides) turn one accurate cut into consistent, repeatable results every time.

Small angular errors don't cancel out — they stack. On a cabinet with dozens of joints, crosscuts that are off by even a fraction of a degree show up at assembly when fixing them means going back to the saw. This post covers how mechanical squaring with a track saw workbench eliminates the variable that causes the problem.
