Your Cart
Product Title
$0
$0
-
+
Your cart is empty.
Add Discount Code?
Add Cart Note?


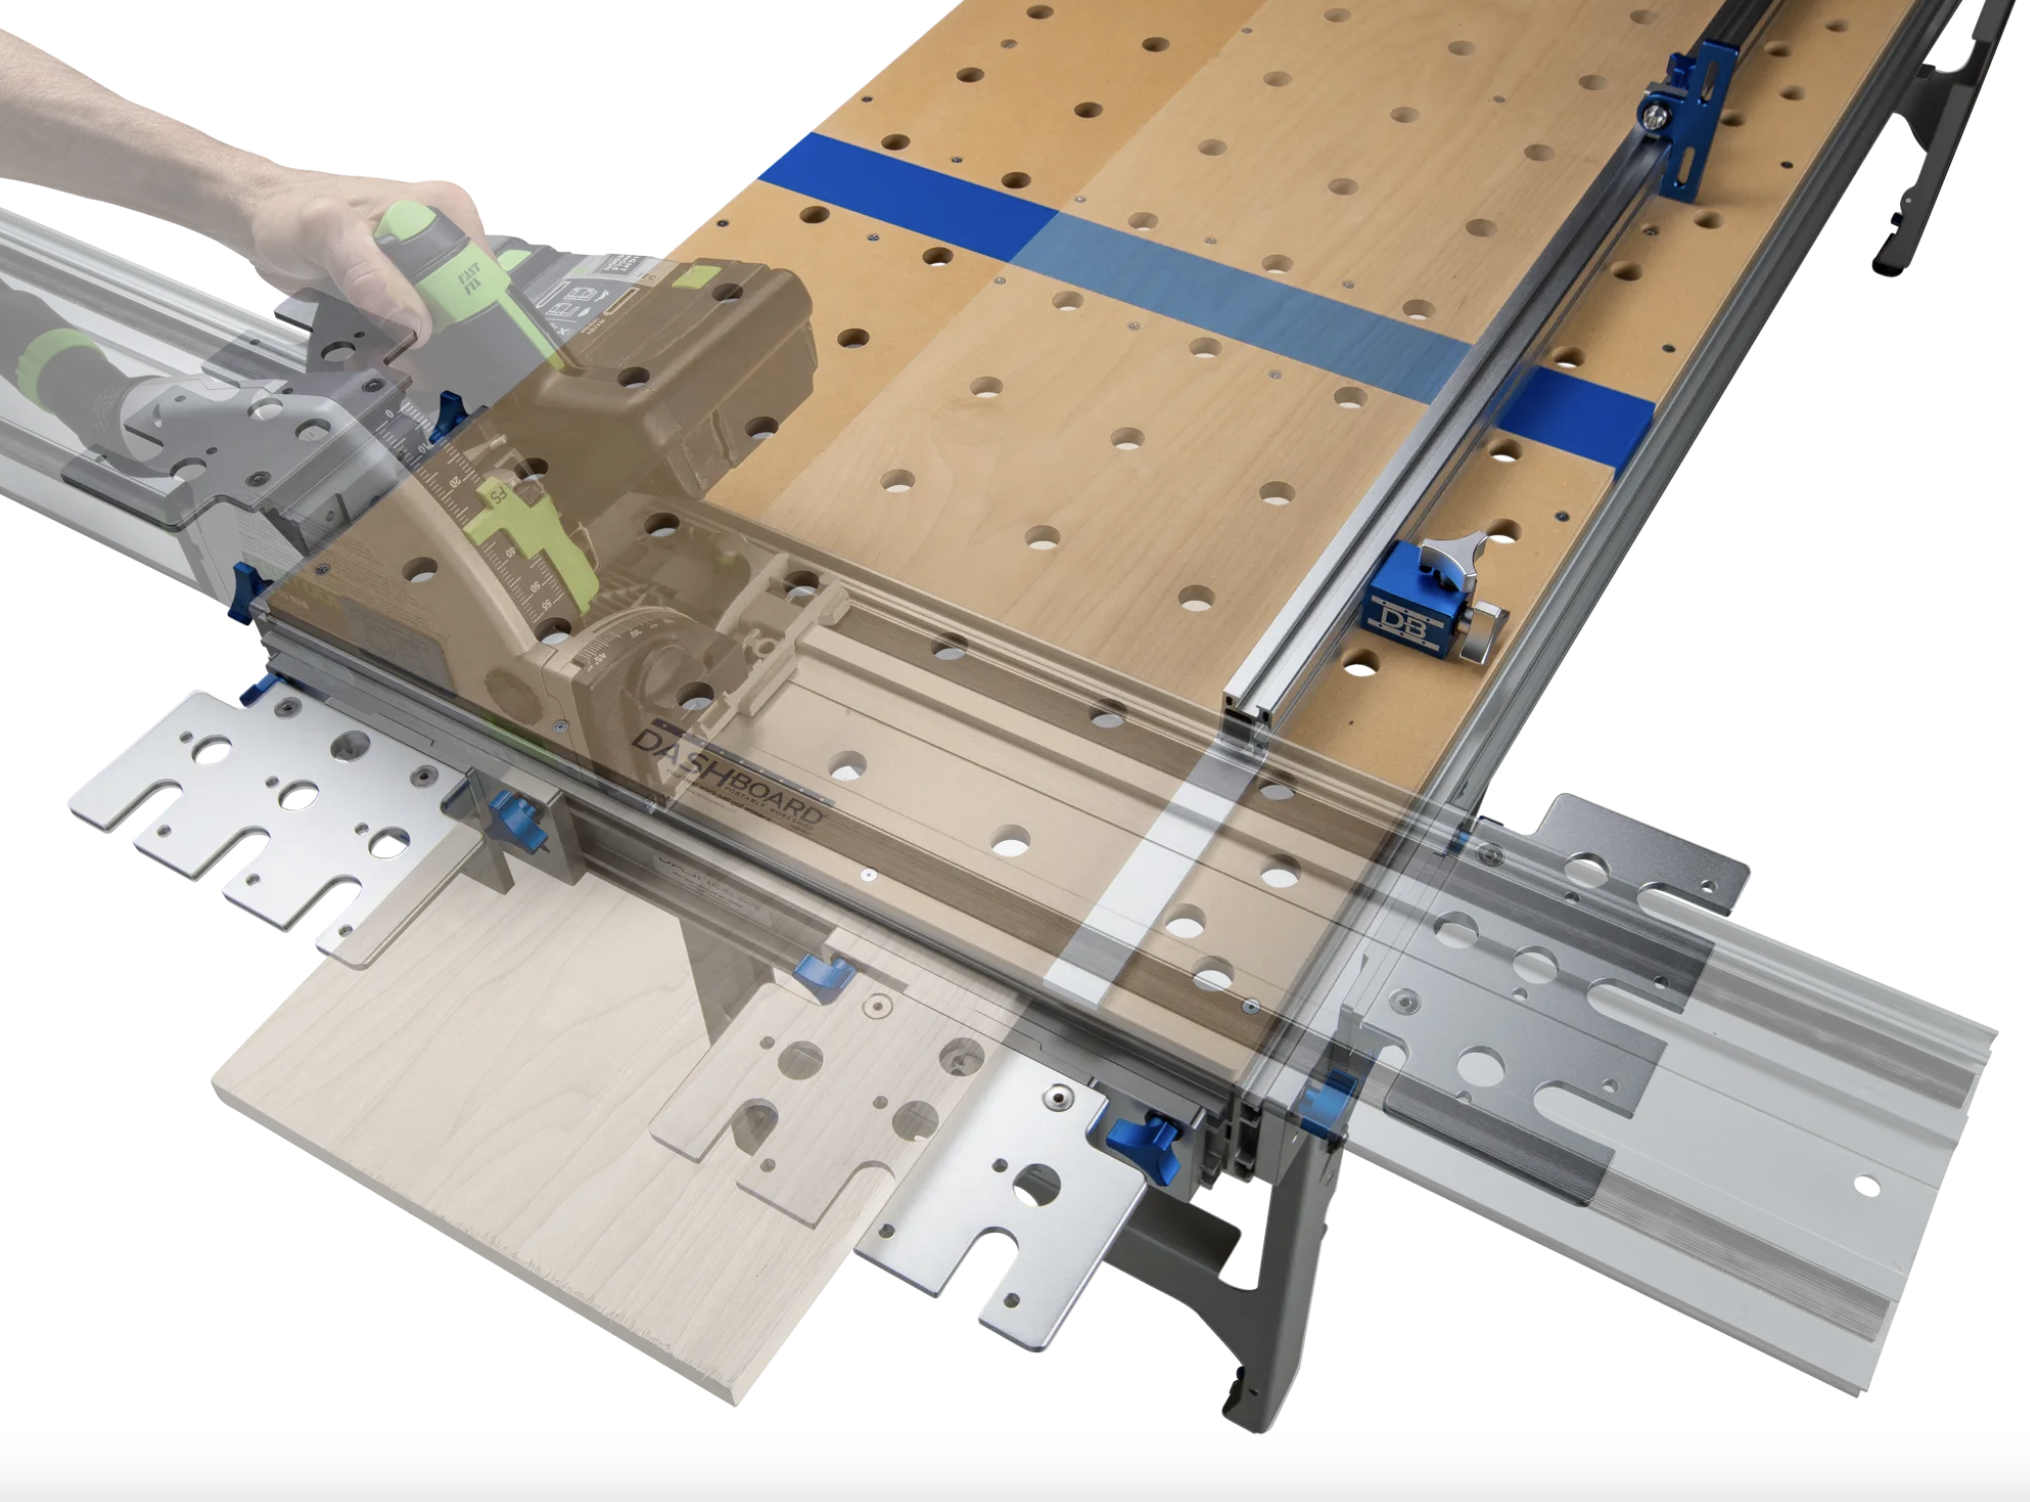
Ask ten woodworkers how to cut angles and miters with a track saw and you will get two kinds of answers. Half will tilt the saw. Half will move the rail. Both can be right, and knowing which one your cut actually calls for is the difference between a joint that closes and a joint you fill with caulk.
Angled cuts on a track saw are not harder than square ones. They are less forgiving. A crosscut that lands a degree off still looks fine on a shelf. A miter that lands a degree off opens a visible wedge at the tip, doubles at the joint, and stares at you from the finished piece. This guide covers the mechanics, the setups, and the specific failure modes that cause angled cuts to drift.
A miter is an angled cut across the width of a board, made with the blade perpendicular to the face. A bevel is an angled cut through the thickness of a board, made with the blade tilted. Picture a piece of casing lying flat: a miter changes the shape of the end when you look down at the board, while a bevel changes the shape of the end when you look at it edge on.
With a track saw, the two are controlled in completely different places.
A miter comes from the cut line. You change the direction the rail points, or you change the angle the workpiece sits at, and the blade stays vertical the whole time. The resulting cut face is square to the board's face and angled to its edges. This is what you want for angled corners on panels, splayed casework, and fitting to walls that are not square.
A bevel comes from the tool itself. You release the base plate locks, tilt the blade, and lock it back down. The resulting cut face is angled to the board's face. This is what mitered box corners, waterfall panels, and edge details require.
Cabinet makers mix the terms constantly in conversation, and in most shop talk it does not matter. It matters enormously when you are setting up, because reaching for the wrong control produces a part that looks close and fits nothing.
Because a track saw cuts wherever the rail points, a miter is purely a question of where you put the rail. The blade stays at zero. Nothing about the tool changes.
The second option is the one that scales. On a Dash-Board setup, the F2 Surface Mount Fence mounts at one end in the 20mm holes of the bench top and at the other end on a Track Star. Once both ends are anchored, the fence rotates through a wide angular range and locks down with all-metal knobs. You set the angle once and cut as many parts as the job needs, all registering against the same reference edge.
Two practical notes on the F2. It carries three sliding Fence Blocks so it will mount to whatever 20mm hole positions your angle happens to need, and it is built for saws and rails that cut on the right side of the guide rail. Check your saw's blade position before you build a workflow around it.
For setting the angle itself, a digital angle gauge or a large protractor referenced off the fence body is faster and more honest than eyeballing. Verify with a test cut in scrap before you commit real material.
Bevels live entirely in the tool. Release the bevel locks, tilt the base plate, retighten, cut.
Ranges are broadly similar across brands. Most current track saws tilt from about -1 degree through 47 or 48 degrees. That extra degree or two past 45 exists for a specific reason, and once you understand it you will use it: over-beveling slightly makes a mitered corner close tight on the visible outside face, hiding any small inaccuracy on the inside where nobody looks. Negative bevel gets used for clearance cuts, door bottoms, and back-cutting a scribe.
Some saws include positive detents at 22.5 and 45 degrees. Some include one and not the other. Some include none and rely on the printed scale.
Either way, treat the factory 45 mark as a starting point rather than a fact. Trunnion play, an unlocked bevel knob, and a rail sitting on top of dust all push the actual angle away from the indicated one. The five-cut method will not help you here, so the check is simpler: bevel two scraps at 45, put them together, and hold the pair against a reliable square. If the corner opens on the outside, add a fraction of a degree. If it opens on the inside, take one away. Note where your saw actually lands and stop trusting the dial.
This sequence covers the most common real-world angled cut: two panels joining at a 90 degree outside corner with 45 degree bevels, the arrangement behind waterfall edges, mitered plinths, and wrapped cabinet ends.
Angled cuts fail in a handful of specific ways, and each has a specific cause.
Tilt a track saw to 45 degrees and its center of mass moves outboard, off the rail. The saw now wants to roll away from the track, and because the rail rides on rubber grip strips rather than being mechanically attached, it can pull the near edge of the rail up with it. A rail that lifts a millimeter mid-cut throws the angle by more than you would guess.
Some saws include an anti-tip feature to counter this. Whether yours does or not, three things help: keep firm downward pressure over the base plate, make sure the rail cannot slide or lift, and slow your feed rate slightly compared to a square cut. If your rail moves during ordinary cuts, it will certainly move during beveled ones. Our post on why track saw rails slip covers the underlying causes.
A blade cutting at an angle travels through more material than a blade cutting straight down. Maximum cutting depth at 45 degrees is meaningfully less than at 90 on every track saw made.
The same applies to bracket systems. The Guide Rail Bracket Set supports a maximum cutting height of 2.9 inches (74mm) with the rail in position, which covers 4/4 through 12/4 hardwood and doubled sheet goods on square cuts. Introduce a bevel and your usable thickness comes down. Check your stock against actual capacity before you set up, not after.
Rob Schumacher spent years as a trim carpenter and cabinet installer doing the jobs other people passed on, and one thing that work teaches quickly is that inside corners in real buildings are rarely square. A 1925 renovation does not care what your saw's detent says.
The fix is to stop cutting to 45 and start cutting to half of whatever the corner actually measures. Read the corner with an angle finder, halve it, and set both parts to that number. On an outside corner, favor the over-bevel side so the show face pulls tight. For anything genuinely irregular, scribe it, which is a separate technique covered in our guide to scribing and fitting cabinets on site.
A compound angle is a miter and a bevel happening in the same cut. Splayed boxes, angled cabinet returns, and hopper joints all need them.
Keep the two settings mentally separate and the job stays manageable:
Published compound angle charts exist for standard splay angles and are worth having on your phone. Use them as a starting point and verify in scrap.
One good miter is a setup. Twenty identical miters is a workflow.
Once your fence is locked at the angle you need, add a Reversible Flip Stop to fix the length. The stop flips out of the way for loading and back down for registration, so each part indexes to the same point without measuring. For parts too long for a single fence, the F1 Surface Mount Fence extends support on the right of the blade, and both fences ship together in the Fence Bundle.
The thing that makes this work is that nothing in the setup moves between parts. The fence angle holds. The stop holds. The rail returns to the same place. If any of those three shift, you are back to cutting one part at a time.
Two habits worth building:
Track saws handle angles better than most people expect, and far better than a miter saw once parts get wide. A 30 inch panel with a 45 degree bevel down its full length is a routine track saw cut and an impossible one on a 12 inch slider. The tool is not the limitation. The setup is.
The pattern across every angled cut is the same. Decide whether the angle belongs to the rail or the blade. Lock the setup so it cannot move. Verify in scrap before committing material. Then let the same setup produce every part in the run.
If you want to see the fence and Track Star miter configuration in motion, the videos library walks through the setups. Compatibility details for specific rail brands live on the FAQ page. And if you are trying to work out whether a particular angled cut is realistic on your current setup, reach out at (303) 376-5703 and describe the cut. That conversation usually takes about five minutes and saves a lot of scrap.
A miter cut is angled across the face of the board with the blade held vertical, while a bevel cut is angled through the board's thickness with the blade tilted. On a track saw you make a miter by changing the angle between the guide rail and the workpiece, and you make a bevel by tilting the saw's base plate. A compound cut combines both angles in a single pass.
A track saw cuts accurate 45 degree angles when the bevel is verified rather than assumed. Factory scales and positive stops get you close, but trunnion play and rail movement shift the real angle. Cut two scraps at 45, join them, and check the corner against a square, then adjust in small increments. Note your saw's actual correction and apply it every time.
Bevel cuts usually go wrong for one of three reasons: the saw tips outboard and lifts the guide rail mid-cut, the splinter strip was used as a reference when it only marks the 90 degree cut line, or one bevel lock was left loose. Apply steady downward pressure over the base plate, establish the cut line with a test piece at your actual material thickness, and lock both bevel controls.
To cut a miter on a workbench, anchor a surface mount fence at one end in the bench top's 20mm holes and at the other end on a Track Star, then rotate the fence to the angle you need and lock it. The guide rail stays in its normal crosscut position. Set the angle with a digital gauge, confirm it in scrap, then add a flip stop for repeat lengths.
For a corner that is not square, measure the actual angle with an angle finder and cut each piece to half that figure. A corner reading 92 degrees needs two 46 degree cuts, not two 45s. On outside corners, add a fraction of a degree so the joint pulls tight on the visible face. Most track saws bevel past 45 specifically to allow this adjustment.
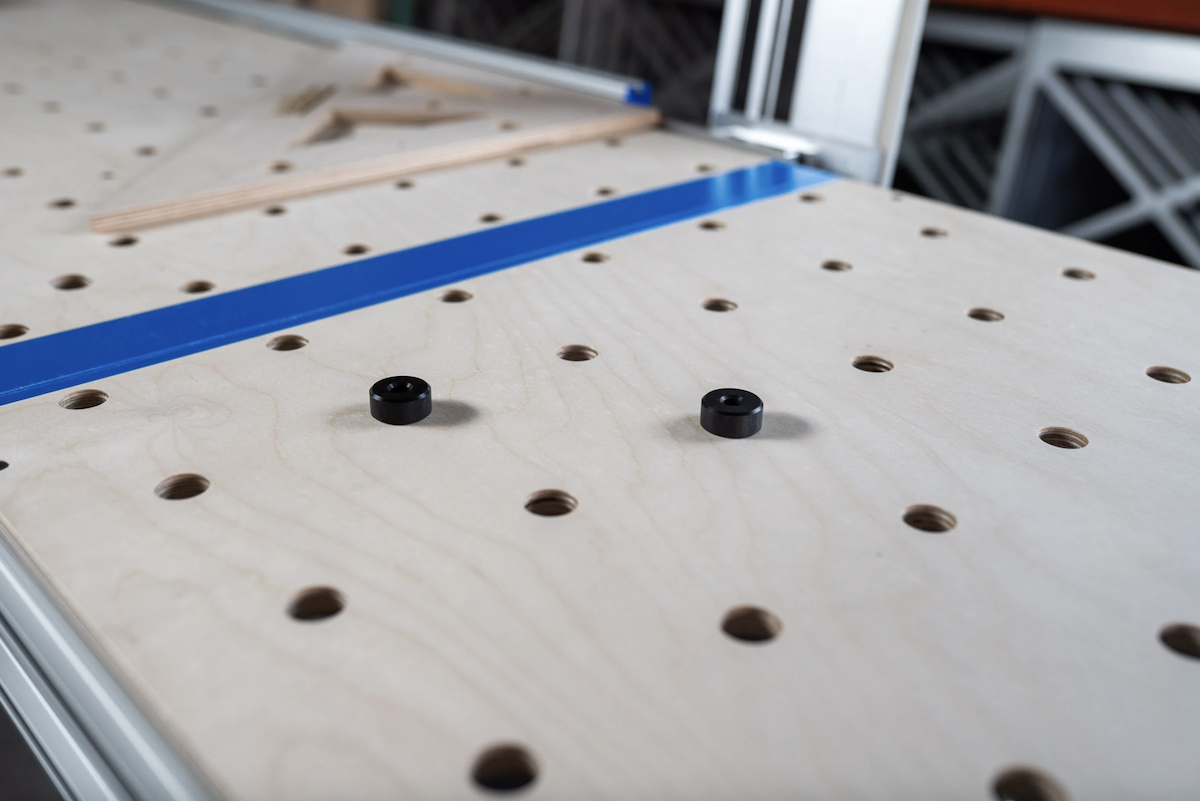
The 96mm grid of 20mm dog holes is the MFT standard Festool set, so any true 20mm/96mm bench shares the same accessories. Since the spacing is fixed, counting holes is more reliable than measuring.
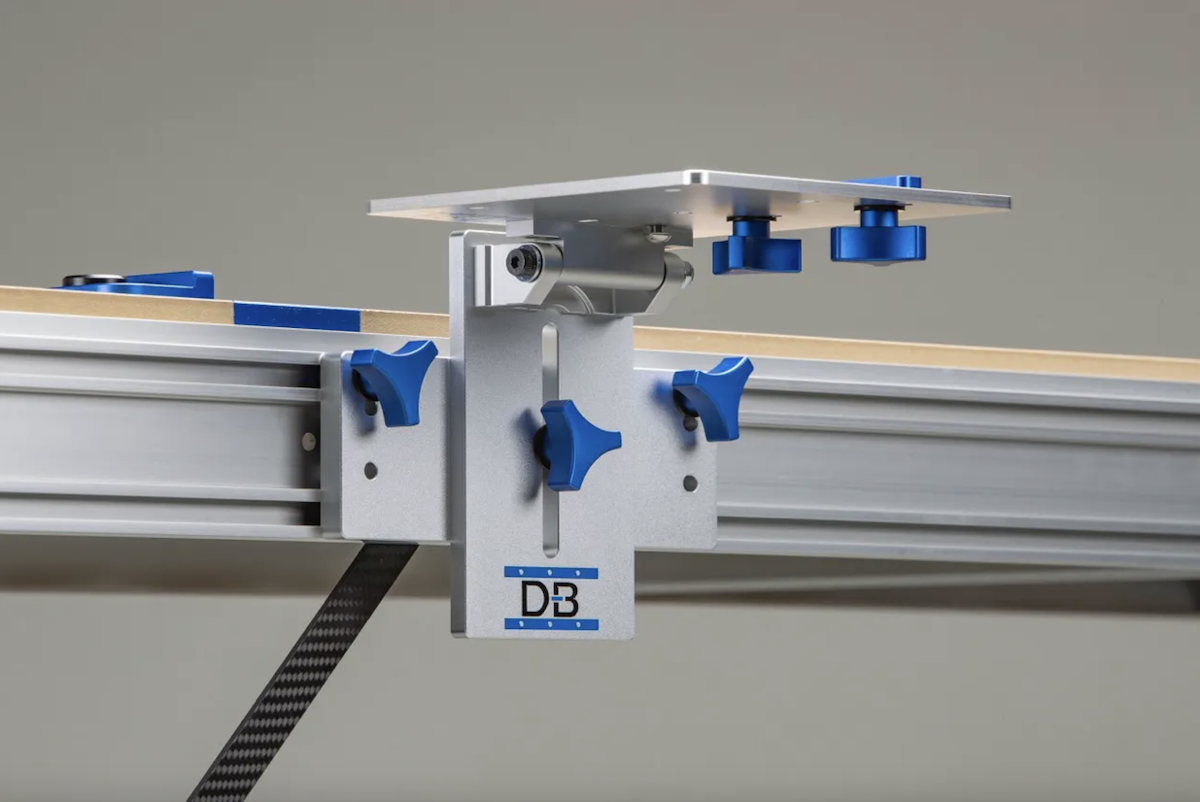
Guide rail brackets hinge your track saw rail to a fixed, repeatable 90-degree position on the bench, so you calibrate square once instead of re-checking it before every cut. Rigid, machined construction with no play is what lets the rail hold that reference through height changes and daily use, turning setup into a one-time task rather than a recurring chore.
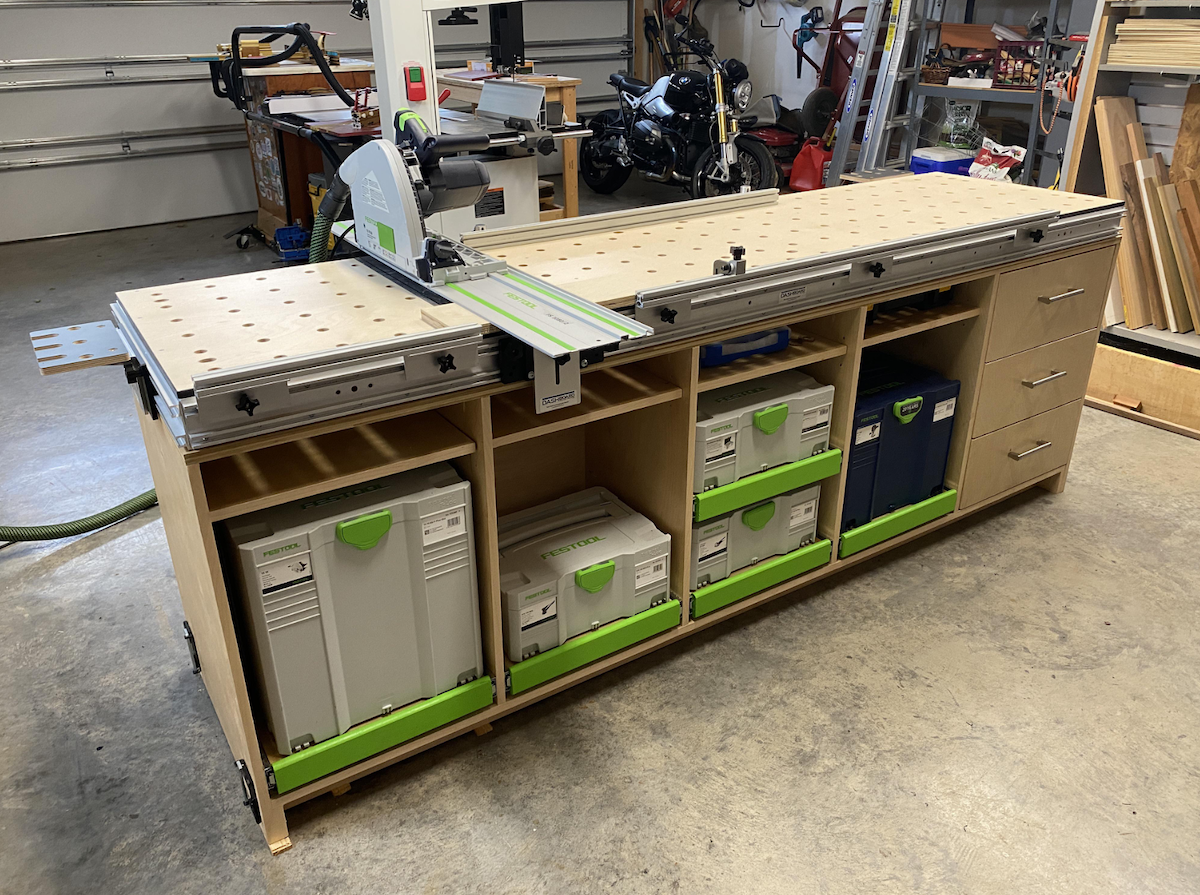
An MFT is a Multi-Function Table built around a perforated 20mm hole grid and guided cutting, letting you crosscut, clamp, sand, rout, and assemble all on one portable surface. It's a strong fit if you do precision crosscuts and sheet goods work, though drift and rigidity issues in some designs are why many owners upgrade to sturdier aftermarket benches and brackets.
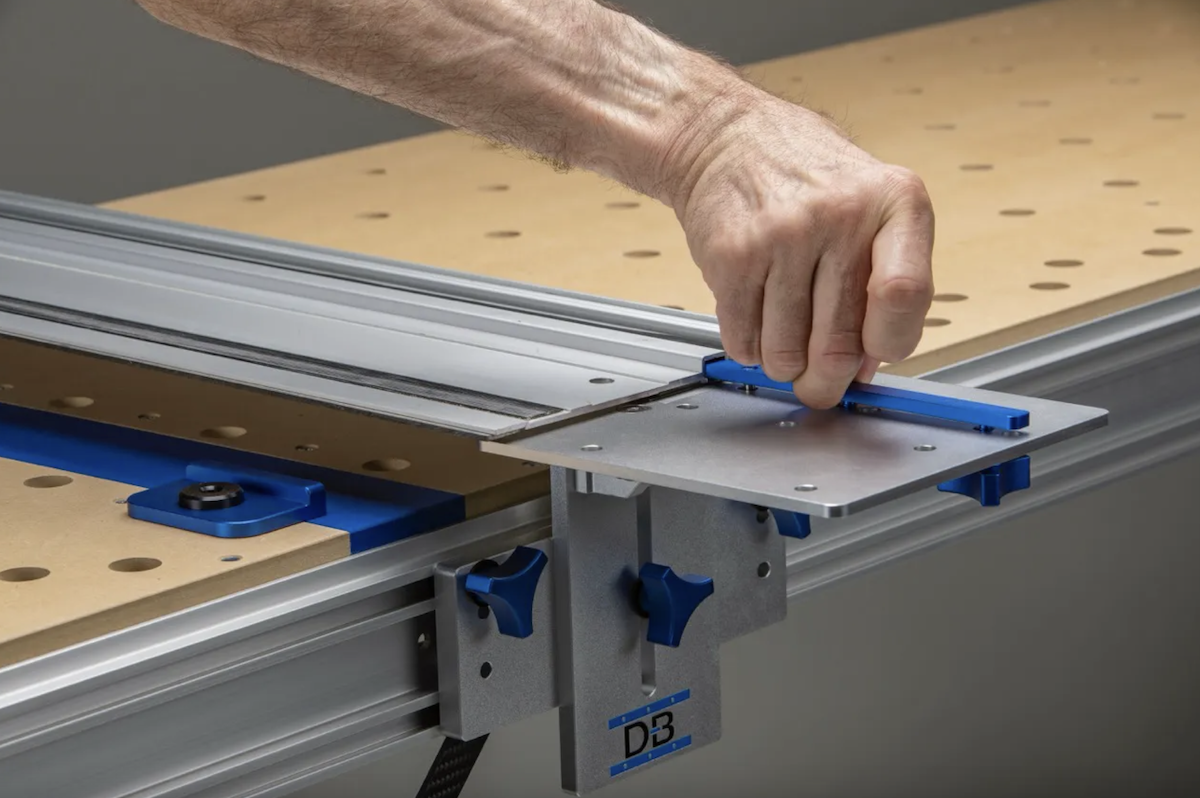
Track saw rail slip almost always comes down to dirty or worn grip strips, dusty or slick surfaces, or not enough downward pressure, and cleaning the strips plus clearing the workpiece solves most cases instantly. For repeatable, no-slip accuracy, clamps work but a fixed bench bracket system locks the rail in place for good.
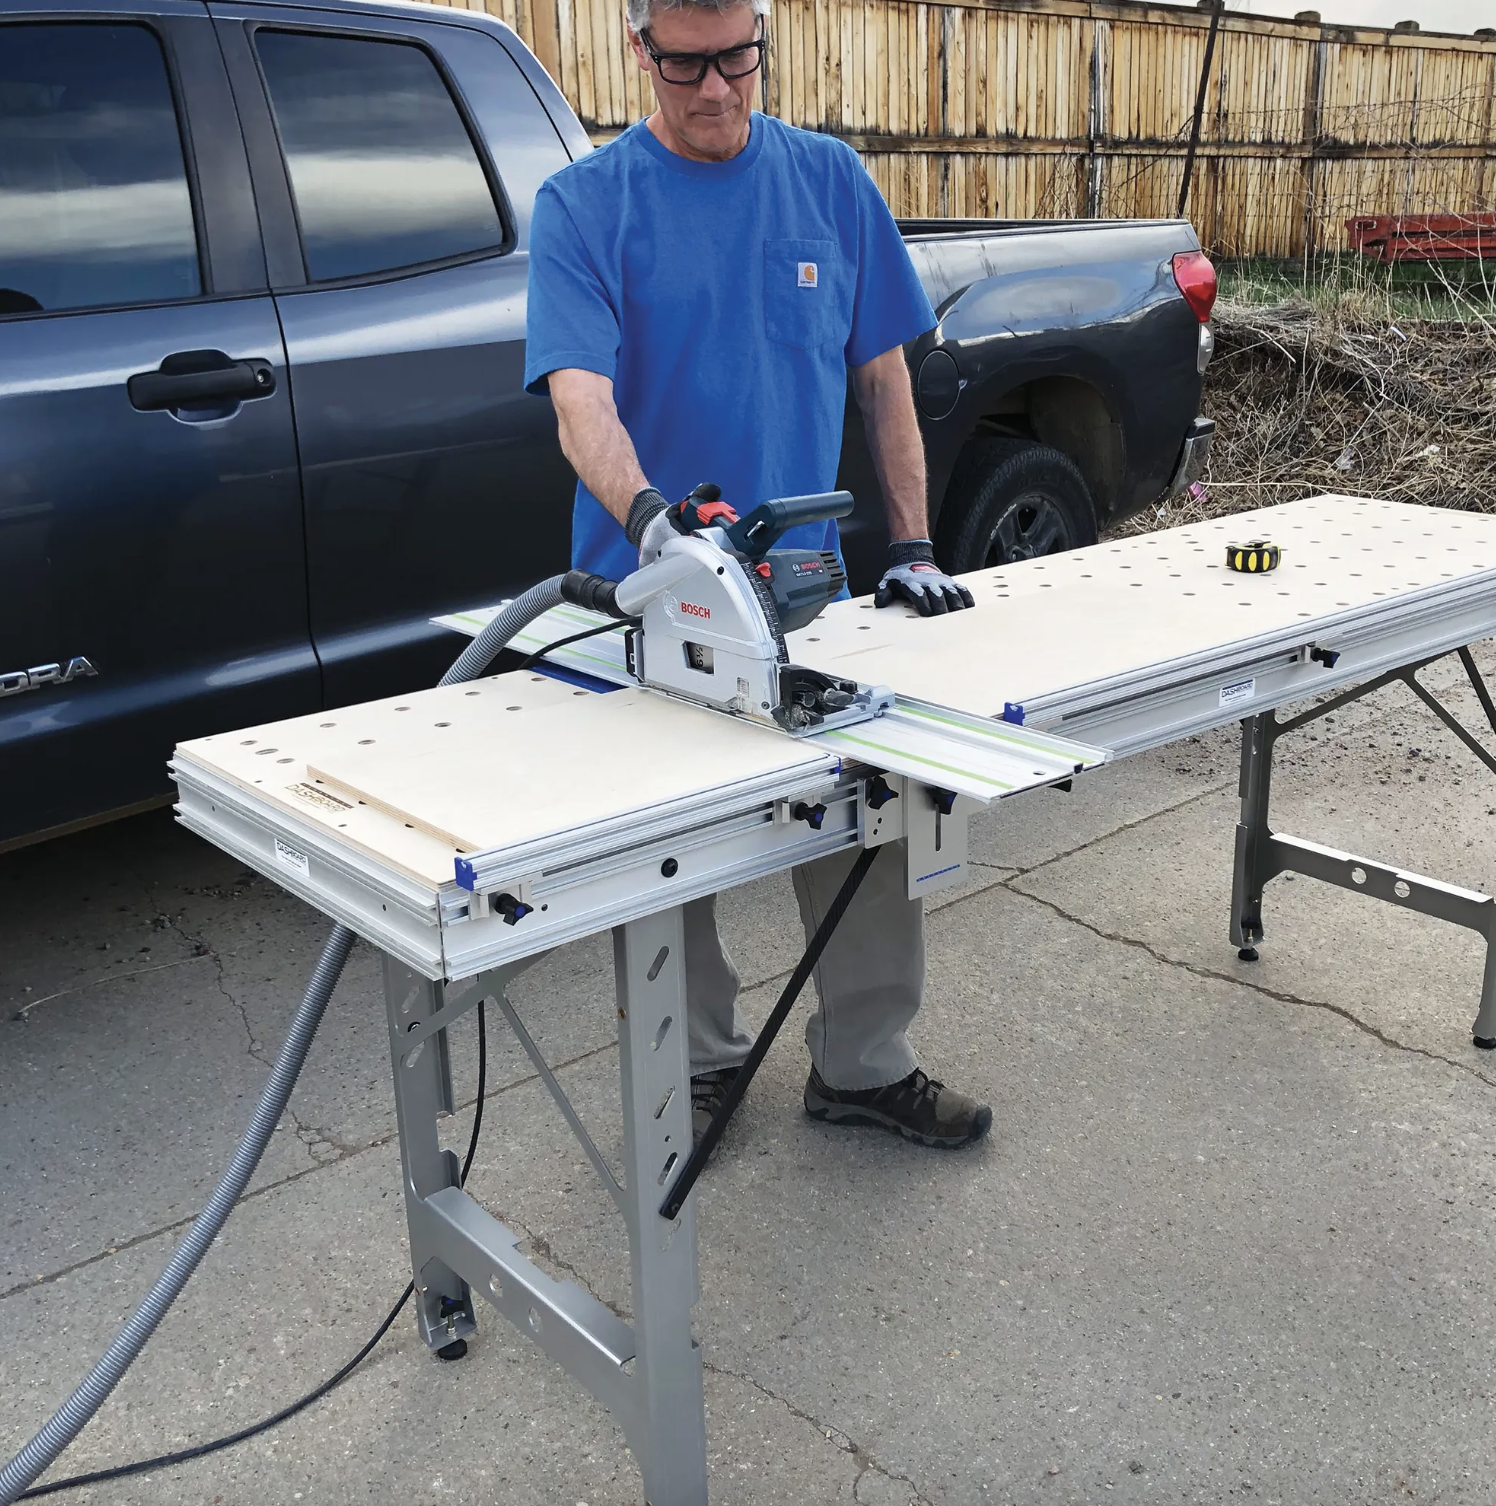
Scribing transfers the wall's true contour onto a cabinet edge so it fits tight against uneven walls and floors, and a portable bench that levels on the spot gives you the stable reference needed to mark and cut that line accurately. Level the piece, scribe to the widest gap, trim with the work fully supported, then test and refine until the fit sits flush.
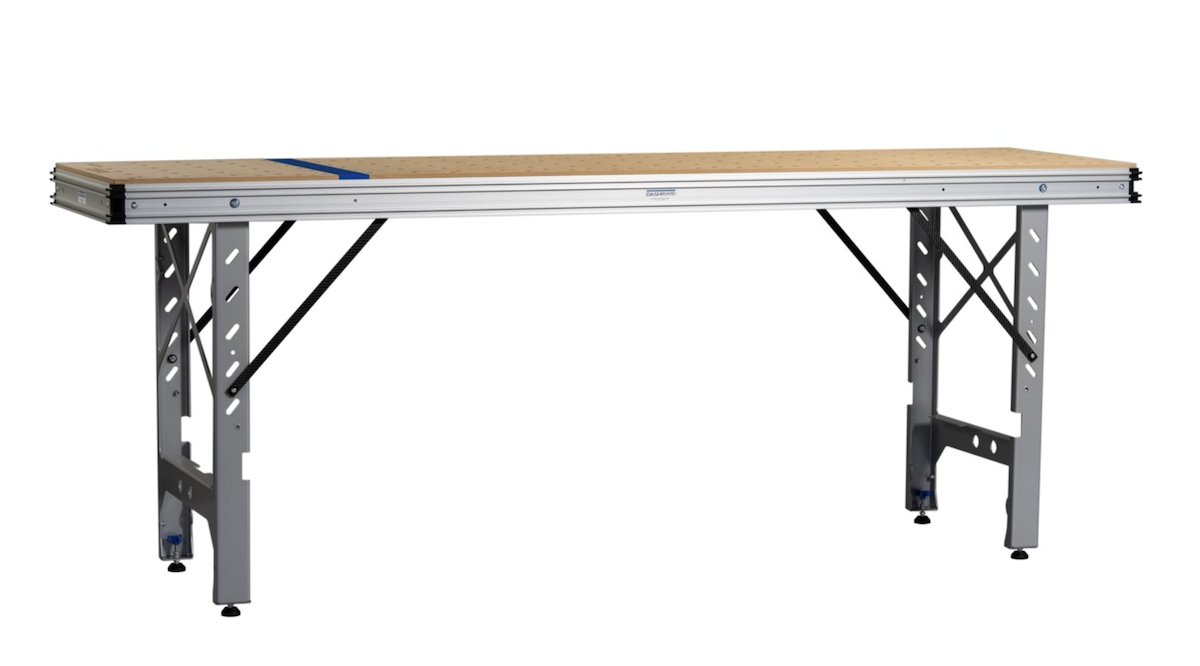
Solid workholding is the whole game with edge banding, and a rigid portable bench with the right clamping accessories lets you present a panel flat or vertical for clean, even application. Lock the panel down, apply the banding steadily, then trim flush once the bond sets for crisp, consistent edges every time.
