Your Cart
Product Title
$0
$0
-
+
Your cart is empty.
Add Discount Code?
Add Cart Note?


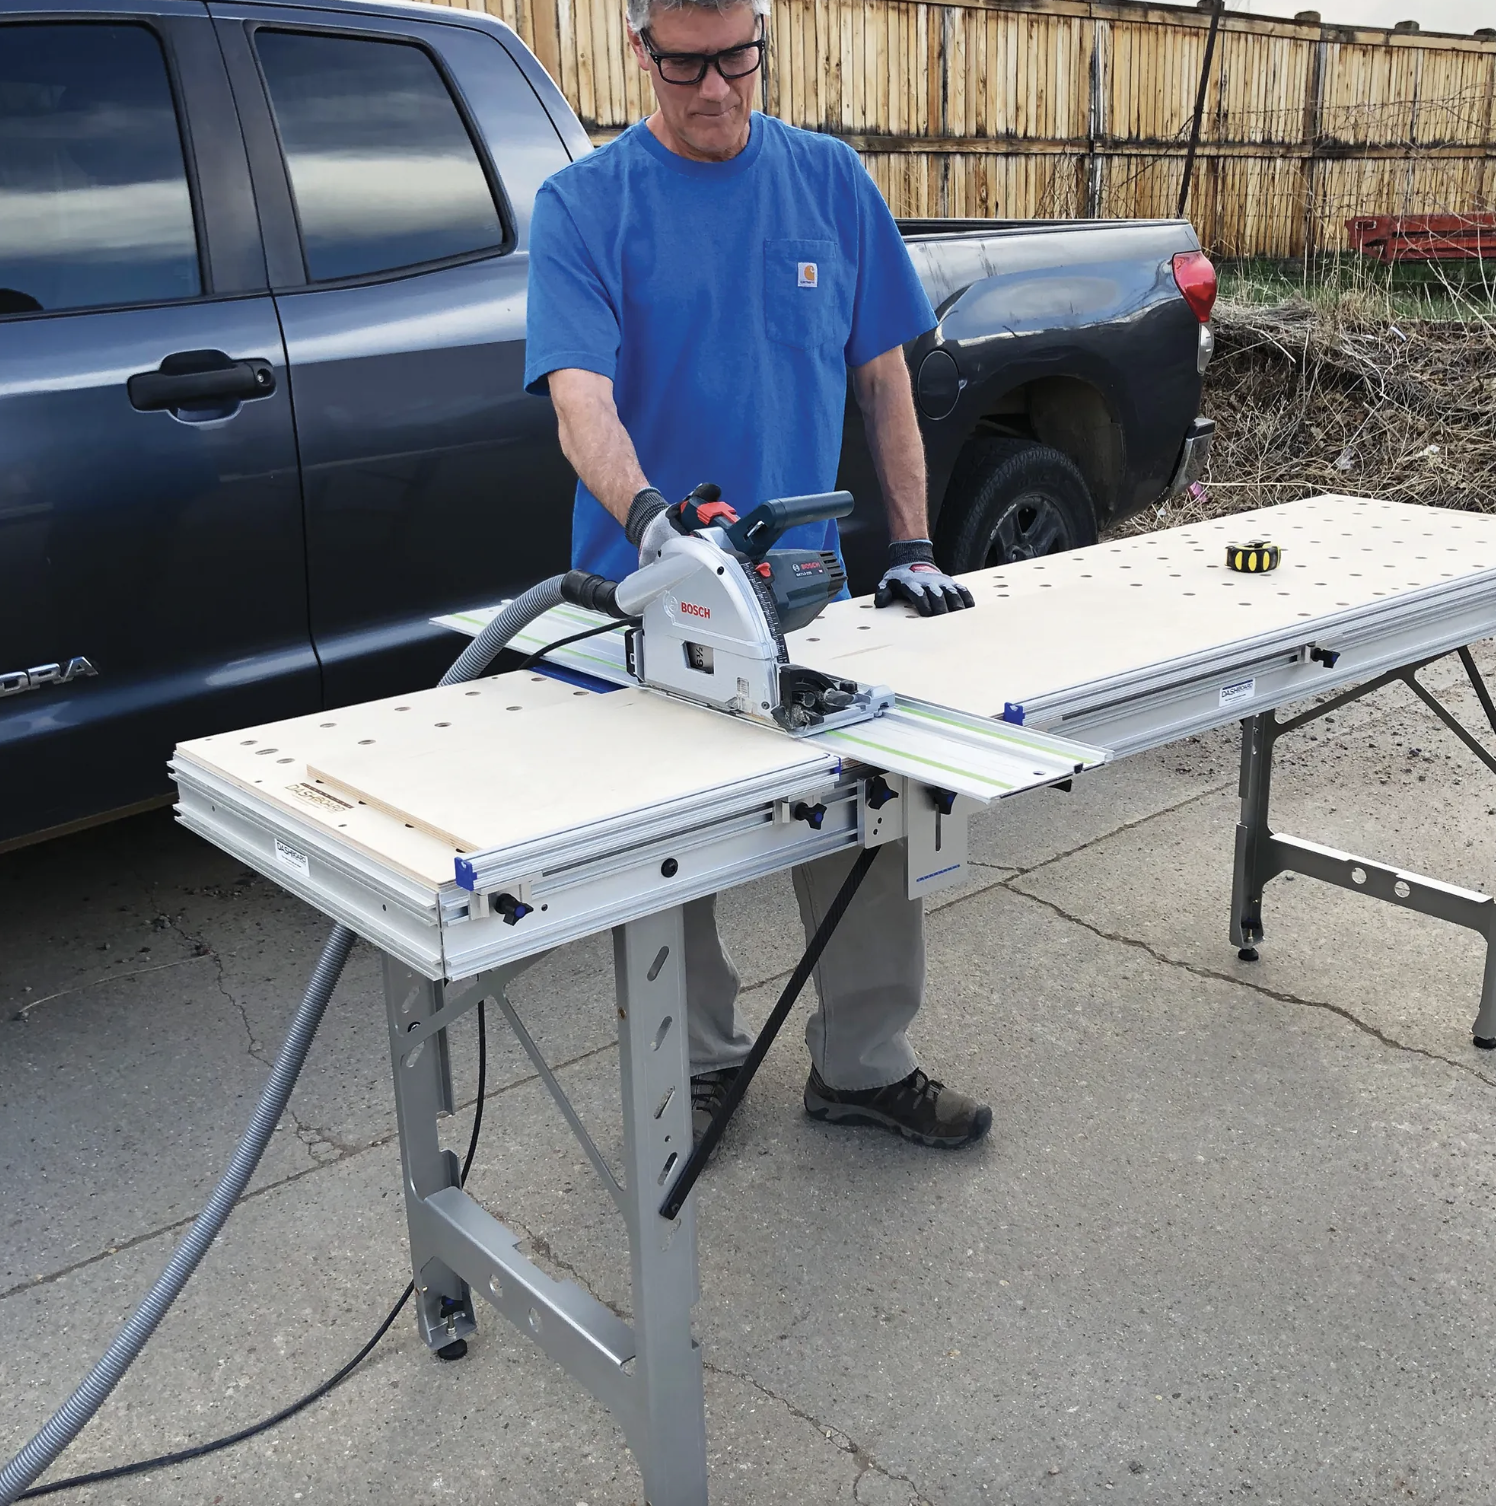
Walls are never as straight as the cabinets you build for them. Anyone who has set a run of uppers against a plaster wall or fit a tall pantry into an out-of-square corner knows the gap that shows up the moment the piece touches the wall. Scribing is how you close that gap, and doing it well on-site comes down to having a stable surface to work on and a clean way to follow the line. Below is a practical bench-based method for transferring a wall's profile onto a cabinet, cutting to the scribe line, and dialing in the fit, all from a portable workbench you can carry into the room.
Scribing is the process of marking and trimming a face-framed cabinet, end panel, or filler strip so its edge matches the irregular surface it meets. Instead of forcing a straight factory edge against a wavy wall and filling the gap with caulk, you transfer the wall's actual shape onto the workpiece and trim to it. The result is a joint that looks intentional and tight.
It matters most on-site because that is where the irregularities live. A cabinet shop can build perfectly square boxes, but the room they land in has settled walls, bowed drywall, and floors that slope. Scribing is the step that reconciles a square cabinet with an unsquare space, and it almost always happens at the job, not back at the shop.
For years the default job-site setup was a pair of sawhorses with a sheet of plywood thrown across them. It works until you need precision, and scribing is all precision. A flexing, wobbling surface makes it hard to hold a steady line with a jig saw, hand plane, sander, or file and trim it cleanly.
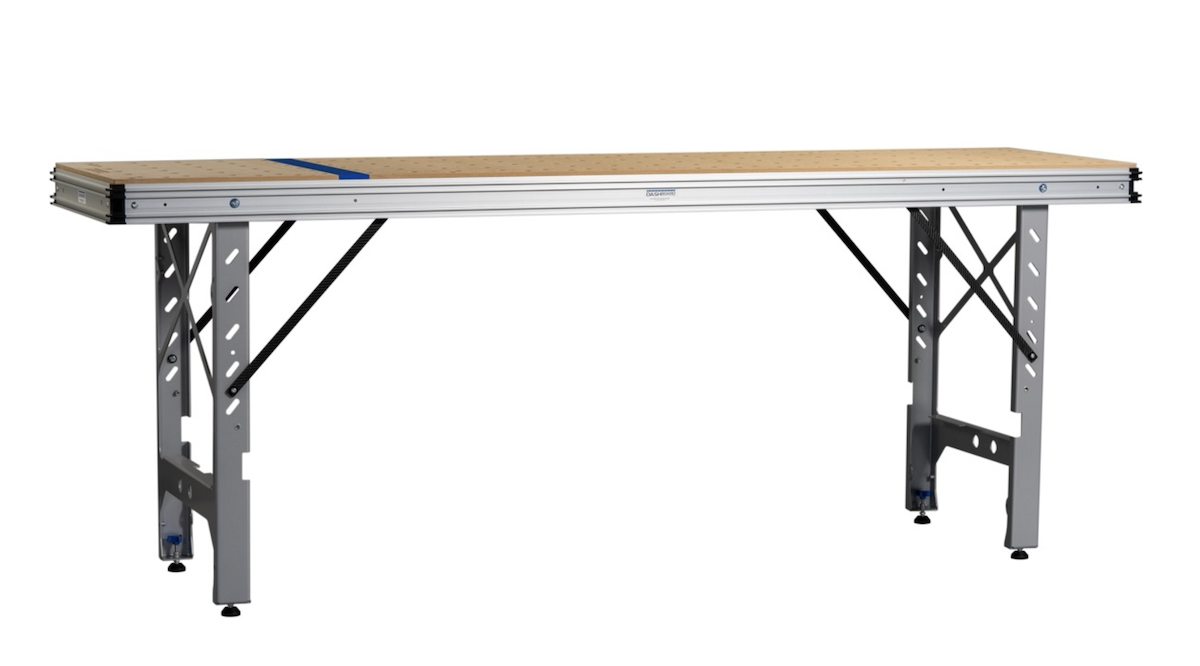
A rigid portable workbench solves this. A bench like the Dash-Board sets up in about a minute and gives you a flat, stable surface right in the room where the cabinets are going. Just as important on-site, its legs adjust to level the bench on uneven floors without tools, so your work surface stays flat even when the subfloor is not. That matters because a level reference is what lets you mark and cut a consistent scribe.
Here is a reliable sequence using a portable bench:
The cut-to-line work is where a good bench setup pays off. Depending on the material and the amount you are removing, you might use a track saw with a slight bevel, a jigsaw followed by a sander, a belt sander, or a block plane for fine adjustment. Whatever the tool, the workpiece has to stay locked in place and well supported.
This is exactly the job adjustable-height supports were made for. On the Dash-Board system, among other uses, Track Stars were originally created to support offcuts and improve access to parts when cutting and shaping scribes. They support a workpiece off the edge of a bench and simultaneously give you access to the edge you are working, so a long stile or filler does not droop or twist while you trim to the line. The 20mm holes and stops on the bench help register the piece so it does not creep as you work.
The real advantage of the portable bench method is that you do the marking, the cutting, and the test fitting in the same place, in the same trip into the room. You are not running pieces back to a truck or a garage between every adjustment. Set the bench up where the cabinets are, level it to the floor, and you have a precise station for the entire scribe-and-fit process.
For installers who move from house to house, that consolidation is what saves the day. A rigid, level surface plus supports built for scribe work turns the fussiest part of cabinet installation into a controlled, repeatable routine instead of a fight with the wall.
Scribing and fitting cabinets on-site is less about any single trick and more about a stable process: level the piece, transfer the wall's true shape, trim to the line with the work fully supported, and test the fit until it sits tight. A portable workbench that sets up fast and levels on uneven floors gives you the foundation that the process depends on.
If you install cabinets for a living, the next step is to build a consistent kit around this method. A bench you can level in any room, supports that hold a workpiece steady right at the cut, and a small set of trimming tools you trust will let you handle the worst walls a job throws at you. Start with the surface, get it level, and the rest of the fit follows.
Scribing a cabinet means transferring the exact contour of the wall or floor it meets onto the cabinet's edge, then trimming to that line so the piece fits tight against an uneven surface. It replaces forcing a straight edge against a wavy wall and caulking the gap, giving a cleaner, custom fit.
A portable workbench gives you a flat, rigid, level surface to mark and trim a scribe, which sawhorses and a loose sheet of plywood cannot match. Precision scribing depends on the work not shifting. A bench that levels on uneven job-site floors keeps your reference true, so the line you mark is the line you cut.
It depends on the material and how much you are removing. Common choices include a track saw with a slight back-bevel, a jigsaw followed by a sander, a belt sander, or a block plane for fine work. In every case the workpiece must stay supported and locked down so the edge comes out even.
A back-bevel removes a little extra material behind the face of the edge, so the only front edge contacts the wall. This leaves you with less material to remove when refining the scribe, producing a cleaner line against an irregular wall.
Yes, and that is the point of the portable bench method. With a stable, level bench set up in the room, you can mark the scribe, trim to the line, and test the fit on-site without hauling pieces back and forth. Adjustable-height supports made for scribe work keep the piece steady while you trim.
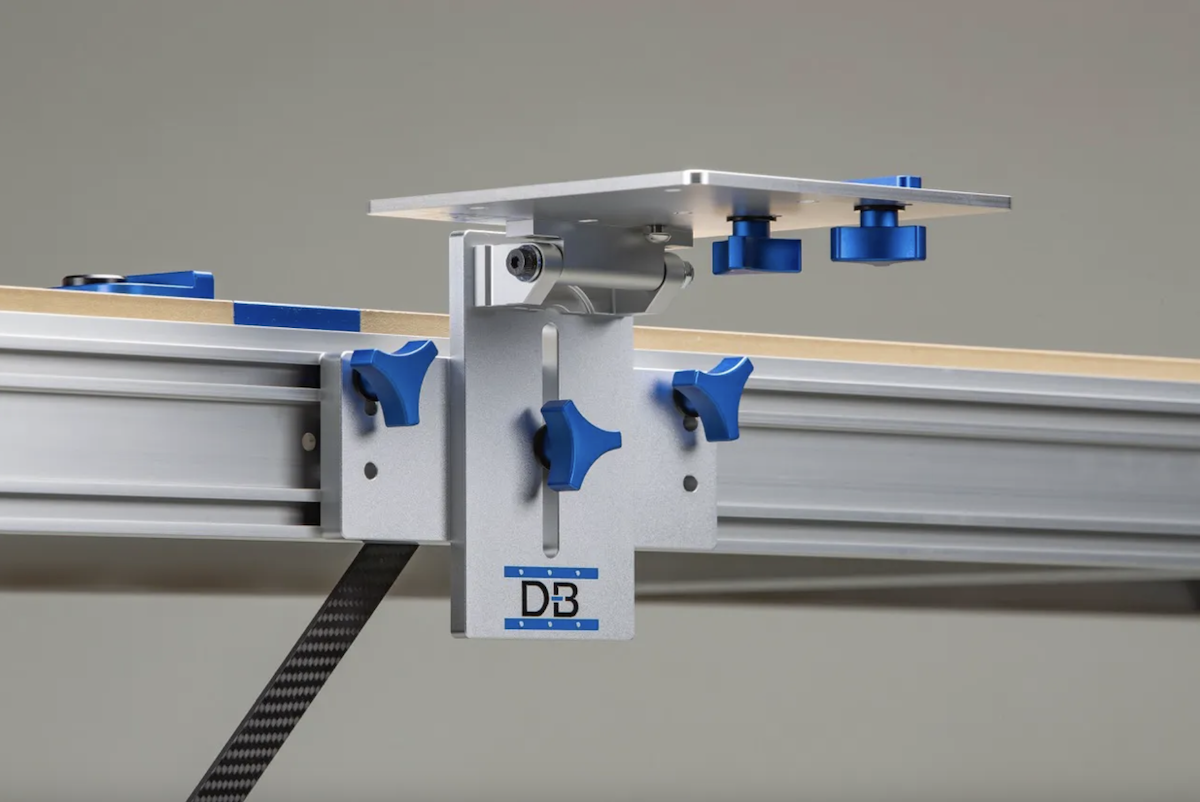
Guide rail brackets hinge your track saw rail to a fixed, repeatable 90-degree position on the bench, so you calibrate square once instead of re-checking it before every cut. Rigid, machined construction with no play is what lets the rail hold that reference through height changes and daily use, turning setup into a one-time task rather than a recurring chore.
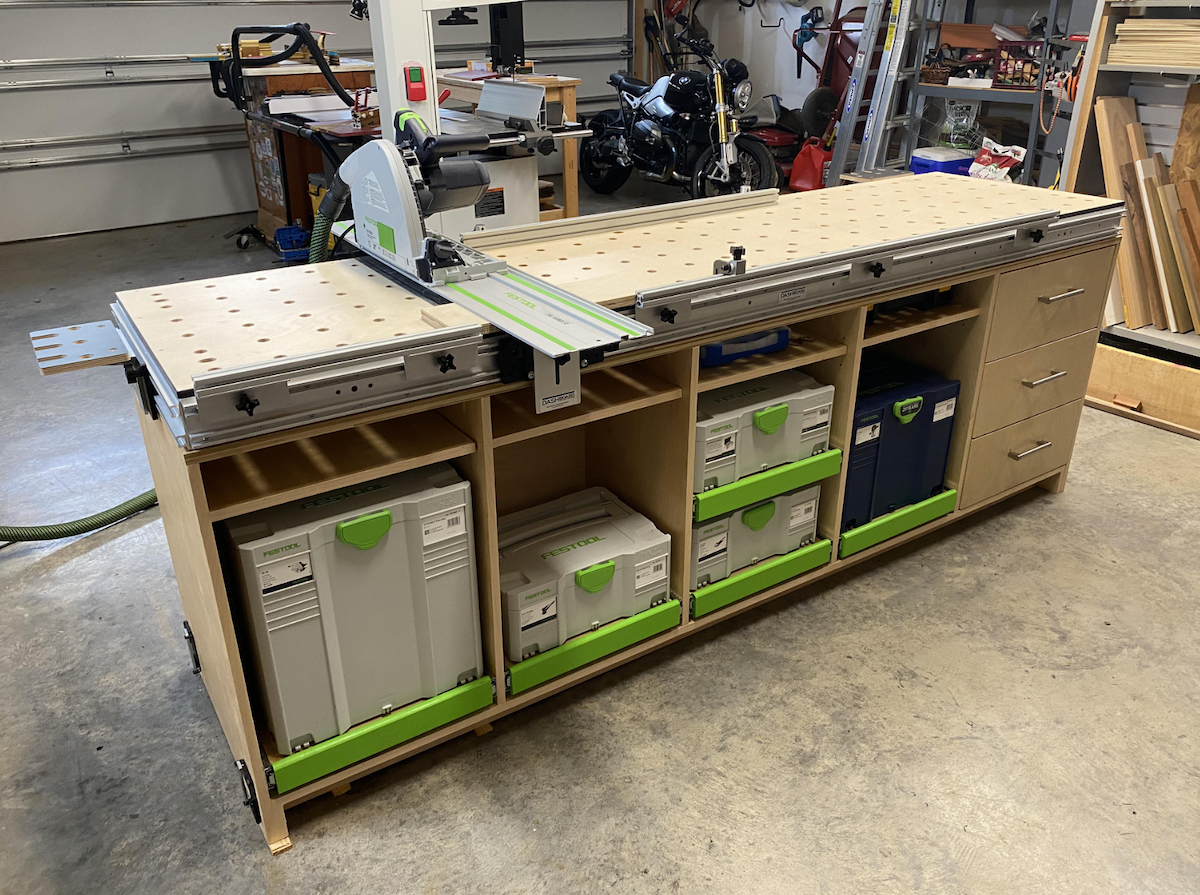
An MFT is a Multi-Function Table built around a perforated 20mm hole grid and guided cutting, letting you crosscut, clamp, sand, rout, and assemble all on one portable surface. It's a strong fit if you do precision crosscuts and sheet goods work, though drift and rigidity issues in some designs are why many owners upgrade to sturdier aftermarket benches and brackets.
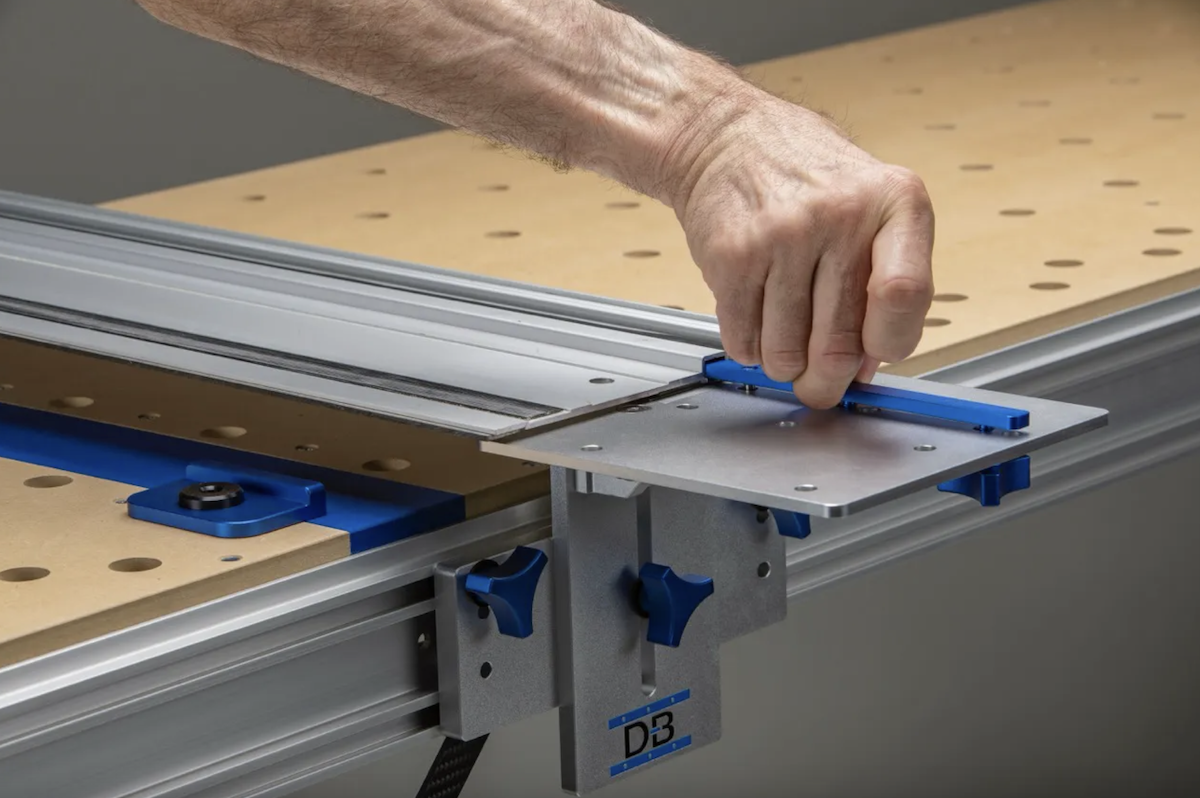
Track saw rail slip almost always comes down to dirty or worn grip strips, dusty or slick surfaces, or not enough downward pressure, and cleaning the strips plus clearing the workpiece solves most cases instantly. For repeatable, no-slip accuracy, clamps work but a fixed bench bracket system locks the rail in place for good.
Solid workholding is the whole game with edge banding, and a rigid portable bench with the right clamping accessories lets you present a panel flat or vertical for clean, even application. Lock the panel down, apply the banding steadily, then trim flush once the bond sets for crisp, consistent edges every time.

Straight edge cutting tools like track saws, guide rails, and guide rail brackets give woodworkers a fixed reference so cuts stay true instead of drifting off line. A rigid bench, squared rail, and the right accessories (fences, flip stops, parallel guides) turn one accurate cut into consistent, repeatable results every time.

Small angular errors don't cancel out — they stack. On a cabinet with dozens of joints, crosscuts that are off by even a fraction of a degree show up at assembly when fixing them means going back to the saw. This post covers how mechanical squaring with a track saw workbench eliminates the variable that causes the problem.
