Your Cart
Product Title
$0
$0
-
+
Your cart is empty.
Add Discount Code?
Add Cart Note?


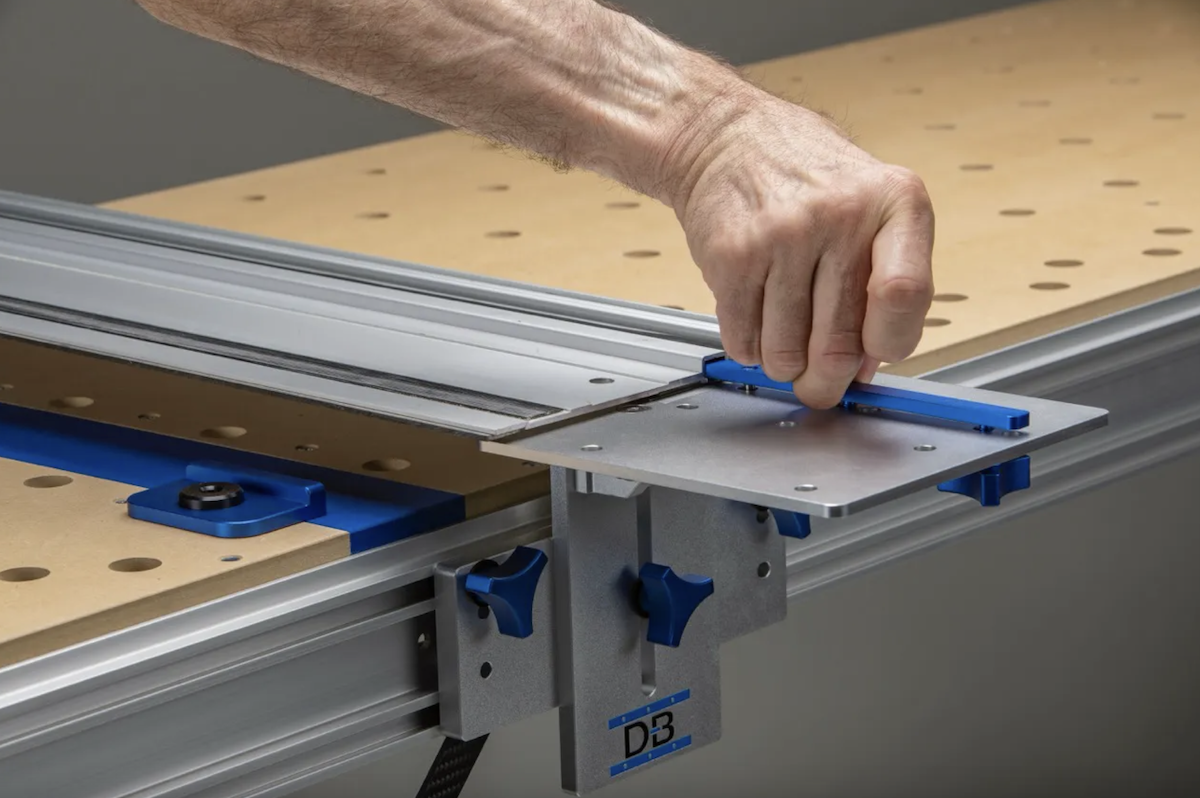
Few things kill a clean cut faster than a guide rail that creeps mid-pass. You line everything up, start the saw, and somewhere along the cut the rail shifts a hair, leaving you with a line that drifts off your mark. It is one of the most common track saw frustrations, and the good news is that it almost always traces back to a handful of fixable causes.
Let's get into why your rail slips, what to check first, and the range of fixes from a quick wipe-down to a setup that locks the rail in place for good.
Most track saw rails rely on two soft rubber strips along the underside to grip the workpiece. When everything is clean and the surface cooperates, those strips hold the rail in place through the cut. Slipping happens when something interrupts that grip. The usual culprits, in rough order of how often they show up:
The grip strips are dirty or worn. Sawdust, pitch, and finish residue build up on the rubber and turn a grippy strip into a slick one. This is the number one cause by a wide margin.
There is dust on the workpiece. A layer of fine dust under the rail acts like tiny ball bearings, letting the rail glide right where you need it to stay.
You are not applying enough downward pressure. The grip strips need weight on them to work. If you let the rail float, it moves.
The rail is bridging an uneven surface. If the workpiece is bowed or the rail spans a gap, only part of the strip touches down, cutting your effective grip.
Work through these fixes in order. The first few cost nothing and solve most cases:
There are three levels of solution here, and which one you need depends on how often you cut and how much accuracy you demand.
Cleaning is the baseline. Keep the strips and the surface clean and you will solve the majority of casual slipping. This is maintenance, not a setup change, and you should do it regardless of anything else.
Clamping is the traditional fix. A pair of track clamps secures the rail to the workpiece or bench, and it works. The trade-off is time: you clamp and unclamp for every cut, and the clamps can get in the way of the saw on shorter pieces.
Locking the rail to the bench is the permanent fix. Instead of relying on grip or clamps, you mechanically attach the rail to your work surface so it returns to the same square position every time and never slips. This is where a dedicated bench system pulls ahead, because it removes the slip problem from the equation rather than fighting it on every cut.
If you find yourself constantly cleaning strips or fussing with clamps, the underlying issue is that grip alone is an unreliable way to hold a rail. A purpose-built attachment solves it.
On the Dash-Board system, the Guide Rail Bracket Set mounts your guide rail to the bench on a pivoting hinge with a secure, slop-free attachment. The rail attaches tightly with no play, holds a fixed 90-degree reference, and does not depend on rubber grip or clamps to stay put. For setups where the rail is positioned with dogs, SpiRail Dogs use a spiral-groove design that grips firmly as you install them and anchor the rail solidly to the bench or our Guide Rail Brackets or Track Stars.
The point is not the specific product so much as the principle: a mechanical, repeatable attachment removes the variables that cause slipping. You stop chasing clean strips and start trusting the cut.
A few simple habits keep the problem from coming back:
A track saw rail that slips is almost always telling you one of a few things: the grip strips are dirty or worn, the surface is too slick or dusty, or there is not enough holding it down. Start with the free fixes, cleaning the strips and the surface and pressing down firmly, and you will solve most cases on the spot.
If slipping keeps interrupting your work, stop fighting it cut by cut. Move up to clamps for slick materials, or better yet, a bench setup that locks the rail in a fixed, repeatable position. The less you rely on rubber grip alone, the more consistent and stress-free your cuts become. Figure out how often you cut and how much precision the work demands, then match your solution to that, from a clean cloth to a full bracket system.
The most common reason is that the rubber grip strips on the underside of the rail are dirty, worn, or clogged with dust, so they no longer bite into the workpiece. Slick surfaces like melamine, dust on the material, and too little downward pressure also cause movement. Cleaning the strips and the surface fixes most cases.
Clean the rubber grip strips with a mild solvent to remove dust and residue, clear any dust off the workpiece, and press down firmly through the whole cut. On glossy or slick materials, add track clamps at both ends. For repeatable, no-slip results, mount the rail to your bench with a fixed bracket or dog system.
Not always. On clean, grippy surfaces with good grip strips, the rail often holds without clamps. But on slick materials like laminate and melamine, or for cuts where accuracy is too critical to risk, clamping the rail at both ends is a reliable method. A fixed bench attachment removes the need to clamp for every cut.
Glossy surfaces like melamine and laminate are so slick that the rail's rubber grip strips have almost nothing to bite into. Even clean strips can slide. For these materials, clamp the rail to the workpiece or bench, or use a system that mechanically attaches the rail rather than relying on grip alone.
A quick wipe at the start of each work session is good practice, and a more thorough cleaning whenever you notice any slipping. Sawdust, pitch, and finish residue build up fast, so regular cleaning is the simplest way to keep the strips gripping and prevent slip before it starts.
Replace the grip strips when the rubber is glazed, hardened, peeling, or no longer grips even after a thorough cleaning. Worn strips are a frequent and easily overlooked cause of slipping, and fresh strips restore the rail's hold for far less than the cost of a new rail.
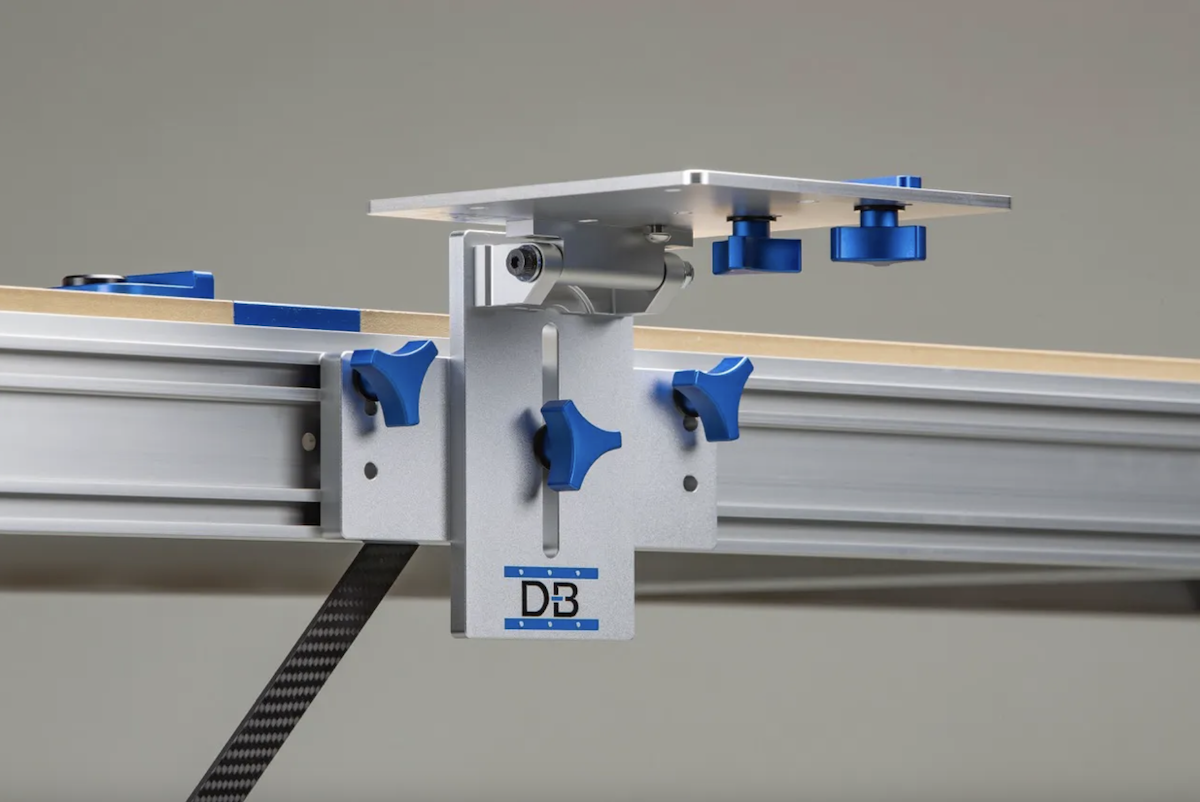
Guide rail brackets hinge your track saw rail to a fixed, repeatable 90-degree position on the bench, so you calibrate square once instead of re-checking it before every cut. Rigid, machined construction with no play is what lets the rail hold that reference through height changes and daily use, turning setup into a one-time task rather than a recurring chore.
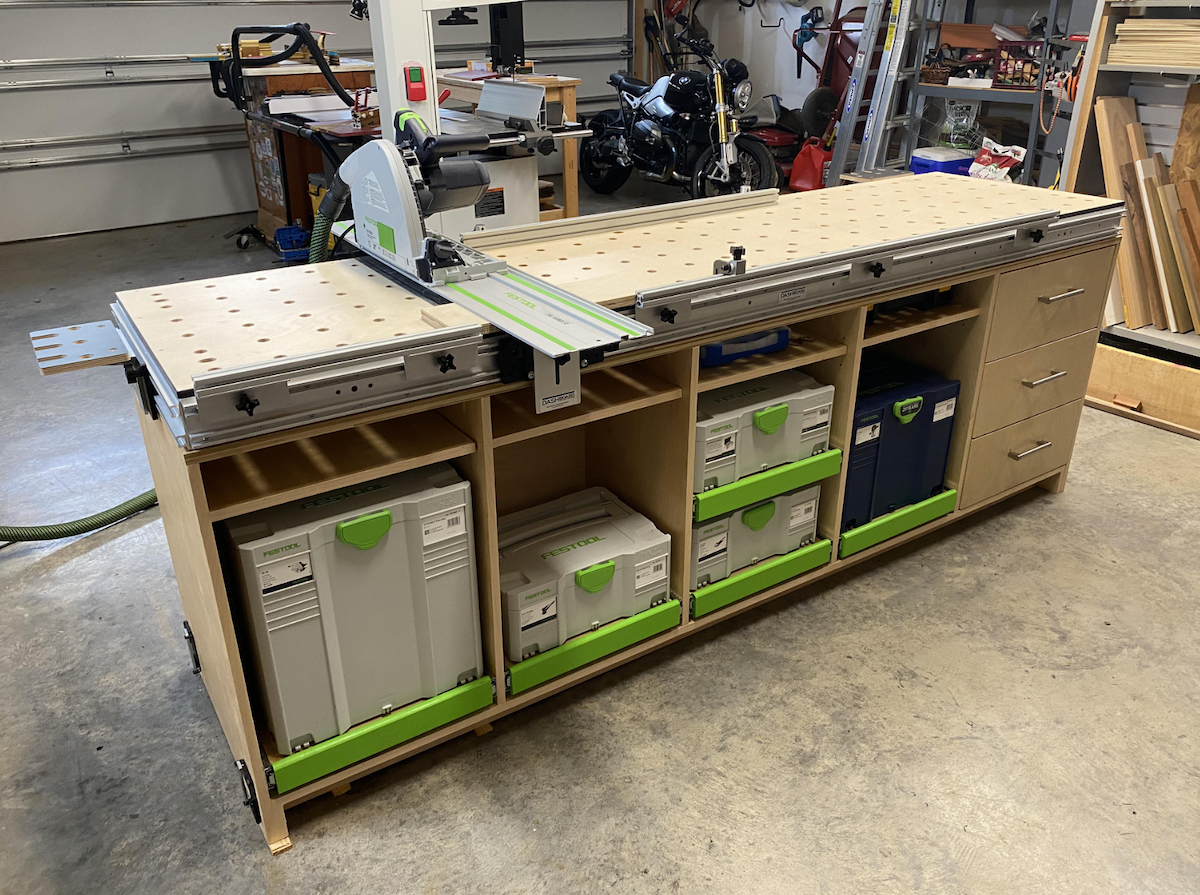
An MFT is a Multi-Function Table built around a perforated 20mm hole grid and guided cutting, letting you crosscut, clamp, sand, rout, and assemble all on one portable surface. It's a strong fit if you do precision crosscuts and sheet goods work, though drift and rigidity issues in some designs are why many owners upgrade to sturdier aftermarket benches and brackets.
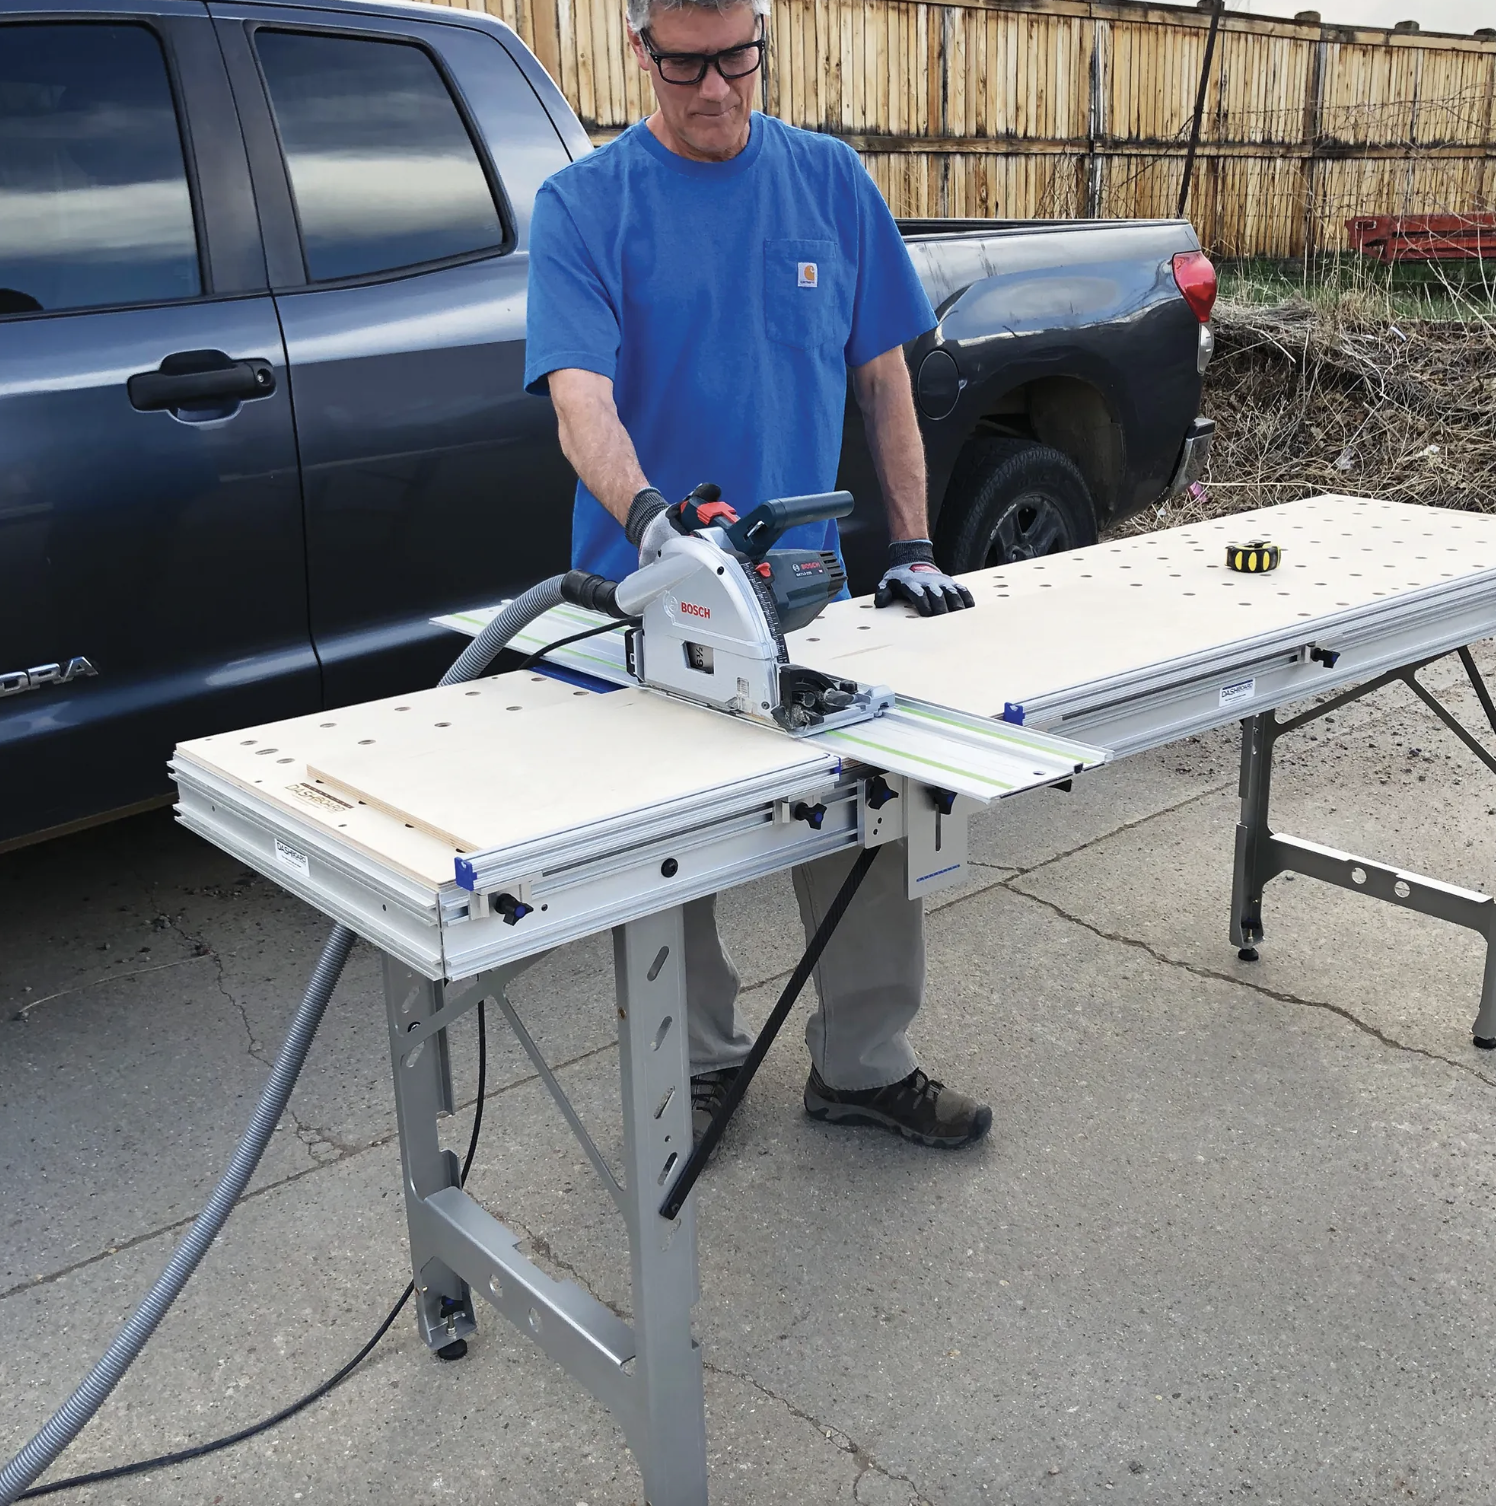
Scribing transfers the wall's true contour onto a cabinet edge so it fits tight against uneven walls and floors, and a portable bench that levels on the spot gives you the stable reference needed to mark and cut that line accurately. Level the piece, scribe to the widest gap, trim with the work fully supported, then test and refine until the fit sits flush.
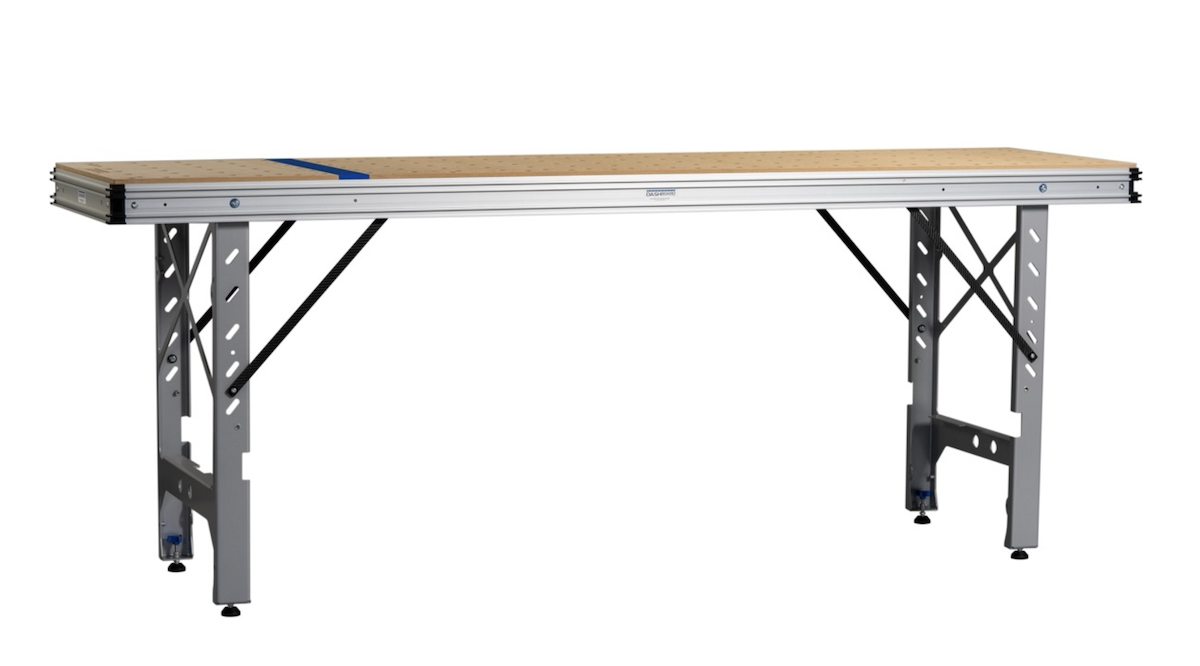
Solid workholding is the whole game with edge banding, and a rigid portable bench with the right clamping accessories lets you present a panel flat or vertical for clean, even application. Lock the panel down, apply the banding steadily, then trim flush once the bond sets for crisp, consistent edges every time.

Straight edge cutting tools like track saws, guide rails, and guide rail brackets give woodworkers a fixed reference so cuts stay true instead of drifting off line. A rigid bench, squared rail, and the right accessories (fences, flip stops, parallel guides) turn one accurate cut into consistent, repeatable results every time.

Small angular errors don't cancel out — they stack. On a cabinet with dozens of joints, crosscuts that are off by even a fraction of a degree show up at assembly when fixing them means going back to the saw. This post covers how mechanical squaring with a track saw workbench eliminates the variable that causes the problem.
