Your Cart
Product Title
$0
$0
-
+
Your cart is empty.
Add Discount Code?
Add Cart Note?


Anyone who has tried to break down a full sheet of plywood with a circular saw and a tape measure knows the frustration of a cut that wanders off line by the time it reaches the far end. The difference between rough work and clean, repeatable results almost always comes down to the straight edge cutting tools behind the cut.
In this guide you will learn what professional woodworkers, cabinet makers, and finish carpenters actually reach for when they need dead-straight cuts, how those tools work together, and how to choose a setup that fits your shop and your budget.
Straight edge cutting tools are any tool or accessory that gives a saw a fixed, true reference to follow. Instead of relying on a freehand line and a steady arm, you let the tool hold the line for you. The saw rides against or along that reference, and the result is a cut that stays straight from start to finish.
This category covers a wide range, from a simple aluminum straightedge clamped to a workpiece all the way up to a fully integrated track saw and workbench system. The common thread is control. The reference removes the human wobble that causes saw drift, tear-out, and parts that do not fit square.
The track saw has become the centerpiece of most modern straight-cutting setups. The saw rides on an extruded aluminum guide rail, and a splinter strip along the rail's edge marks the exact cut line. You line the rail up with your marks, set the saw on the track, and cut. Because the saw cannot wander off the rail, the cut stays true even across a full eight-foot sheet.
Guide rails are sold in many lengths so you can match the rail to the work, and most systems let you join rails end to end for longer cuts. Track saws also plunge, which makes them safe and clean for cutting in the middle of a panel.
Before track saws, the standard trick was a long aluminum or steel straightedge clamped across the workpiece, with a circular saw run along its edge. This still works and remains a low-cost entry point. The downside is setup time and the need to account for the offset between your saw's baseplate edge and the blade on every single cut. It gets the job done, but it is slower and less repeatable than a dedicated track system.
Guide rail brackets are where a lot of pros gain their biggest jump in speed and accuracy. A bracket set mounts your track saw's guide rail to a workbench on a pivoting hinge, so the rail swings down for a cut and lifts out of the way when you are done. The key benefit is that once the rail is squared to the bench, it stays squared. You stop re-measuring and re-checking before every crosscut.
The Dash-Board Guide Rail Bracket Set is a good example of how far this idea has matured. It is a side-mounted, pivoting bracket set that attaches and detaches your rail without tools, allows a maximum cutting height of 2.9 inches (74mm), and works with major rail brands including Festool, Makita, DeWalt, Metabo, Bosch, Mafell, Powertec, and Milwaukee. It also serves as a direct replacement for the Festool MFT3 brackets, which is why so many switchers start there. The brackets mount not just to the Dash-Board bench but also to a Festool MFT3 or 1080, a Kreg ACS, T-slot extrusion tables with an 8mm slot, and shop-built wood-frame tables fitted with standard T-track.
A fence gives you a square reference edge to butt your workpiece against, and a flip stop lets you cut multiple parts to the exact same length without measuring each one. Slide the workpiece against the stop, cut, repeat. For batch work like cabinet parts or trim, this is the difference between fighting your tape all day and producing identical pieces in minutes.
Parallel guides are the answer for repeatable rip cuts. They are set in reference to the cut line, so placing a workpiece against the guides ensures a cut that's parallel to the saw's path, and you can rip several pieces to the same dimension with confidence. Some systems, like Dash-Board's, anchor the parallel guides into the bench's 20mm holes rather than the rail itself, which keeps the reference rock solid.
Here is the workflow most professionals follow to produce a true, repeatable cut on sheet goods:
A common and costly mistake is investing in a quality track saw and then using it on a flimsy, wobbly surface. The cut is only as straight as the foundation under it. If the table swims around while you work, you'll be frustrated, and your accuracy goes out the window.
This is why serious cutting systems treat the bench as part of the tool, not an afterthought. A rigid bench with dual clamp tracks along the sides and a grid of 20mm dog holes across the top gives every accessory a solid anchor point. The Dash-Board Workbench, for example, was built specifically to provide that stable foundation, with two clamp tracks for vertical work holding and a flat, dimensionally accurate top. The accessories mount to it without slop, which is what keeps cuts consistent over time.
When evaluating any straight-cutting tool, keep these points in mind:
Dead-straight cuts are not just a matter of having a steady hand. They come from giving your saw a true reference and a rigid foundation to work against. For most pros today, that means a track saw and guide rail at the core, supported by guide rail brackets, fences, flip stops, and parallel guides for speed and repeatability, all anchored to a workbench that stays put.
If you are starting out, a track saw with a quality guide rail is the single best first investment. From there, adding guide rail brackets and a stable bench is the upgrade that turns one good cut into a hundred identical ones. Look honestly at the work you do most, whether that is breaking down sheets, batching out parts, or both, and build your setup around that.
For most woodworkers, a track saw paired with a guide rail is the best tool for straight cuts. The saw rides on the rail and cannot drift, producing clean, accurate edges on everything from plywood sheets to solid lumber. For repeated crosscuts on a bench, adding guide rail brackets makes the process even faster and more consistent.
No. A clamped straightedge used with a circular saw will produce straight cuts and costs far less. A track saw simply makes the process faster, more accurate, cleaner, and more repeatable, with the added benefit of safe plunge cutting. If you cut sheet goods regularly, a track saw is well worth the investment.
It depends on the specific bracket set. The Dash-Board Guide Rail Bracket Set, for example, allows a maximum cutting height of 2.9 inches (74mm), which gives clearance for a wide range of stock thicknesses. Always check the spec for the bracket you are considering.
Many are. The Dash-Board Guide Rail Bracket Set is compatible with major guide rail brands including Festool, Makita, DeWalt, Metabo, Bosch, Mafell, Powertec, and Milwaukee, and it works as a direct replacement for the Festool MFT3 brackets. Compatibility varies by manufacturer, so confirm your rail brand before buying.
The most common culprits are a work surface that flexes or shifts, a guide rail that is not squared to your reference edge, and not accounting for blade offset when using a clamped straightedge. Start with a rigid, flat bench, square your rail once and keep it squared, and hold your workpiece firmly throughout the cut.
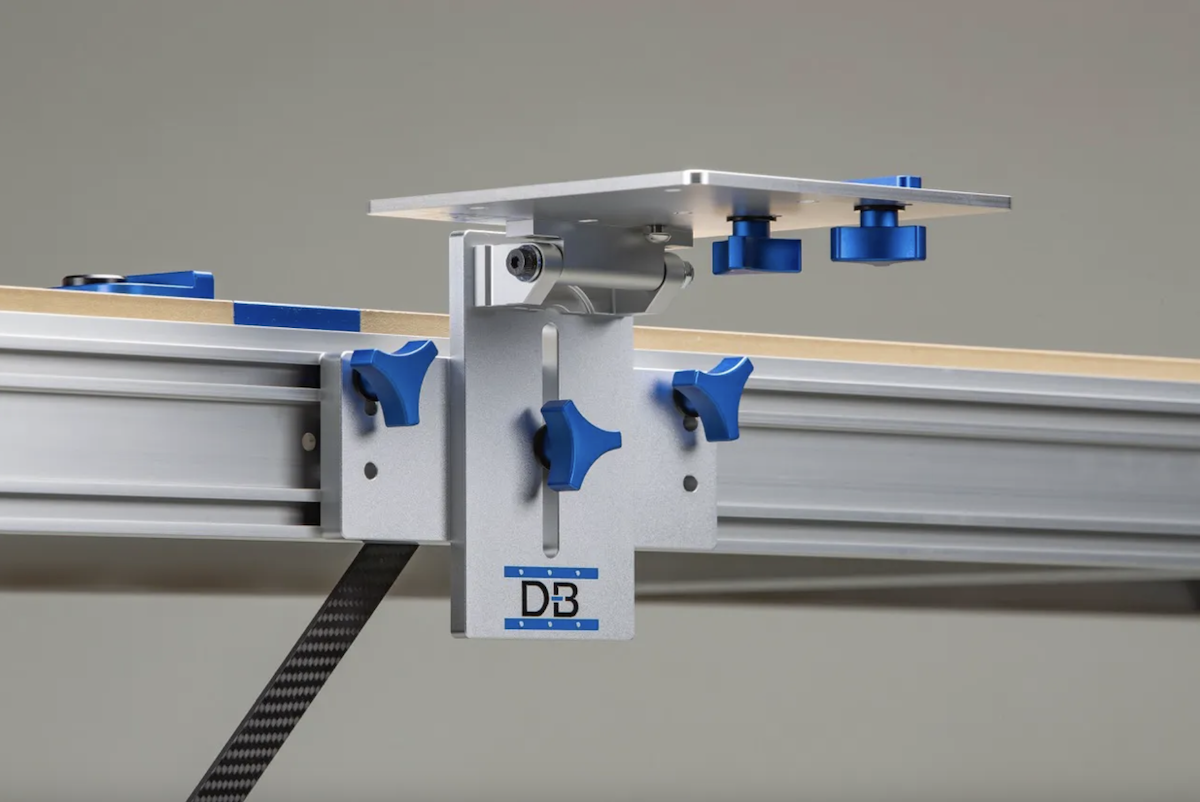
Guide rail brackets hinge your track saw rail to a fixed, repeatable 90-degree position on the bench, so you calibrate square once instead of re-checking it before every cut. Rigid, machined construction with no play is what lets the rail hold that reference through height changes and daily use, turning setup into a one-time task rather than a recurring chore.
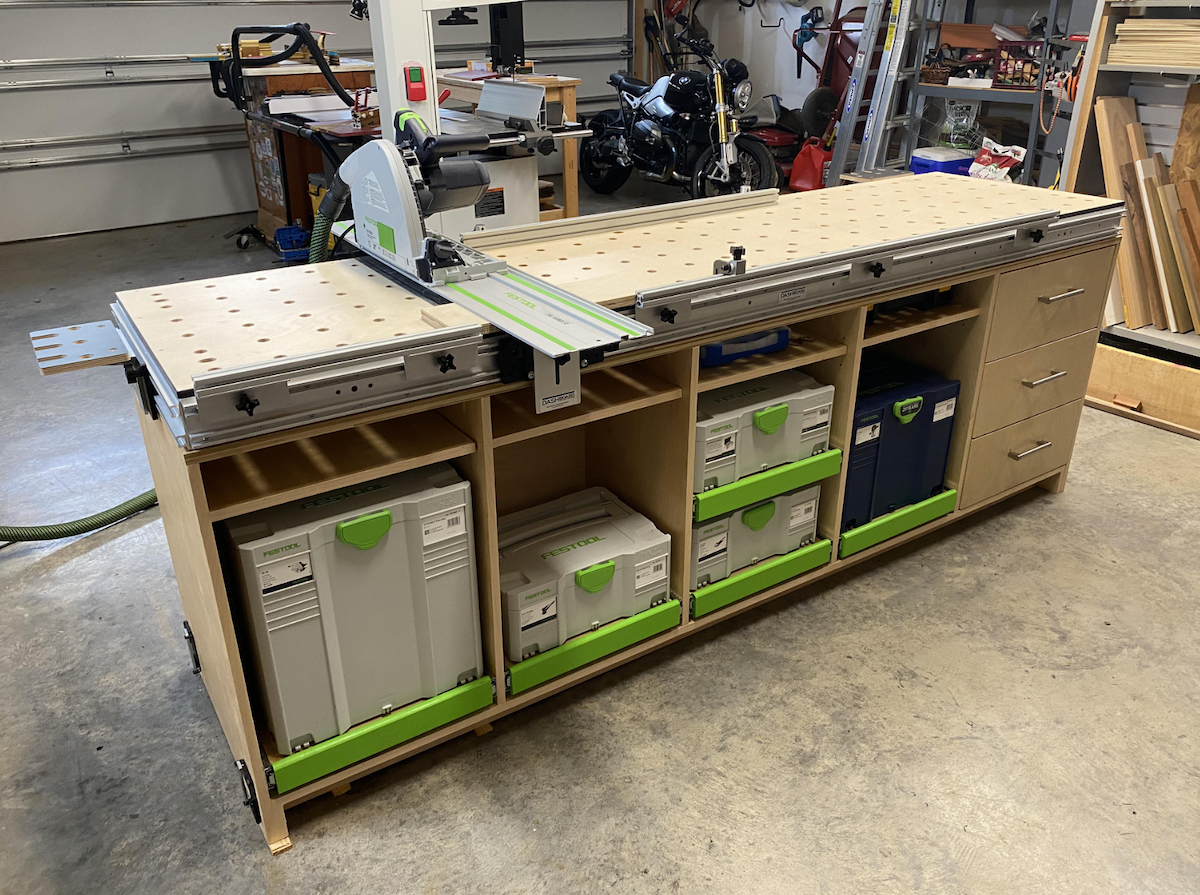
An MFT is a Multi-Function Table built around a perforated 20mm hole grid and guided cutting, letting you crosscut, clamp, sand, rout, and assemble all on one portable surface. It's a strong fit if you do precision crosscuts and sheet goods work, though drift and rigidity issues in some designs are why many owners upgrade to sturdier aftermarket benches and brackets.
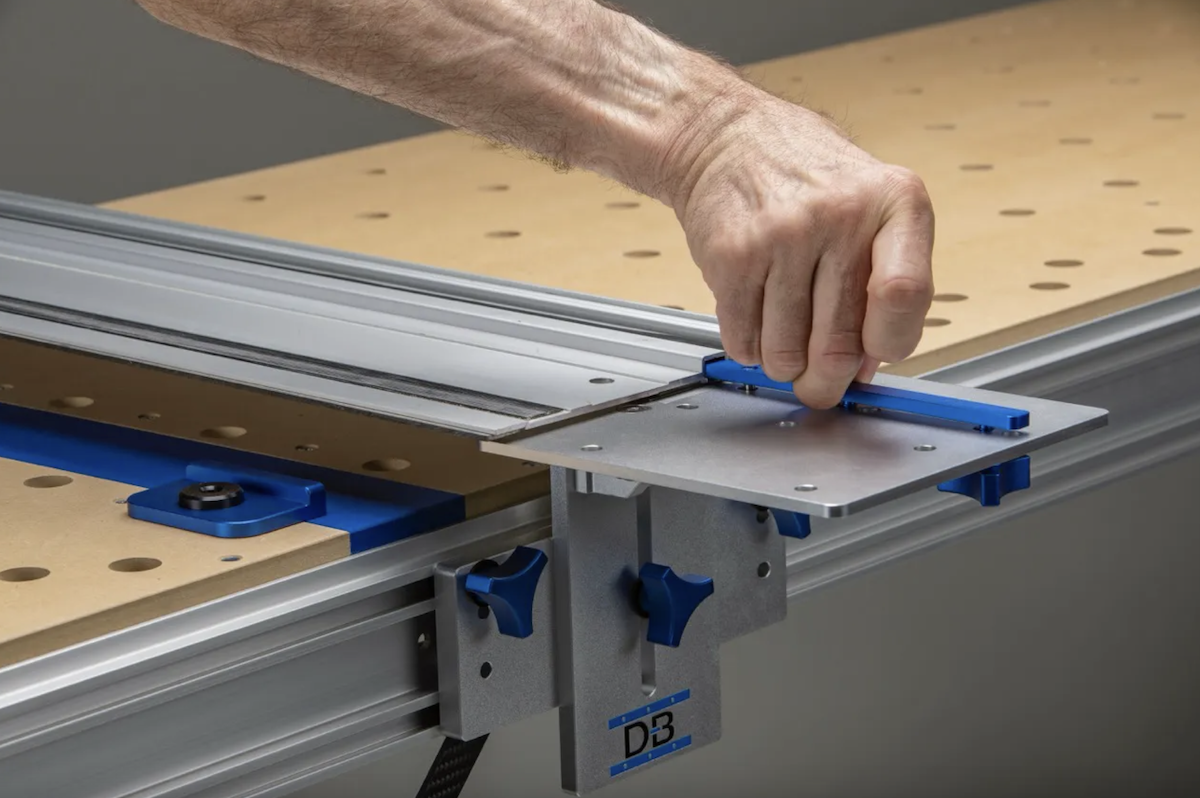
Track saw rail slip almost always comes down to dirty or worn grip strips, dusty or slick surfaces, or not enough downward pressure, and cleaning the strips plus clearing the workpiece solves most cases instantly. For repeatable, no-slip accuracy, clamps work but a fixed bench bracket system locks the rail in place for good.
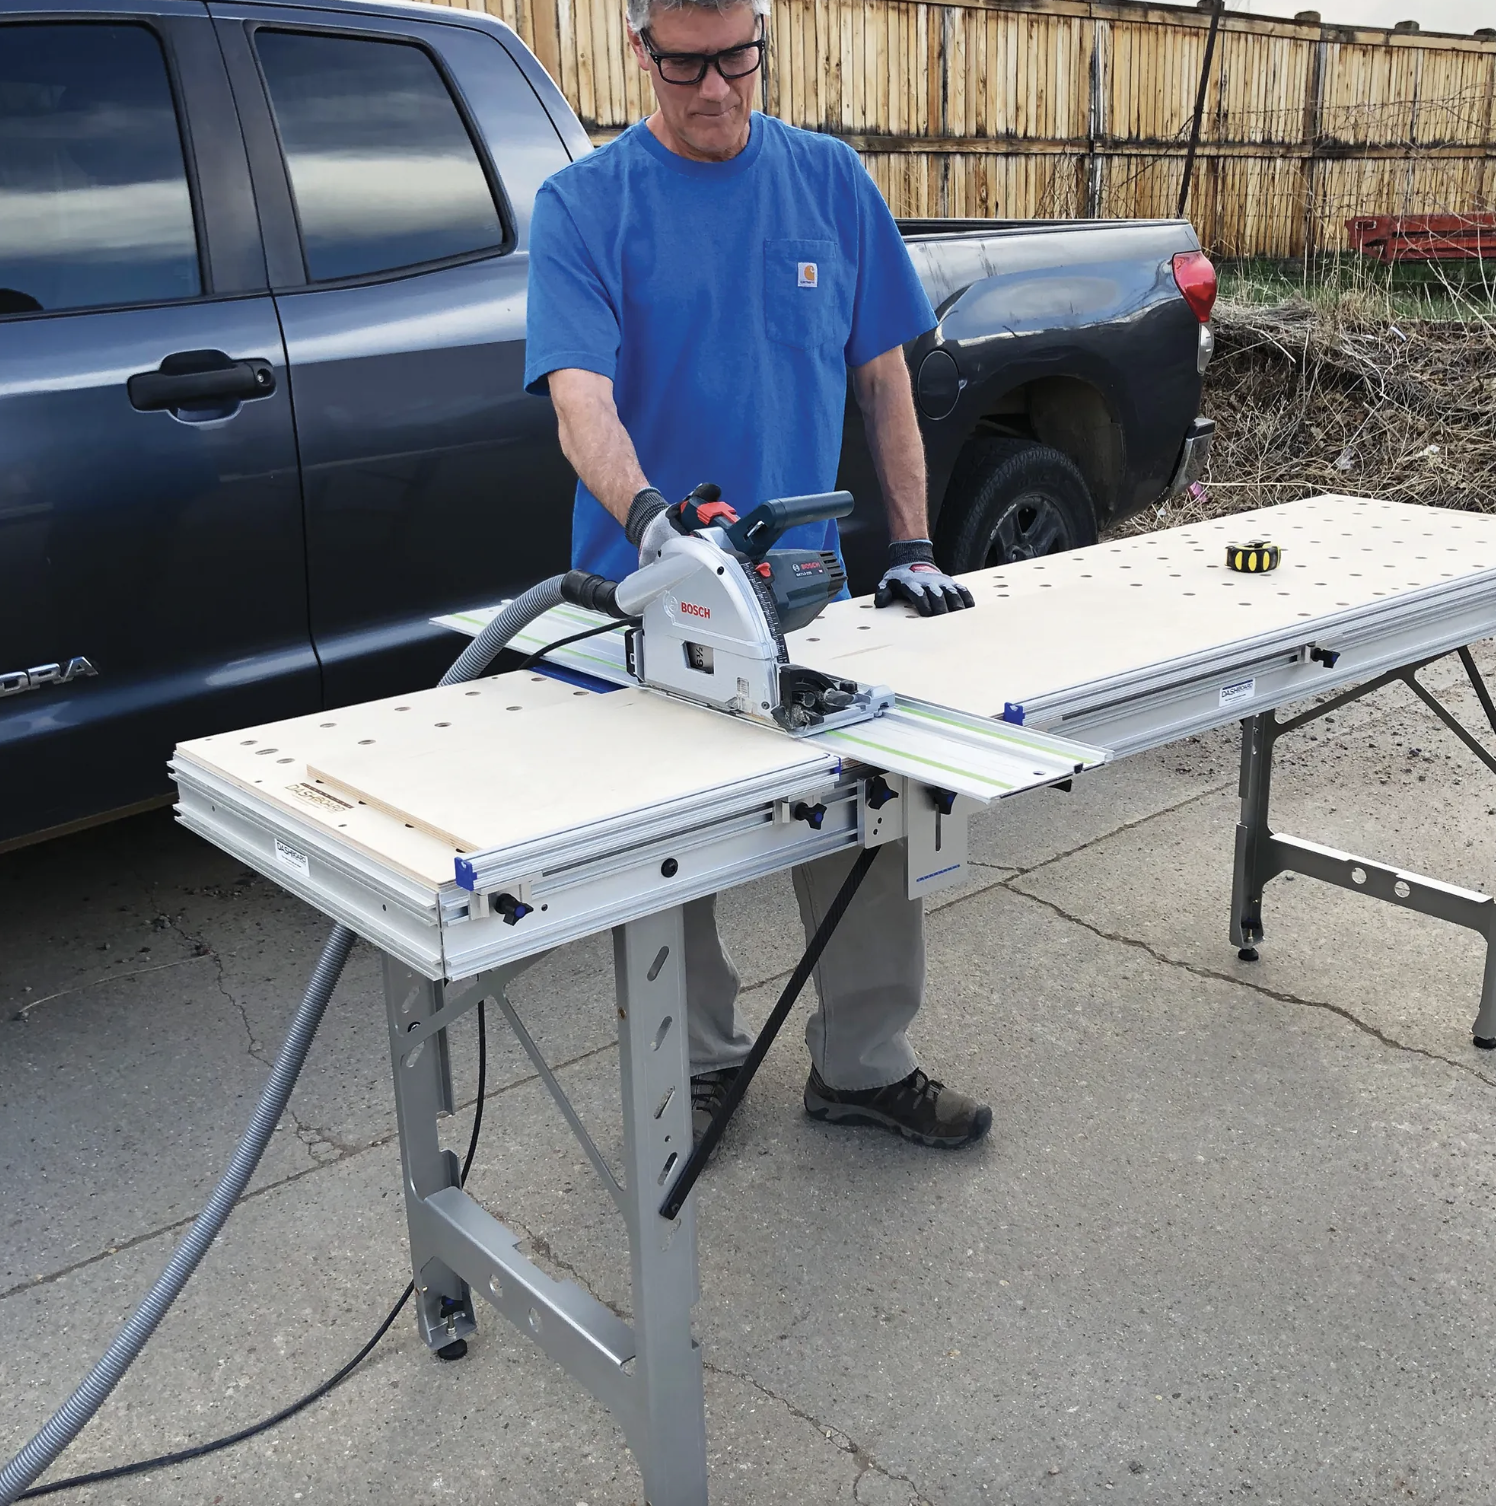
Scribing transfers the wall's true contour onto a cabinet edge so it fits tight against uneven walls and floors, and a portable bench that levels on the spot gives you the stable reference needed to mark and cut that line accurately. Level the piece, scribe to the widest gap, trim with the work fully supported, then test and refine until the fit sits flush.
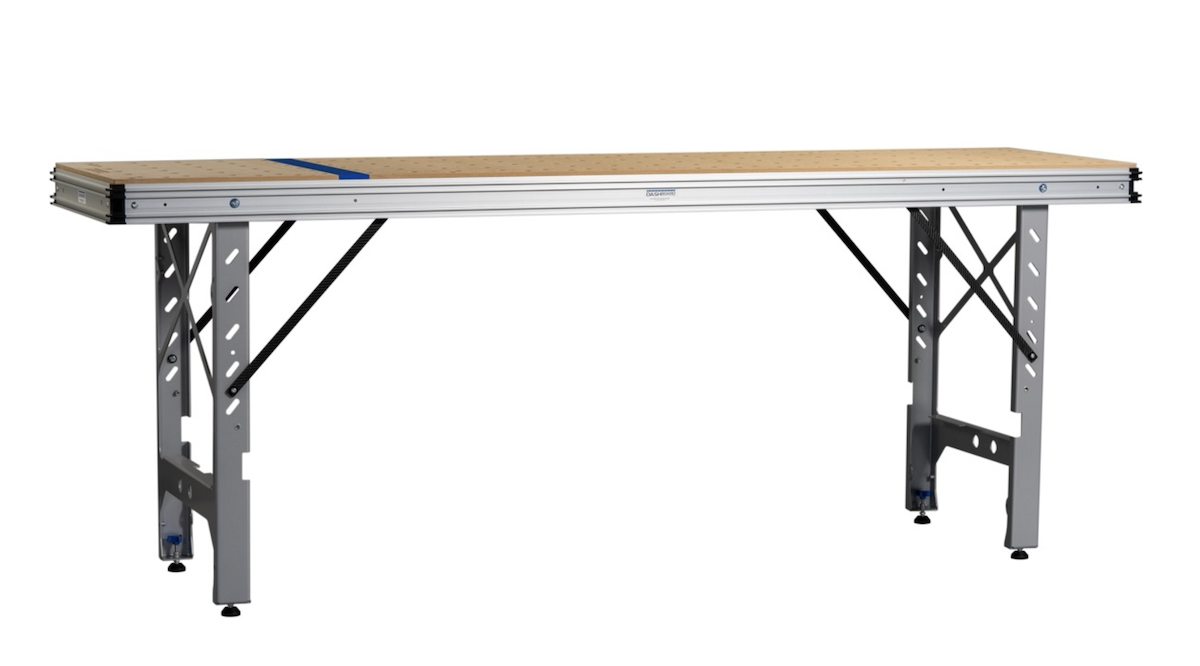
Solid workholding is the whole game with edge banding, and a rigid portable bench with the right clamping accessories lets you present a panel flat or vertical for clean, even application. Lock the panel down, apply the banding steadily, then trim flush once the bond sets for crisp, consistent edges every time.

Small angular errors don't cancel out — they stack. On a cabinet with dozens of joints, crosscuts that are off by even a fraction of a degree show up at assembly when fixing them means going back to the saw. This post covers how mechanical squaring with a track saw workbench eliminates the variable that causes the problem.
