Your Cart
Product Title
Option 1 / Option 2 / Option 3
Product Note
Subscription Plan Info
Product Discount (-$0)
COUPON1 (-$0)
$0
$0
-
+
Your cart is empty.
Add Discount Code?
Add Cart Note?
Subtotal
$0
COUPON2
-$0
Order Discount
-$0
Cart Total
$0
Checkout

March 19, 2025

Crosscutting Large Panels: Tools, Techniques, and Setup

Master crosscutting large panels with precision! Learn the best tools, techniques, and setup methods to achieve accurate, repeatable cuts while preventing tearout and ensuring stability.

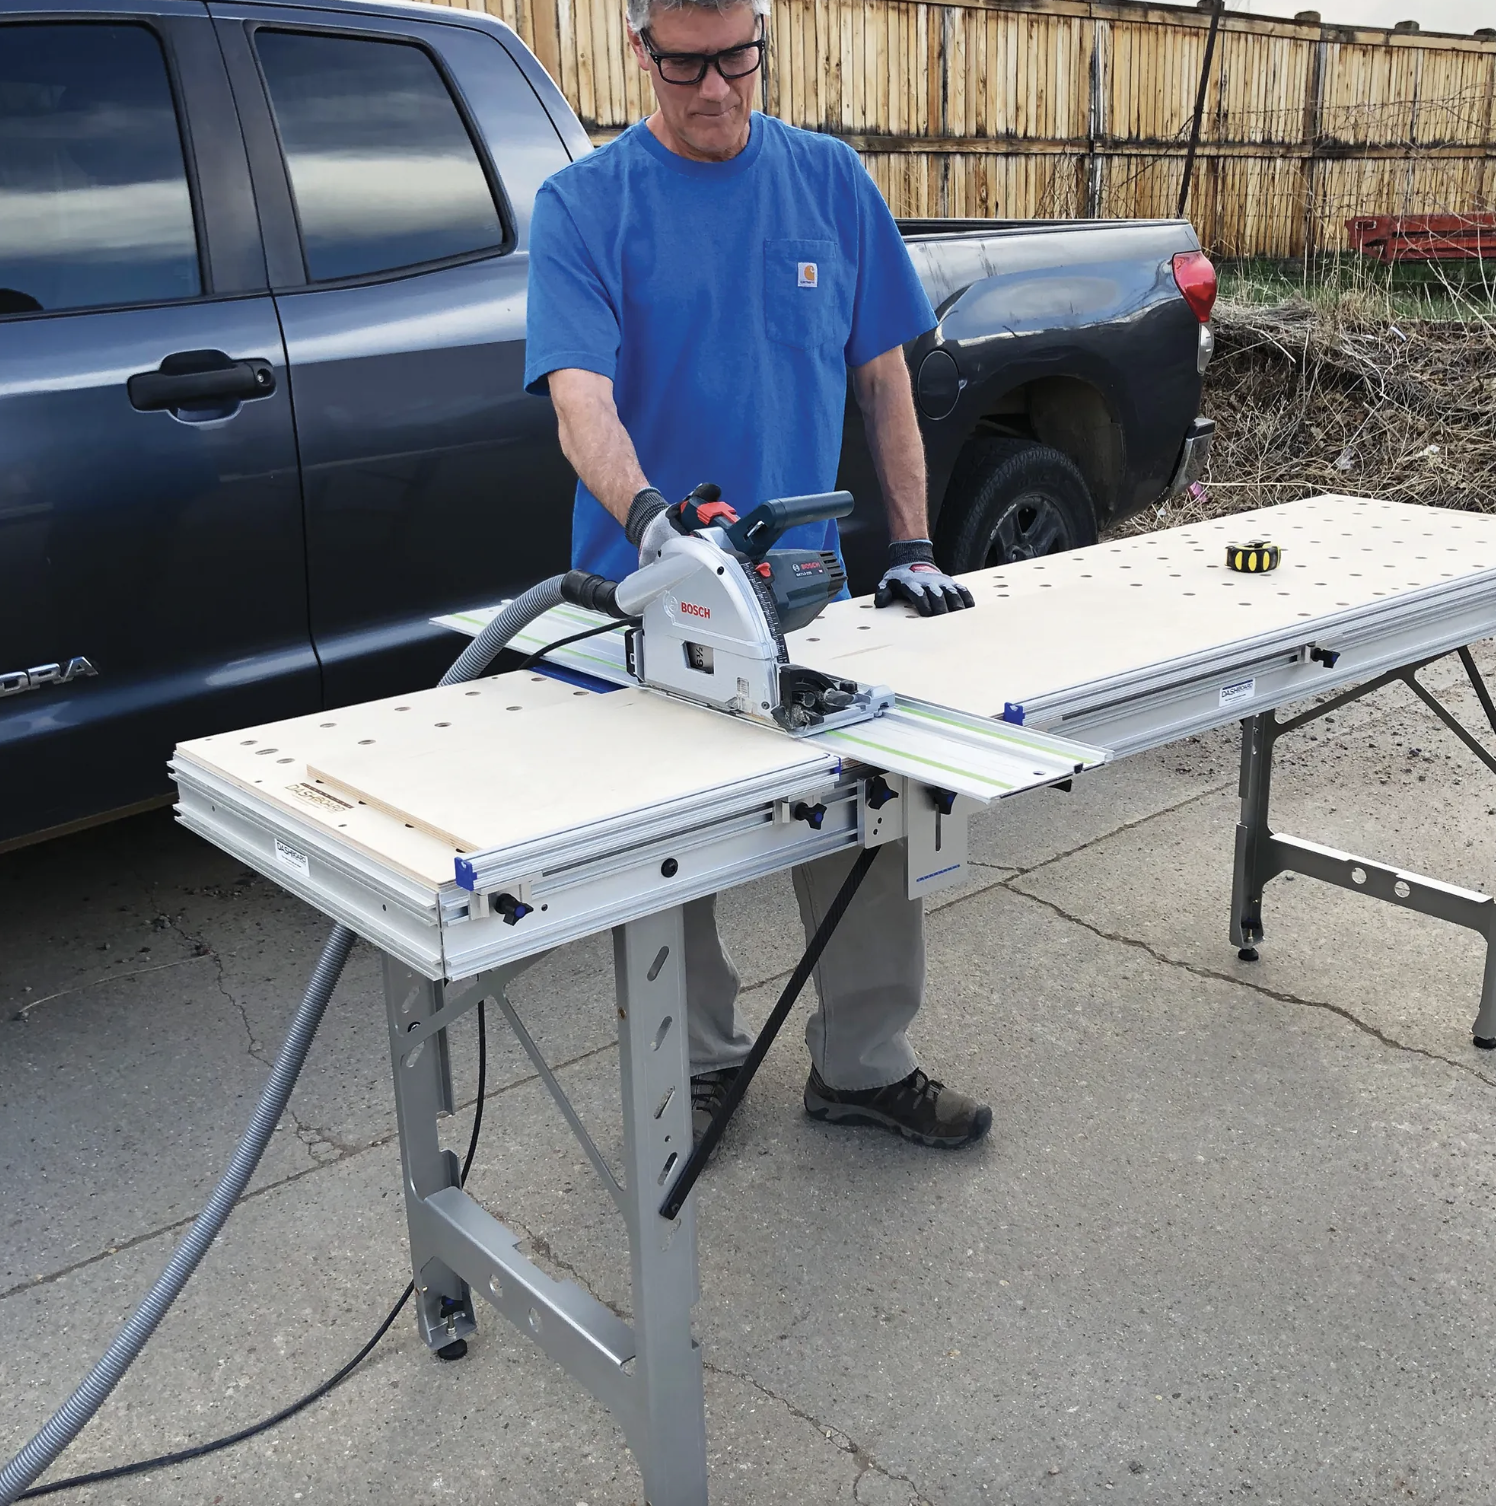
Crosscutting large panels requires a systematic approach focused on precision, safety, and repeatability. This guide will walk through exactly what you need to know for consistently accurate cuts.

Understanding Panel Crosscutting Fundamentals

The key to successful crosscutting lies in two critical elements:

  1. Complete panel support throughout the entire cutting process
  2. A precisely squared and secured guide rail system

A recent review from Jeff R. illustrates this perfectly: "After switching to a proper support and guide rail system, I finished an entire 8'x16' media center project requiring over 25 sheets of plywood with perfect accuracy. The difference in cut quality and consistency was remarkable."

Essential Equipment Requirements

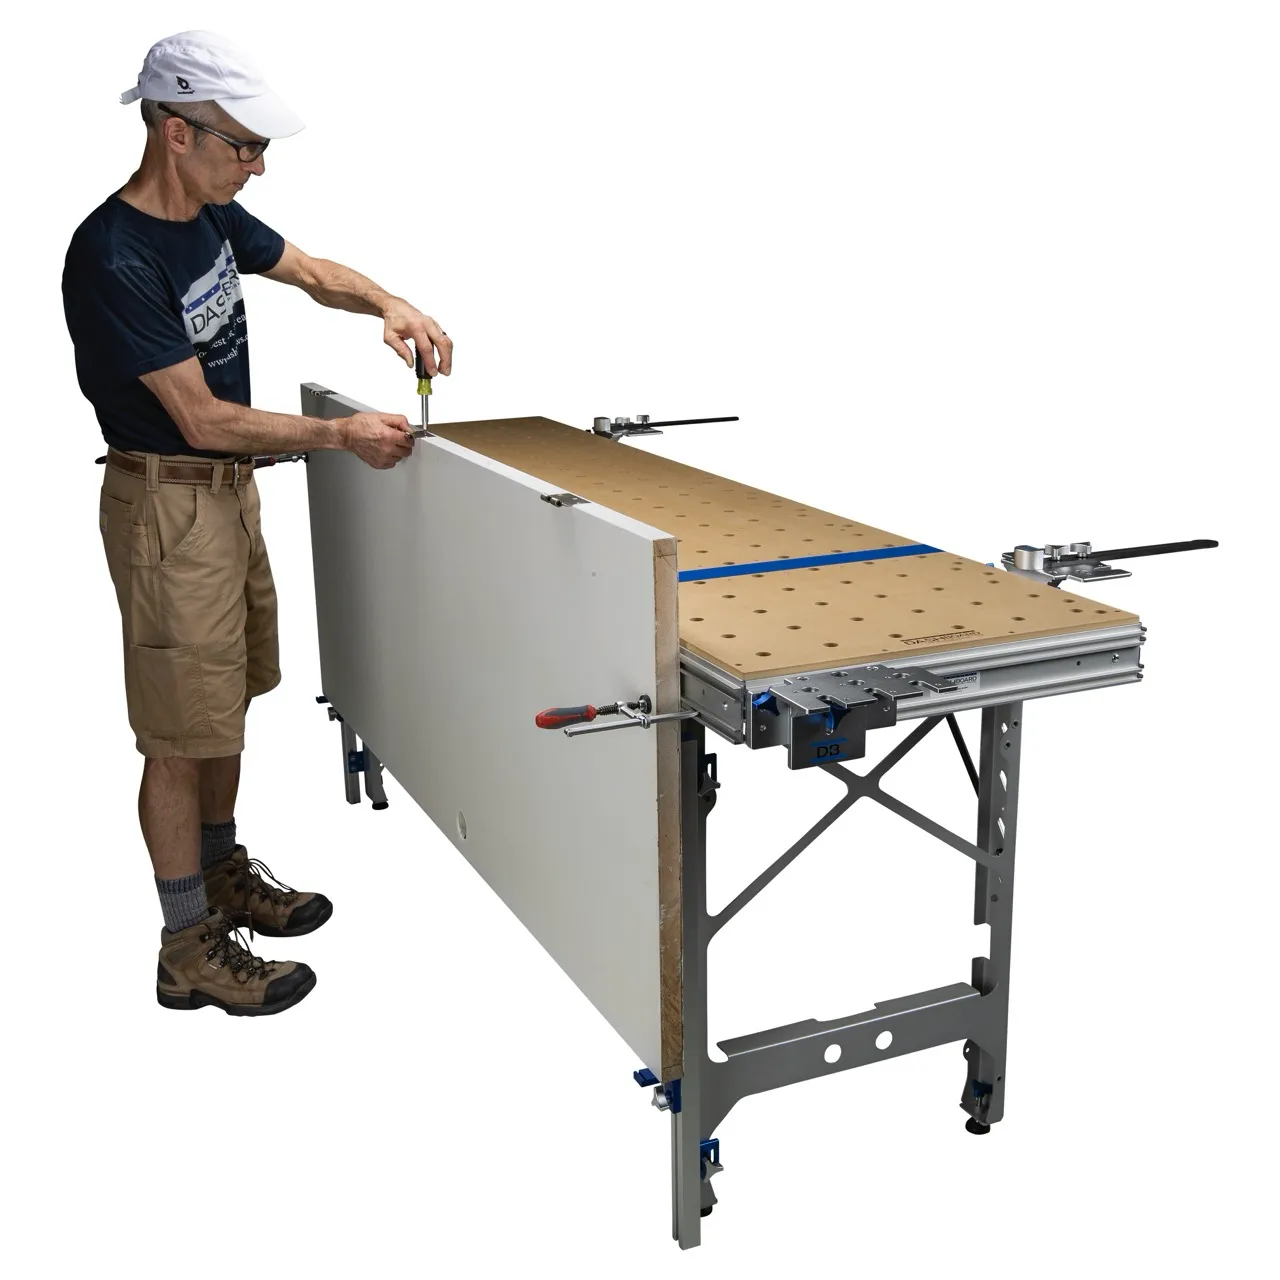
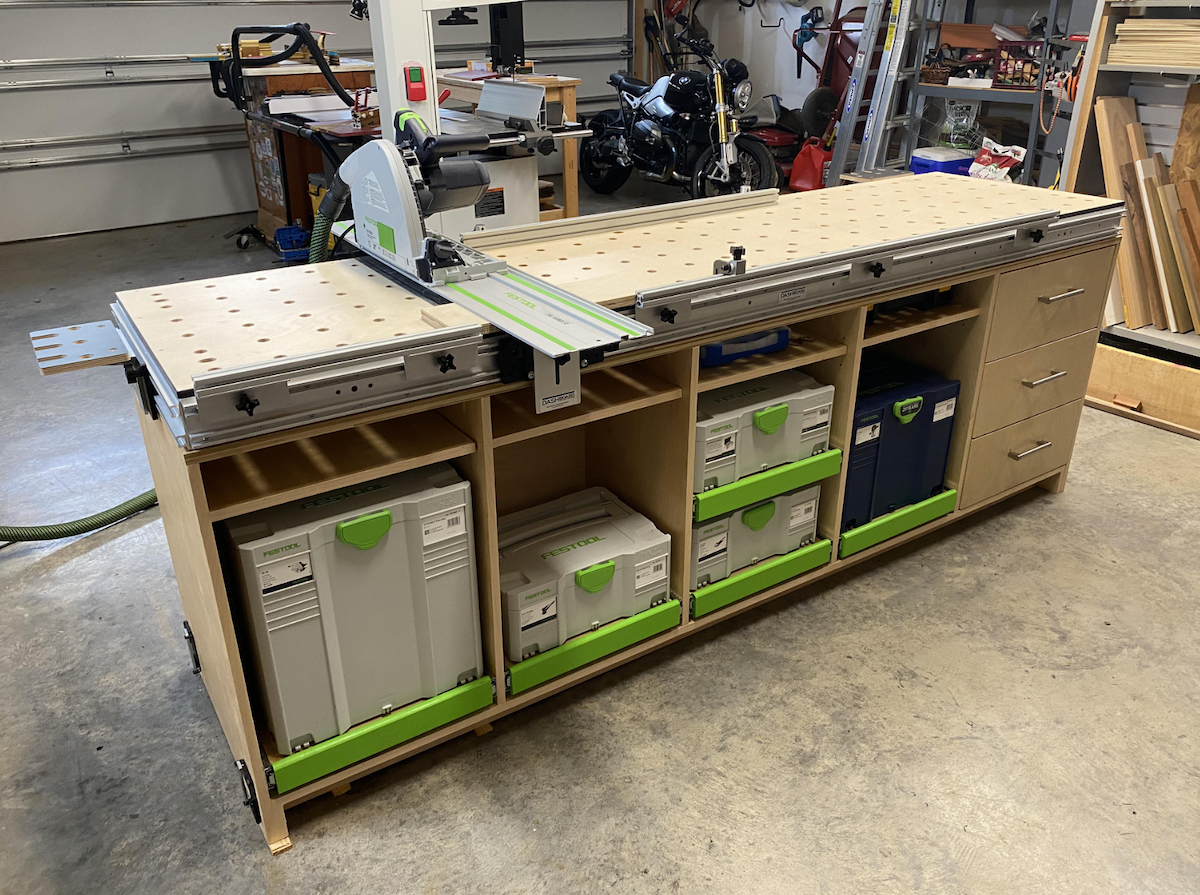
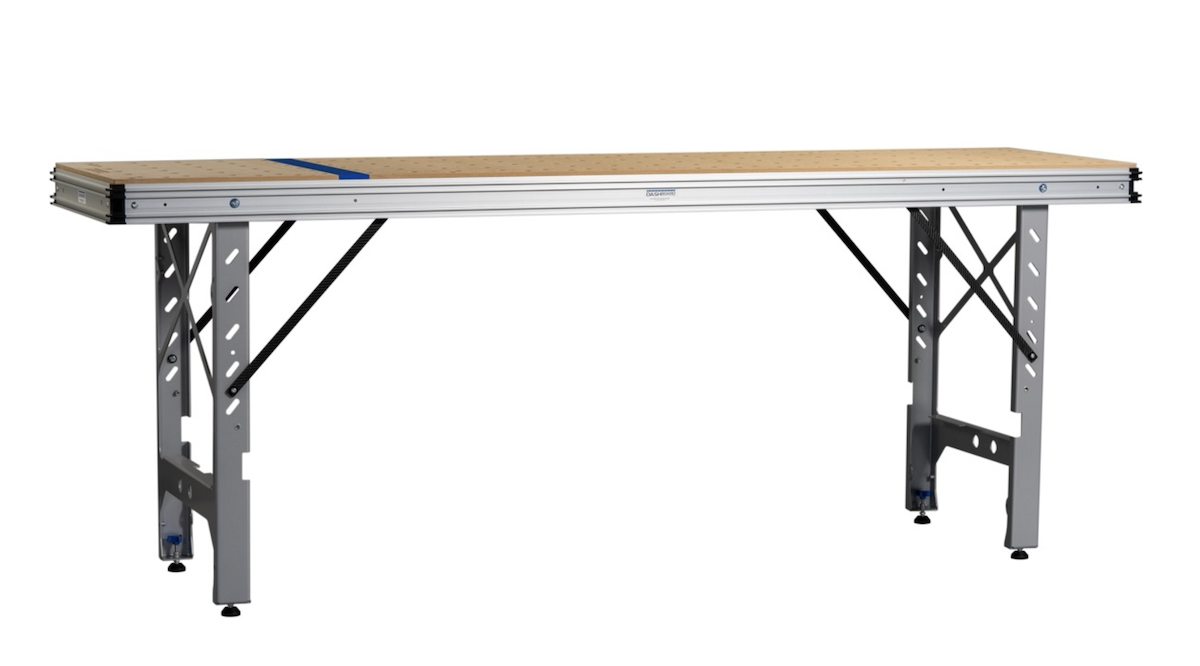
The Work Surface

Your workbench must provide:

  • Minimum depth of 24.41 inches for adequate panel support
  • 20mm dog holes for secure accessory mounting
  • T-track integration for flexible clamping options
  • Adjustable legs for perfect leveling on uneven surfaces

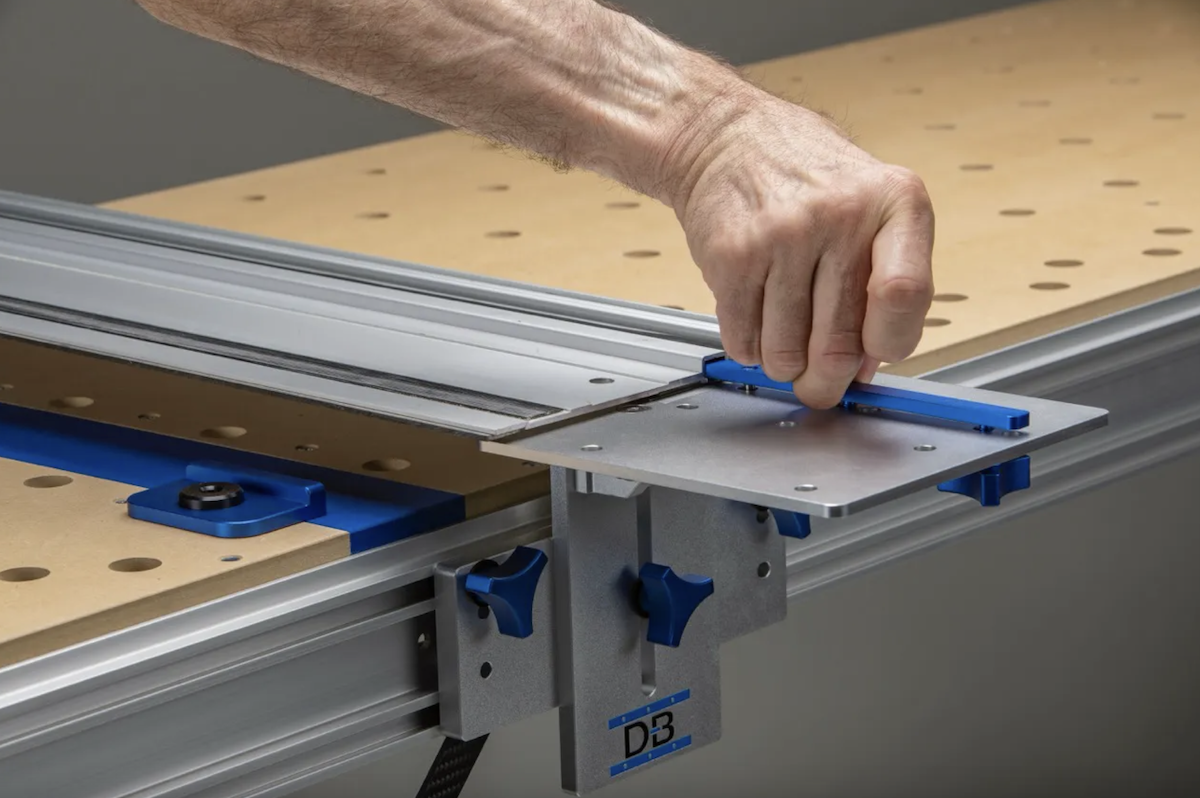
Guide Rail System Components

For precision cuts, you need:

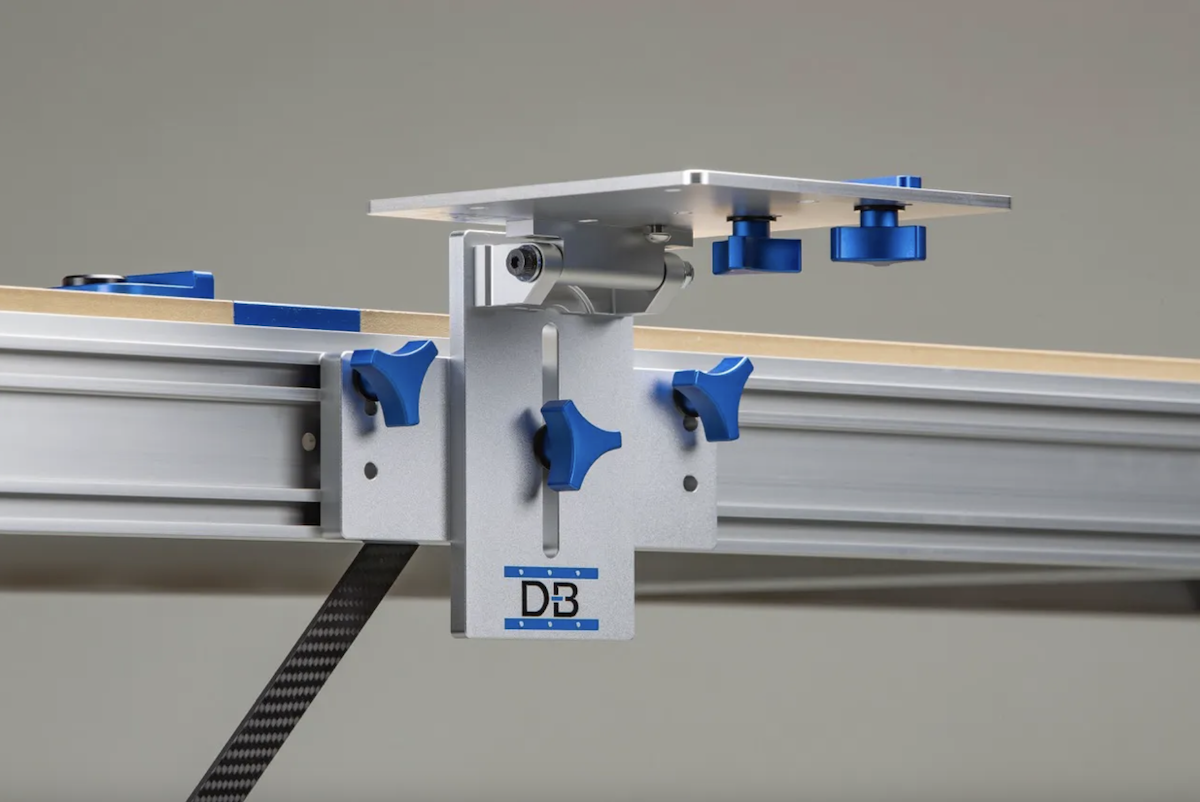
  • Guide Rail Brackets that can maintain square without constant readjustment
  • SpiRail dogs for consistent rail positioning
  • Track Stars or Outriggers for extended material support
  • A parallel guide system for repetitive cuts

Setting Up for Large Panel Crosscuts

1. Workbench Configuration

2. Guide Rail Preparation

Critical steps include:

  • Installing SpiRail dogs in your track saw rail
  • Verifying square alignment using a reliable reference
  • Setting proper blade depth for your material

3. Panel Support Setup

Proper support requires:

  • Even spacing of support points every 24-36 inches
  • Height matching between all support surfaces
  • Clearance for offcuts to prevent binding
  • Stability verification before cutting

Advanced Cutting Techniques

Making the Perfect Cut

  1. Initial Positioning:
  • Align panel against squared fence
  • Set stops for repetitive cuts
  • Verify measurements on both ends
  1. Cutting Process:
  • Make a shallow scoring cut first (1-2mm depth)
  • Complete the cut in one smooth motion
  • Maintain consistent feed rate
  • Support offcut throughout the entire cut
  1. Quality Verification:
  • Check square immediately after cut
  • Measure both ends for consistency
  • Verify surface finish quality
  • Test fit if making multiple matching pieces

Common Challenges & Solutions

Challenge: Inconsistent Cut Depth

Solution:

  • Use proper blade height setting
  • Ensure rail stays firmly seated
  • Verify no debris under rail

Challenge: Cut Line Tearout

Solution: Combined approach:

  • Score cut first
  • Choose appropriate blade tooth count
  • Control feed rate

Measuring and Layout Tips

Using Reference Edges

  • Establish a primary reference edge
  • Use Flip Stops or Parallel Guides for repeatability
  • Account for blade kerf in measurements

Setting Up Stops

        Secure firmly to fence

  • Check measurement accuracy
  • Test with scrap material

System Integration and Workflow

Creating an Efficient Setup

  1. Organize your workspace:
  • Position bench for maximum material flow
  • Arrange tools within easy reach
  • Maintain clear access to all adjustment points
  1. Material handling:
  • Stage panels for efficient processing
  • Plan cut sequence to minimize waste
  • Maintain support for large offcuts
  • Consider material grain direction

Practical Tips from Experience

Based on extensive testing and professional feedback:

  • Always verify square before starting production cuts
  • Use integrated measurement systems when possible
  • Keep support surfaces clean and debris-free
  • Check and maintain tool calibration regularly
  • Document successful setups for repeatability

Advancing Your Capabilities

To achieve professional-level results:

  1. Invest in quality core components:
  • Solid workbench system
  • Precise Dash-Board Guide Rail Brackets
  • Reliable track saw
  • Proper support accessories
  1. Practice systematic approach:
  • Follow consistent setup procedures
  • Document successful techniques
  • Test new methods on scrap first
  • Maintain equipment carefully

Next Steps

To implement these techniques effectively:

  1. Evaluate current setup against these requirements
  2. Identify specific equipment needs
  3. Develop a systematic approach to cuts
  4. Practice these methods to build consistency

For more information on professional-grade panel processing equipment, visit dashboardpws.com.

Frequently Asked Questions About Crosscutting Large Panels

What's the minimum equipment needed for accurate panel crosscuts?

Three essentials: A stable workbench (minimum 24" deep), a track saw with guide rail, and proper panel supports.Dash-Board Guide Rail Brackets are strongly recommended. While you can make cuts with less, these core items ensure reliable results.

How do I prevent tearout when crosscutting plywood?

Make a scoring cut first (1-2mm deep), use a crosscut or combination blade designed for the material in use, and maintain a consistent feed rate. 

What's the best way to handle full 4x8 sheets alone? 

Use support systems with Outriggers or Track Stars positioned every 24-36 inches. Place one end on your workbench, then walk the other end up while supports hold the weight. Use a panel carrier for transport. Think about leverage and balance points.

How do I ensure my cuts stay perfectly square? 

Mount Guide Rail Brackets securely, follow our setup procedure, and verify with a test cut. Quality brackets maintain position without constant adjustment. Check square periodically and always verify after moving your setup.

What size workbench do I really need for panel processing? 

Your workbench should be at least 24.41 inches deep with a practical minimum length of 60 inches. However, proper support extensions or Outriggers are more important than bench size; they allow successful panel processing even on shorter benches.
Other posts you might like

June 15, 2026
How to Get Perfectly Square Crosscuts Every Time with a Track Saw

Track saw crosscuts go out of square for three predictable reasons — and none of them are the saw. This post covers exactly why crosscuts miss the mark and how a mechanically fixed rail bracket system on an MFT table solves all three at the source.

June 1, 2026
How to Get Perfectly Square Crosscuts Every Time with a Track Saw

Small angular errors don't cancel out — they stack. On a cabinet with dozens of joints, crosscuts that are off by even a fraction of a degree show up at assembly when fixing them means going back to the saw. This post covers how mechanical squaring with a track saw workbench eliminates the variable that causes the problem.

May 29, 2026
The Secret to Perfectly Square Track Saw Crosscuts Every Time

Many track saw crosscut errors are caused by guide rail movement, inconsistent references, or repeated manual squaring rather than the saw itself. This article explains how guide rail brackets create a fixed mechanical reference that keeps the rail perfectly square, enabling faster setup, repeatable dimensions, and consistently accurate cuts across every project.

May 29, 2026
The Better Way to Cut Full Sheets of Plywood

Breaking down plywood with a track saw and a dedicated workbench is often safer, easier, and more accurate than using a table saw, especially in smaller shops or on job sites. This article explains how a track saw system paired with guide rails, fences, and workbench accessories simplifies sheet goods processing, improves cut quality, and enables fast, repeatable results without the space and handling challenges of a traditional table saw setup.

May 15, 2026
How to Make Repeatable Rip Cuts in a Small Workshop

Rip cuts that are off by 1/32" don't just ruin one piece — they compound across an entire batch. This post covers how small-shop woodworkers can replace table saw ripping with a track saw workbench system that delivers the same fixed reference, without the 20-foot footprint.

May 1, 2026
Portable Woodworking Bench: How to Set Up a Complete Cutting Station Anywhere

Sloped floors, uneven subfloor, tight bays every location throws something different at your setup. This post walks through how to deploy a complete portable woodworking bench cutting station anywhere, with realistic setup times and a task-by-task configuration guide.