Your Cart
Product Title
$0
$0
-
+
Your cart is empty.
Add Discount Code?
Add Cart Note?


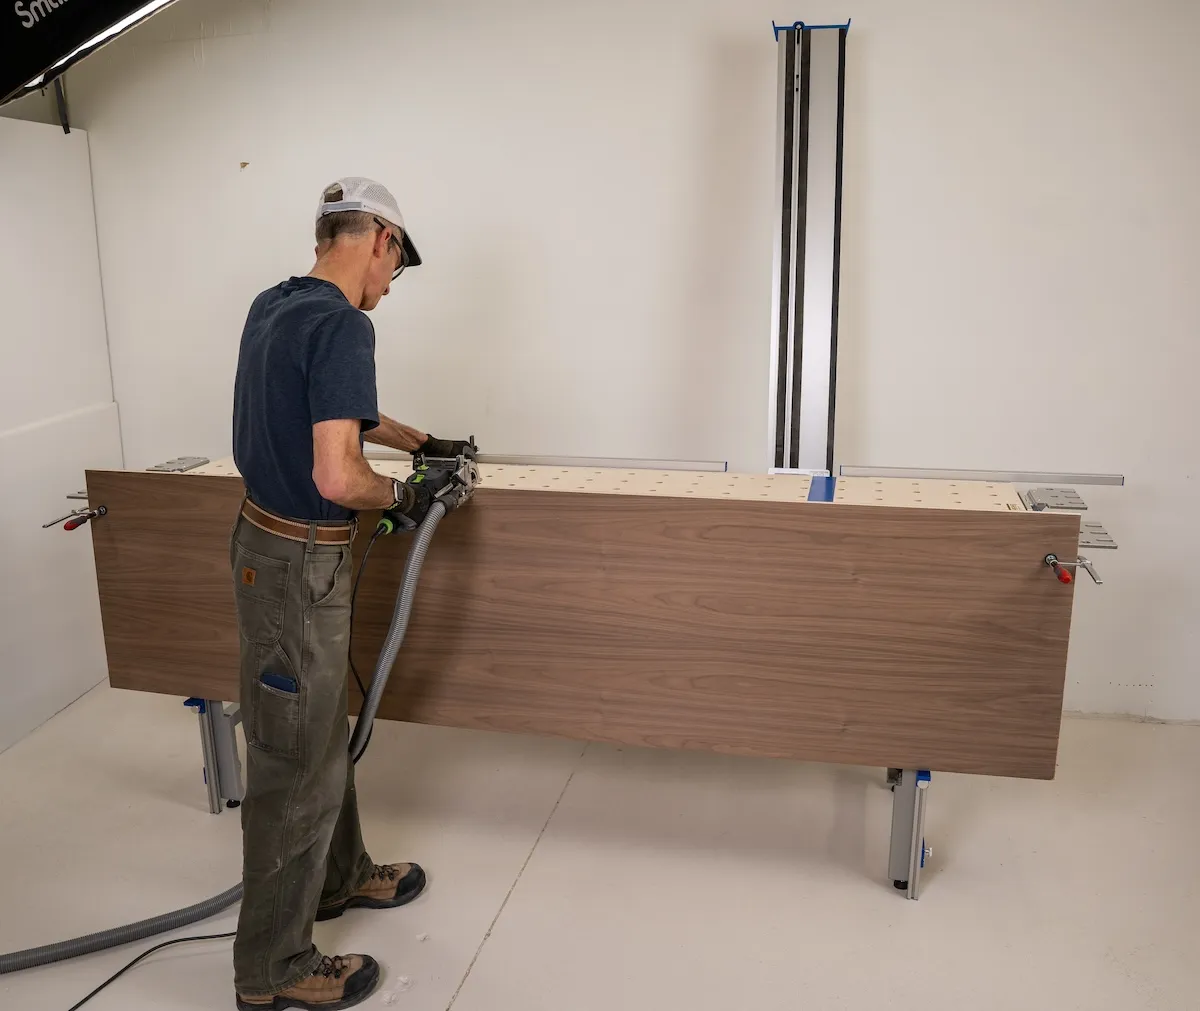
Today, we're diving into the world of cutting techniques and exploring the differences between rip cuts and crosscuts.
Understanding when to use each method is crucial for achieving precise, professional results in your woodworking projects.
So, let's “break it down!”
A rip cut is a cut that goes along the grain of the wood. When you make a rip cut, you're essentially separating a board into narrower pieces. This type of cut is typically done using a table saw or a circular saw with a rip fence attachment.
Rip cuts are great for resizing the width of a board or creating strips for edge banding or trim work.
On the other hand, a crosscut goes across the grain of the wood. This type of cut is used to shorten the length of a board or to create smaller pieces from a larger one. Crosscuts are usually made with a miter saw, radial arm saw, or a table saw with a crosscut sled.
When you need to cut a board to a specific length or create angled cuts for joinery, crosscuts are your go-to technique.
Rip cuts are your best friend when you need to:
Crosscuts come in handy when you need to:
Whether you're making rip cuts or crosscuts, accuracy is key. Here are some tips to help you achieve precise cuts every time:
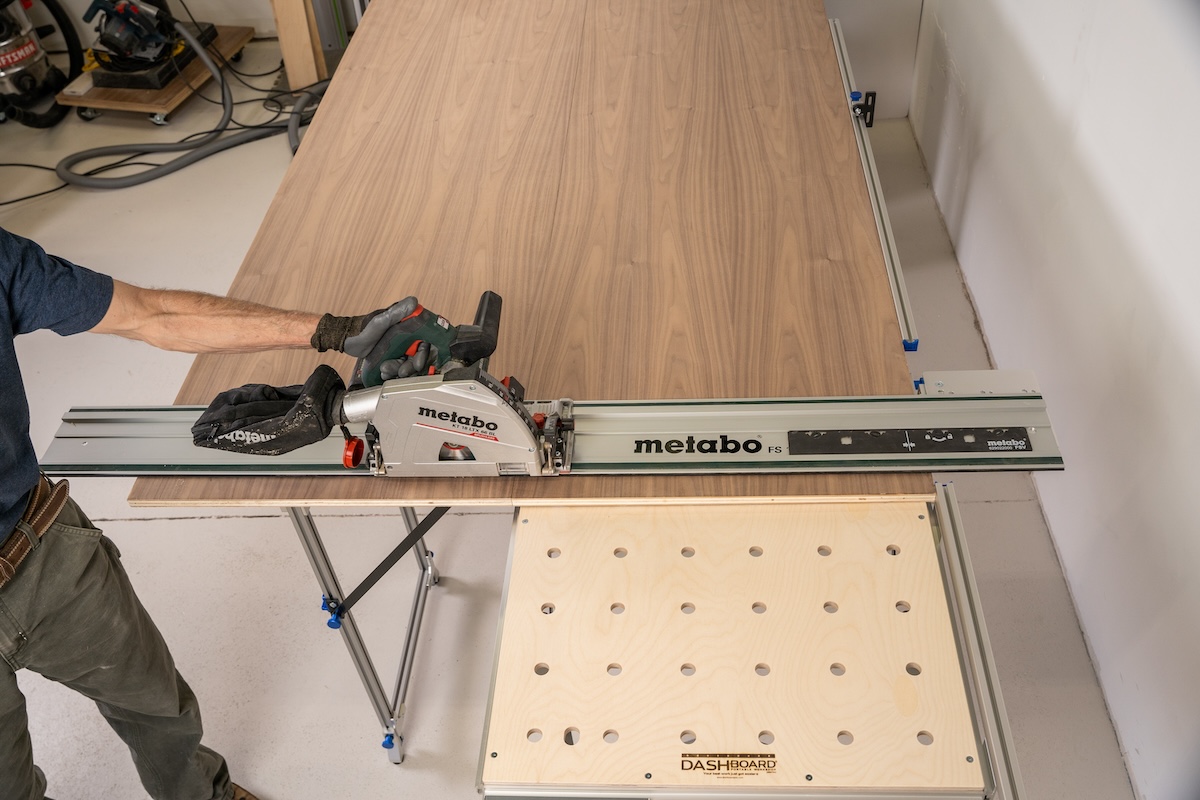
Understanding the difference between rip cuts and crosscuts is essential for any woodworker. By knowing when to use each technique and following best practices for accurate cuts, you'll be able to tackle any woodworking project with confidence.
So, the next time you're ready to make a cut, take a moment to consider whether a rip cut or crosscut is the best choice for the job at hand.
Happy woodworking!
A rip cut goes along the grain of the wood, while a crosscut goes across the grain. Rip cuts are used to resize the width of a board or create strips, while crosscuts are used to shorten the length of a board or create angled cuts for joinery.
Rip cuts are typically made using a table saw or a circular saw with a rip fence attachment. These tools allow you to make precise, straight cuts along the length of a board.
Crosscuts are usually made with a miter saw, radial arm saw, or a table saw with a crosscut sled. These tools are designed to make accurate cuts across the grain of the wood, and they're perfect for creating angled cuts or trimming boards to specific lengths.
To ensure accurate cuts, always use a sharp blade that's appropriate for your cutting tool. Set up your saw properly and make sure all safety features are in place. Measure twice before making a cut, and use a push stick or push block when making rip cuts to keep your fingers safe.
When cutting long boards, it's important to support the material to prevent sagging and ensure a straight cut. Use rollers or stands to support the board on either side of the saw, and make sure the board is level and stable before making your cut. This will help you achieve accurate, professional-looking results every time.
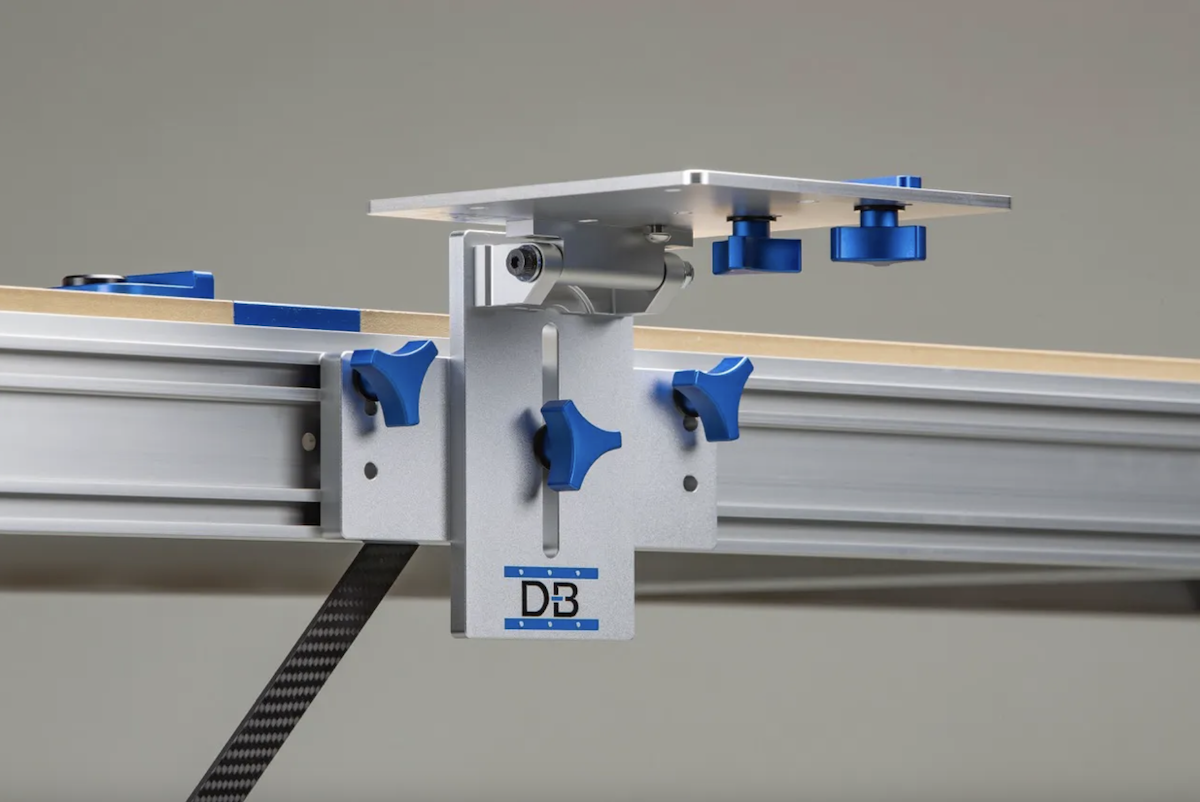
Guide rail brackets hinge your track saw rail to a fixed, repeatable 90-degree position on the bench, so you calibrate square once instead of re-checking it before every cut. Rigid, machined construction with no play is what lets the rail hold that reference through height changes and daily use, turning setup into a one-time task rather than a recurring chore.
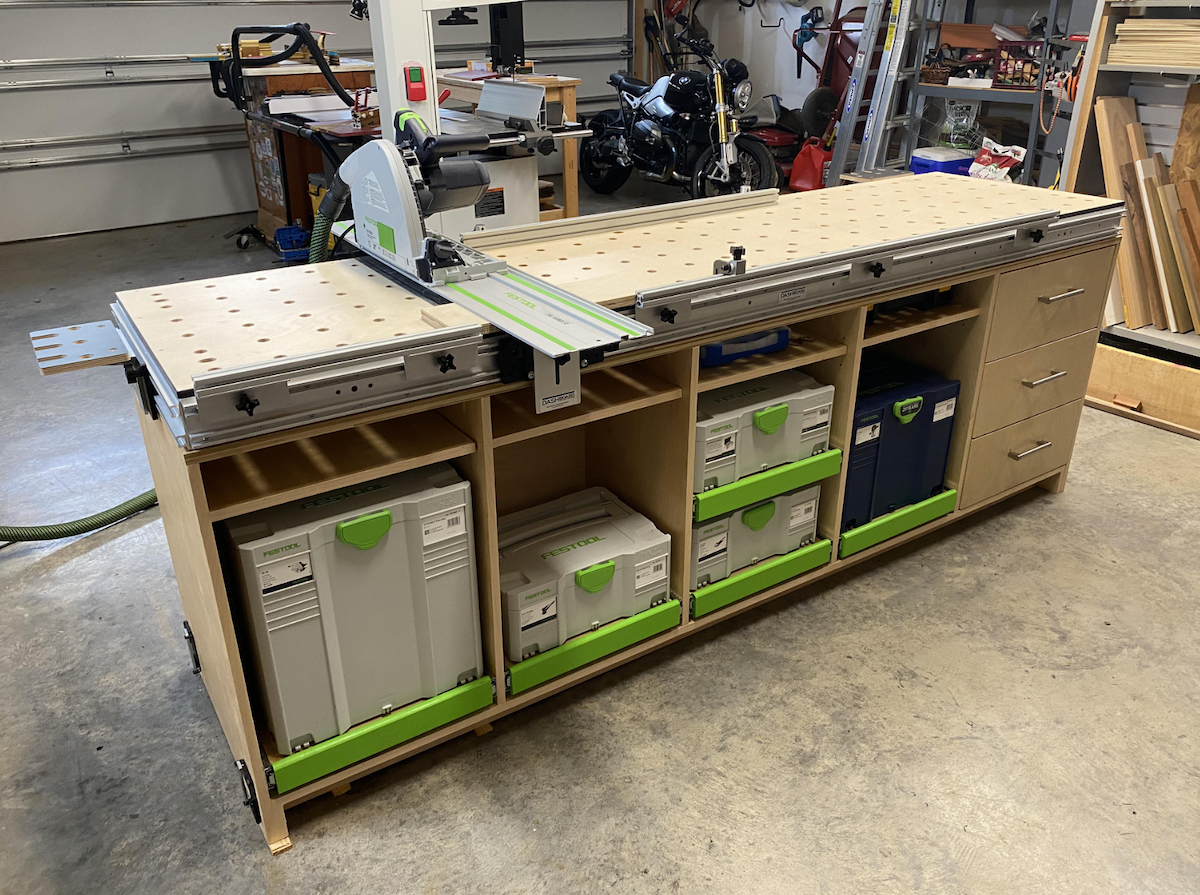
An MFT is a Multi-Function Table built around a perforated 20mm hole grid and guided cutting, letting you crosscut, clamp, sand, rout, and assemble all on one portable surface. It's a strong fit if you do precision crosscuts and sheet goods work, though drift and rigidity issues in some designs are why many owners upgrade to sturdier aftermarket benches and brackets.
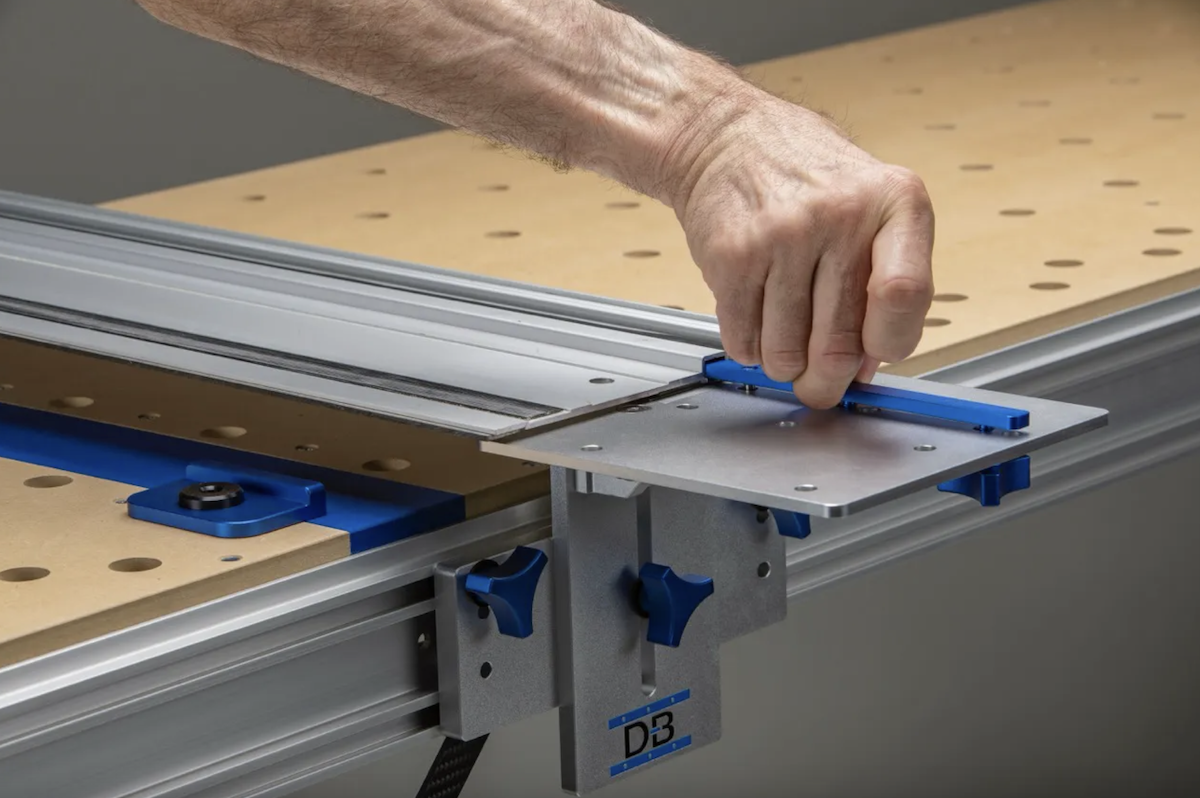
Track saw rail slip almost always comes down to dirty or worn grip strips, dusty or slick surfaces, or not enough downward pressure, and cleaning the strips plus clearing the workpiece solves most cases instantly. For repeatable, no-slip accuracy, clamps work but a fixed bench bracket system locks the rail in place for good.
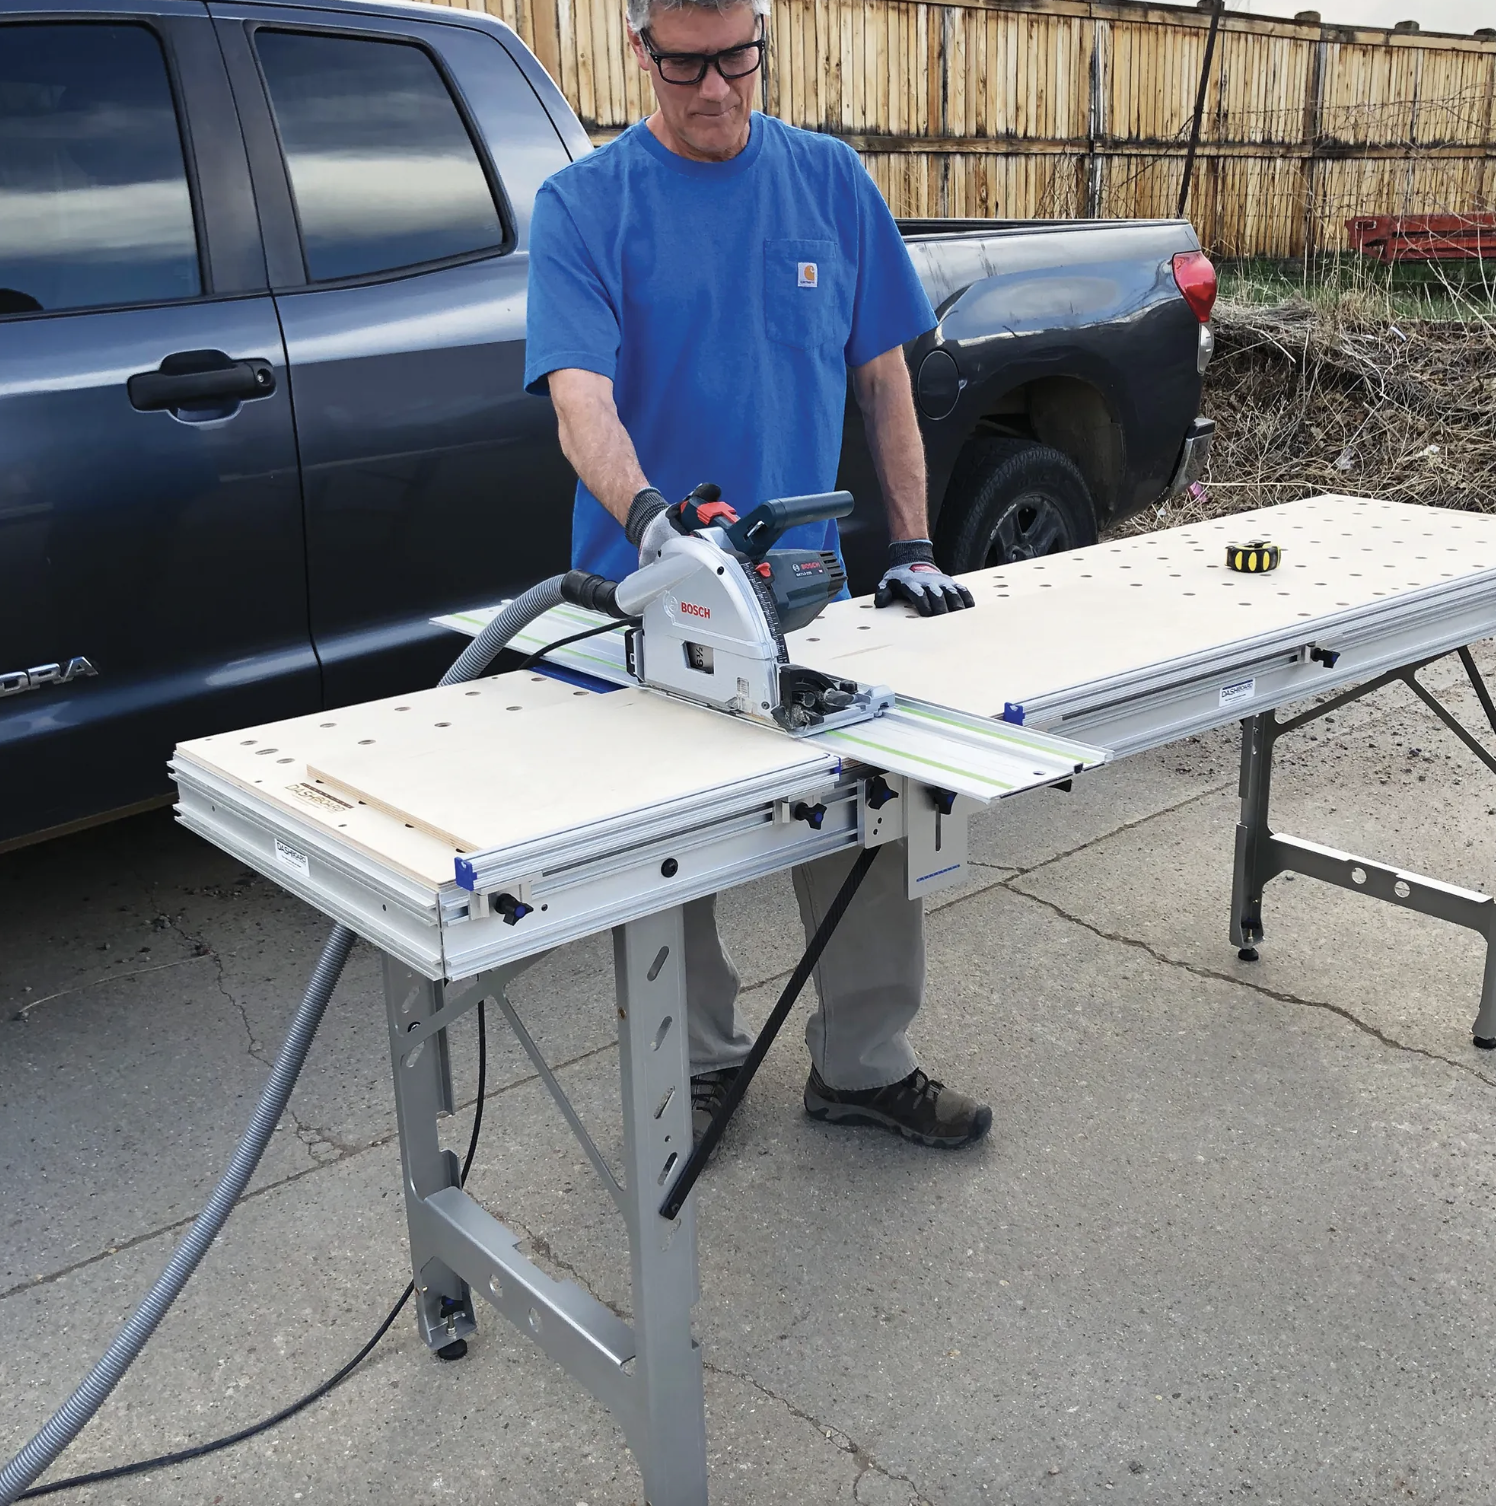
Scribing transfers the wall's true contour onto a cabinet edge so it fits tight against uneven walls and floors, and a portable bench that levels on the spot gives you the stable reference needed to mark and cut that line accurately. Level the piece, scribe to the widest gap, trim with the work fully supported, then test and refine until the fit sits flush.
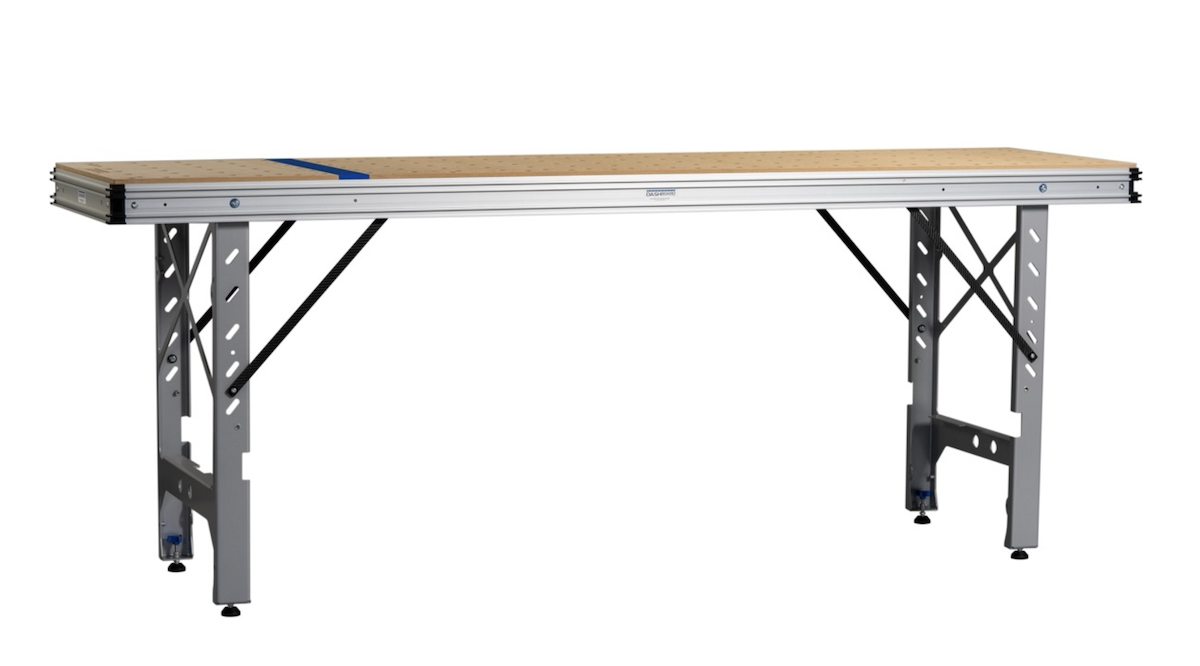
Solid workholding is the whole game with edge banding, and a rigid portable bench with the right clamping accessories lets you present a panel flat or vertical for clean, even application. Lock the panel down, apply the banding steadily, then trim flush once the bond sets for crisp, consistent edges every time.

Straight edge cutting tools like track saws, guide rails, and guide rail brackets give woodworkers a fixed reference so cuts stay true instead of drifting off line. A rigid bench, squared rail, and the right accessories (fences, flip stops, parallel guides) turn one accurate cut into consistent, repeatable results every time.
