Your Cart
Product Title
$0
$0
-
+
Your cart is empty.
Add Discount Code?
Add Cart Note?


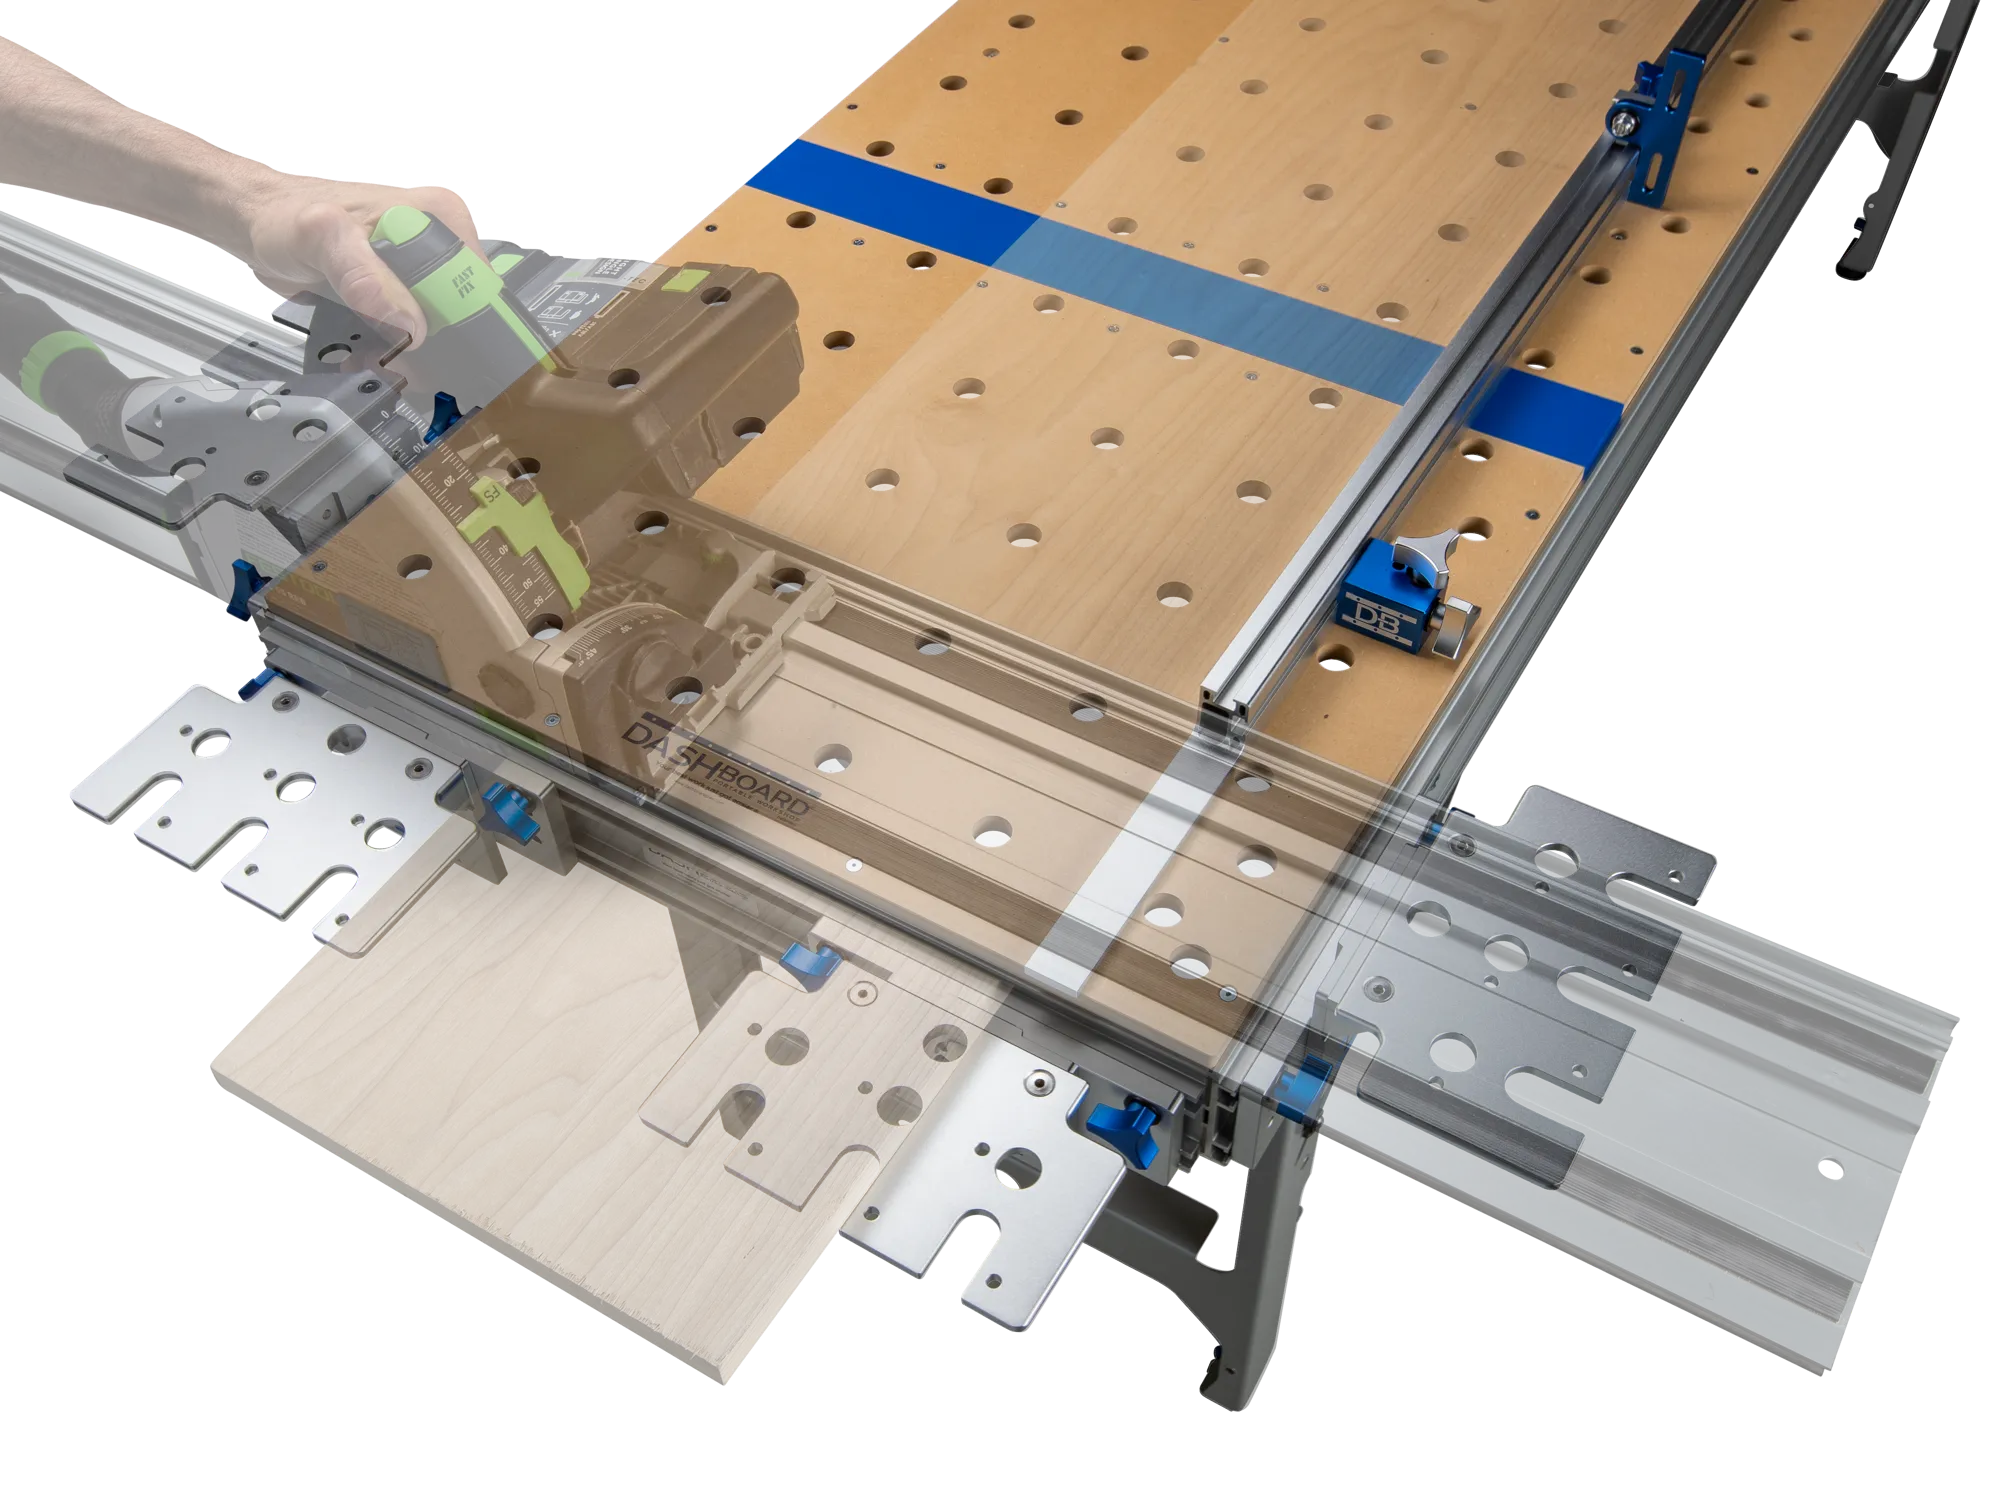
Diving into the world of track saws opens up new possibilities for precision cutting, but knowing which accessories you truly need can be overwhelming.
Track saws combine the precision of a table saw with the portability of a circular saw, making them perfect for beginners and professionals alike. Unlike traditional circular saws that can wander off course, track saws run along a guide rail, ensuring perfectly straight cuts every time.
The beauty of a track saw system lies in its simplicity: a specialized saw that locks onto a straight guide rail.
This combination allows you to:
Nothing is more frustrating than a guide rail that shifts during a cut. Quality clamps are your first essential purchase.
Why they're essential: Guide rail clamps secure your track to the workpiece, preventing movement that leads to inaccurate cuts and potential safety hazards.
Recommendation: Start with at least two clamps—one for each end of your guide rail. For longer cuts, consider adding a third clamp for the middle section.
Track saws generate significant dust, making collection systems not just convenient but necessary.
Why it's essential: Proper dust collection:
Recommendation: Ensure any dust collection attachment is compatible with both your track saw and vacuum system. Many track saw brands offer dedicated dust ports that connect directly to standard shop vacuum hoses.
Standard guide rails typically range from 55-62 inches—not enough for full sheet goods.
Why they're essential: Extensions allow you to:
Recommendation: If you regularly work with full sheets, investing in guide rail connectors or extension rails will save significant time and improve cut quality.
A solid foundation dramatically improves track saw performance and safety.
Why it's essential: Track saws require a flat, stable surface to:
Recommendation: The Dash-Board Workbench is specifically designed to work seamlessly with track saw systems. Its solid construction provides a stable platform, while the integrated dog hole system offers multiple secure clamping points for guide rails.
Once you've mastered the basics, these additional accessories can enhance your workflow:
Guide rail brackets like the Dash-Board Guide Rail Bracket Set transform how you use your track saw system.
Benefits:
The brackets mount securely to your workbench (particularly well with the Dash-Board system), creating a pivot point for your guide rail that ensures square cuts every time.
For consistent rip cuts at specific widths, a parallel guide system is invaluable.
Benefits:
The Dash-Board Parallel Guide pairs perfectly with their Track Stars to create an incredibly versatile ripping station.
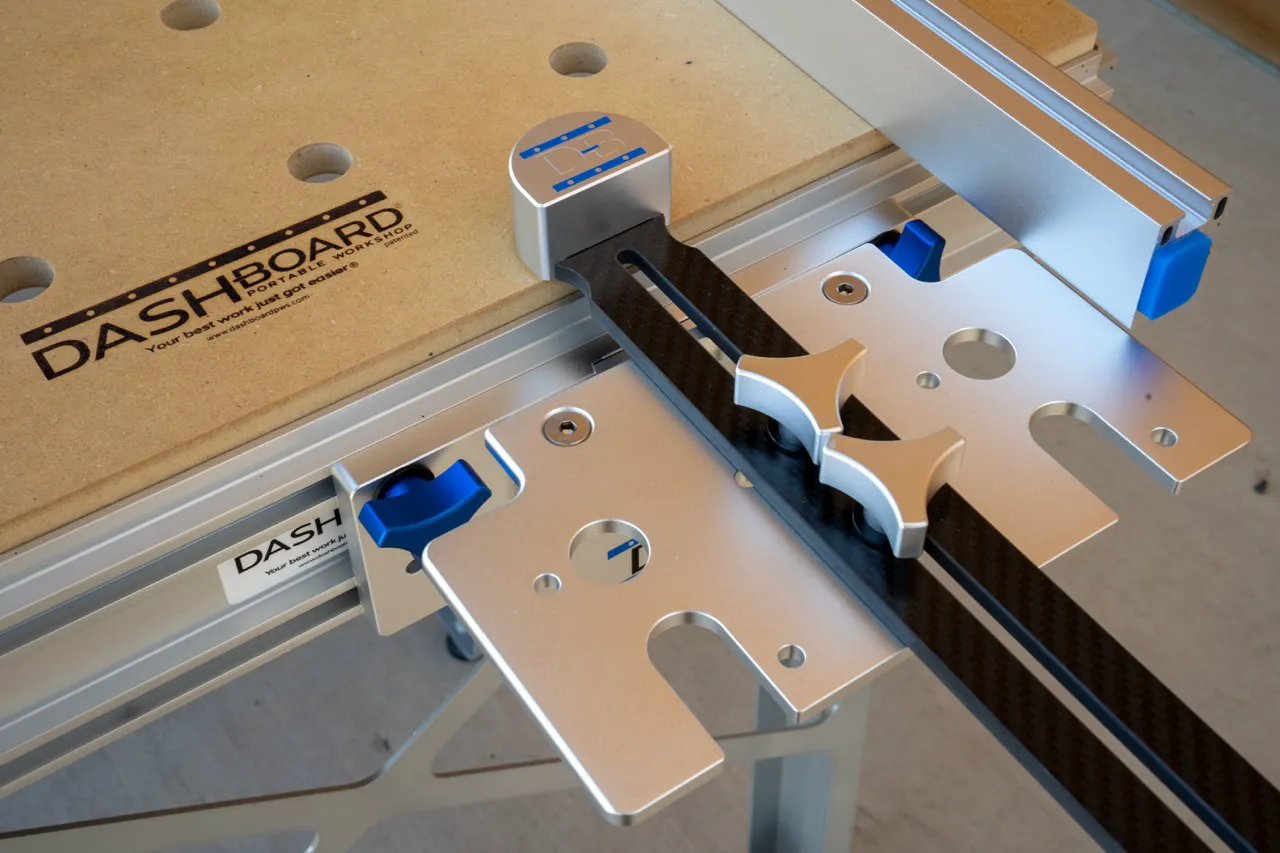
Track Stars expand your guide rail capabilities by providing adjustable support beyond your main work surface.
Benefits:
Getting started with your track saw system doesn't have to be complicated.
Here's a simple workflow:
Even with the right accessories, beginners often make these easily preventable mistakes:
Building a complete track saw system represents an investment, but you don't need everything at once:
Start with:
Add as you grow:
The Dash-Board system offers an excellent growth path, allowing you to add components as your skills and project needs expand.
While you can use a track saw on any relatively flat surface, a dedicated workbench like the Dash-Board dramatically improves results.
Here's why:
The Dash-Board workbench integrates seamlessly with guide rail brackets, Track Stars, and other track saw accessories to create a complete cutting system that's greater than the sum of its parts.
Setting up your first track saw system doesn't happen overnight.
Start with the essentials—a quality track saw, guide rail, clamps, and a stable workbench like the Dash-Board—then add specialized accessories as your skills and project needs grow.
This approach allows you to build a system tailored to your specific requirements without overwhelming yourself with too many options upfront. Focus on mastering each component before adding more.
Remember that the foundation of your system—a reliable track saw and solid workbench—will determine the quality of your results more than any other factor. Invest wisely in these core components, and you'll create a versatile cutting station that serves you for years to come.
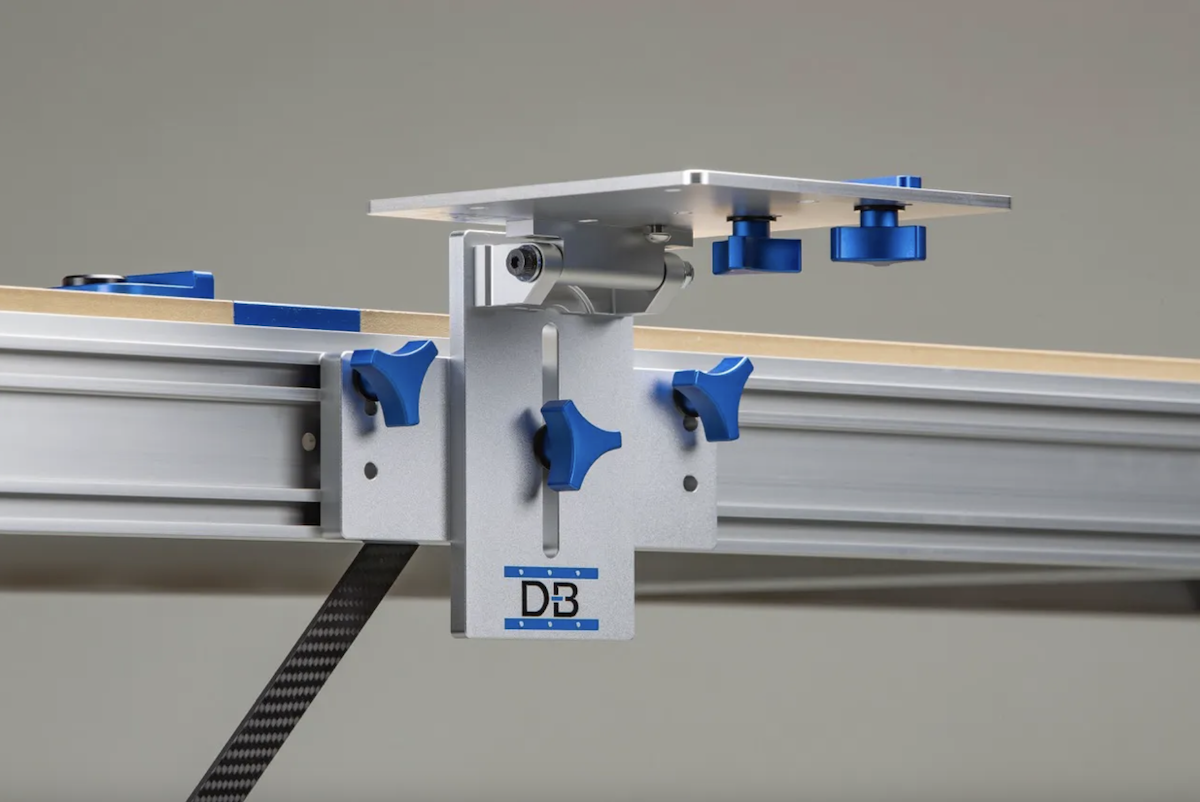
Guide rail brackets hinge your track saw rail to a fixed, repeatable 90-degree position on the bench, so you calibrate square once instead of re-checking it before every cut. Rigid, machined construction with no play is what lets the rail hold that reference through height changes and daily use, turning setup into a one-time task rather than a recurring chore.
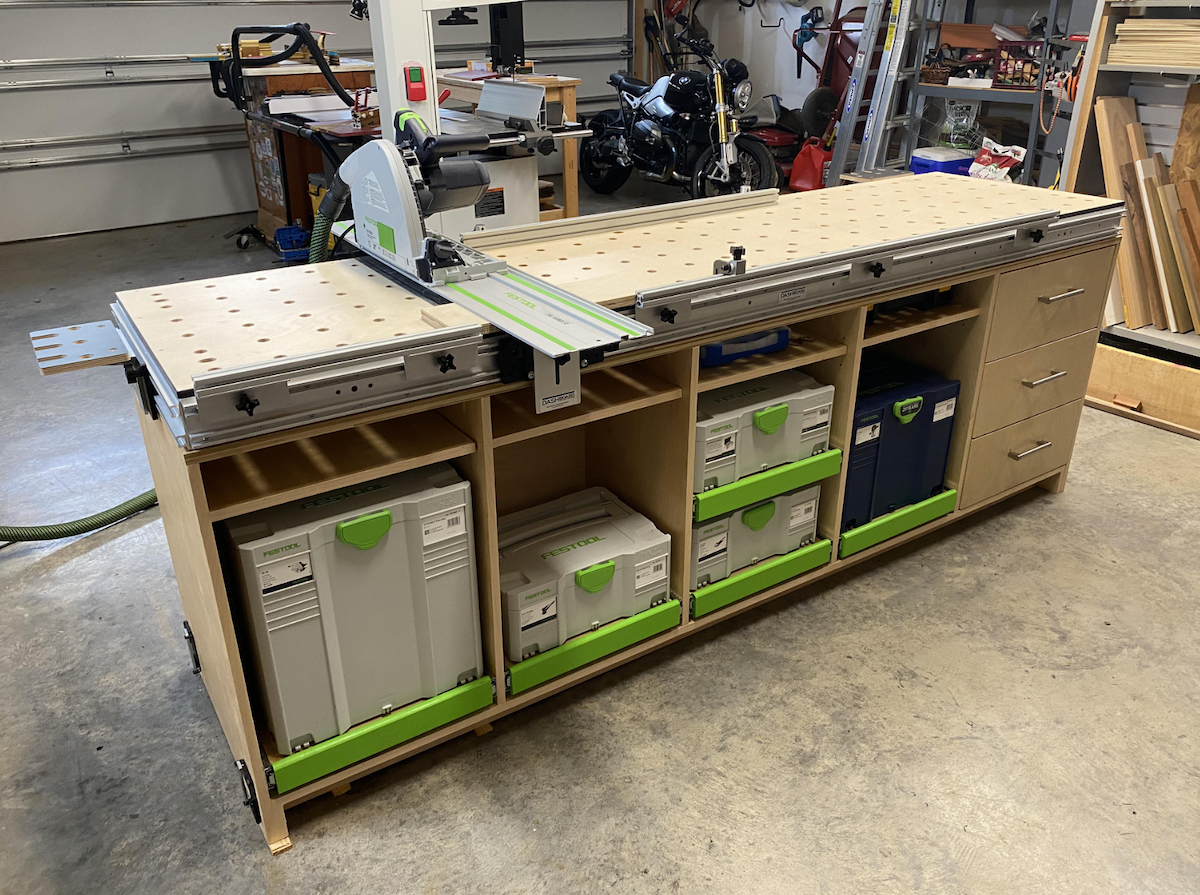
An MFT is a Multi-Function Table built around a perforated 20mm hole grid and guided cutting, letting you crosscut, clamp, sand, rout, and assemble all on one portable surface. It's a strong fit if you do precision crosscuts and sheet goods work, though drift and rigidity issues in some designs are why many owners upgrade to sturdier aftermarket benches and brackets.
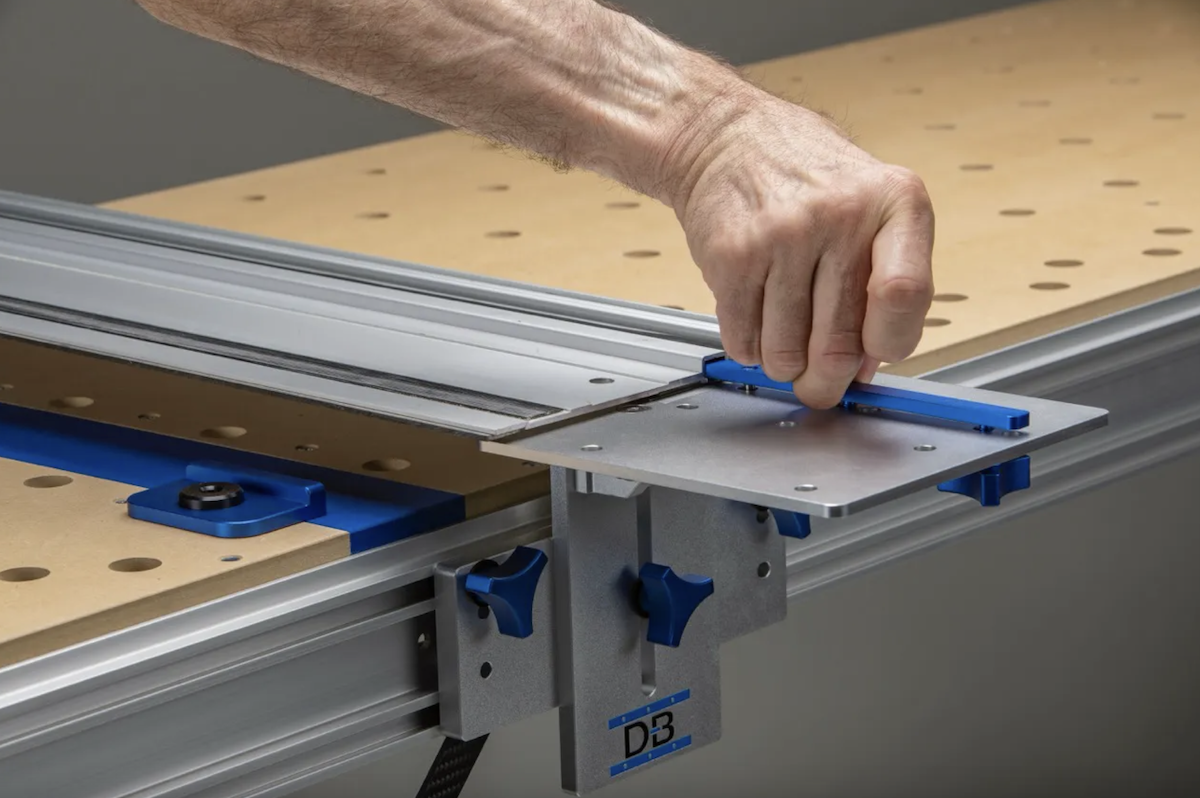
Track saw rail slip almost always comes down to dirty or worn grip strips, dusty or slick surfaces, or not enough downward pressure, and cleaning the strips plus clearing the workpiece solves most cases instantly. For repeatable, no-slip accuracy, clamps work but a fixed bench bracket system locks the rail in place for good.
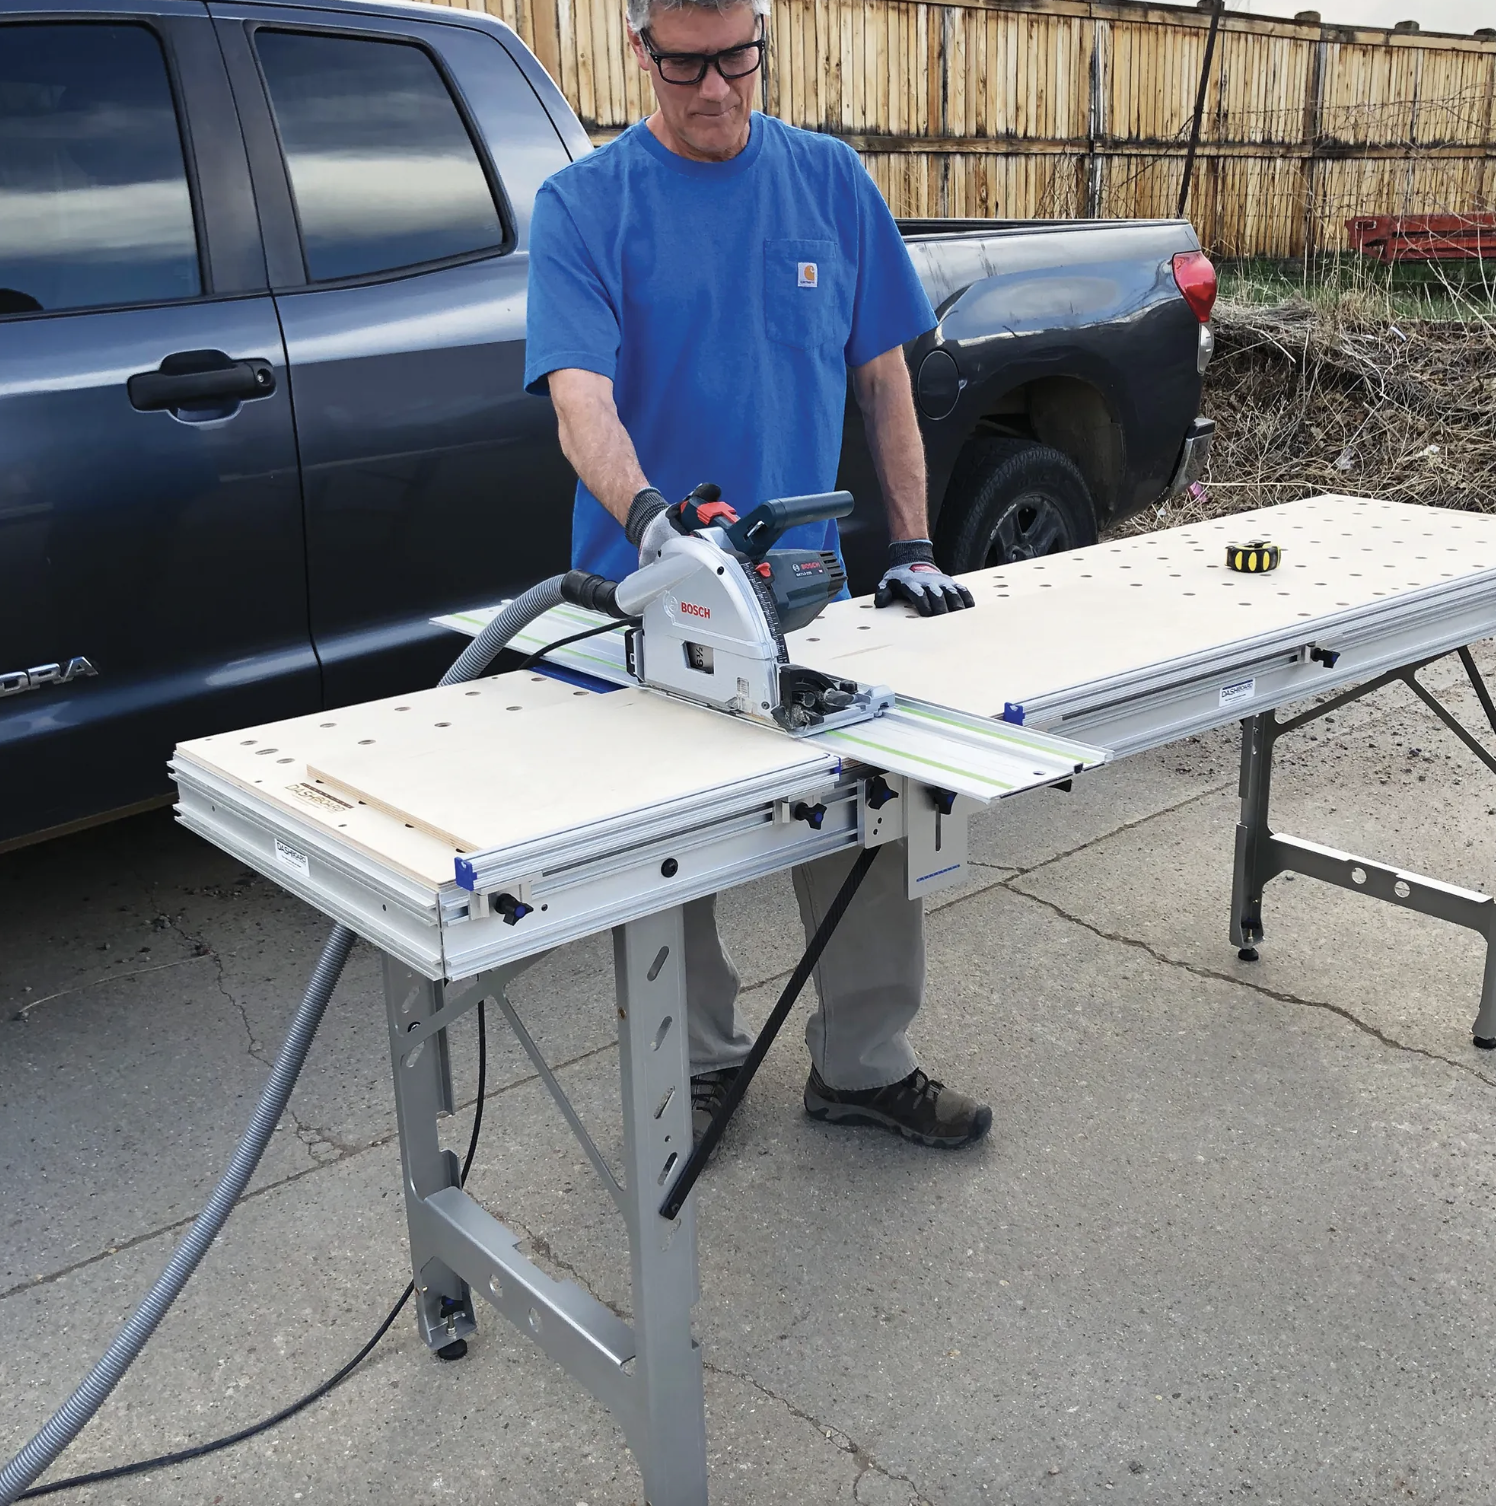
Scribing transfers the wall's true contour onto a cabinet edge so it fits tight against uneven walls and floors, and a portable bench that levels on the spot gives you the stable reference needed to mark and cut that line accurately. Level the piece, scribe to the widest gap, trim with the work fully supported, then test and refine until the fit sits flush.
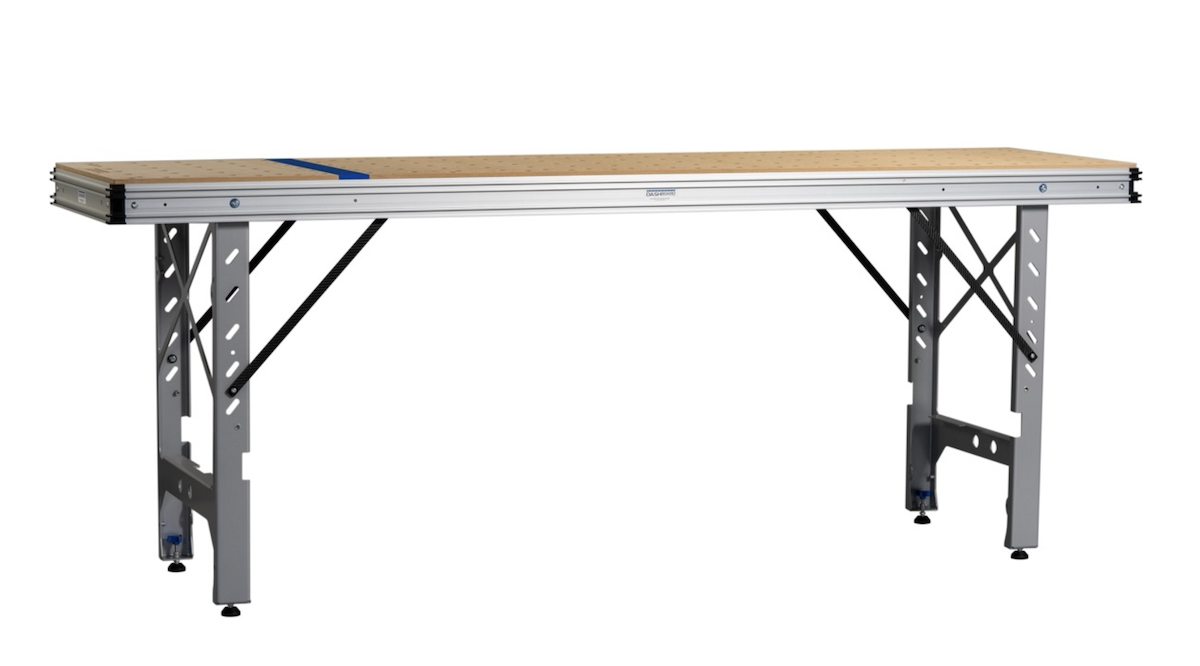
Solid workholding is the whole game with edge banding, and a rigid portable bench with the right clamping accessories lets you present a panel flat or vertical for clean, even application. Lock the panel down, apply the banding steadily, then trim flush once the bond sets for crisp, consistent edges every time.

Straight edge cutting tools like track saws, guide rails, and guide rail brackets give woodworkers a fixed reference so cuts stay true instead of drifting off line. A rigid bench, squared rail, and the right accessories (fences, flip stops, parallel guides) turn one accurate cut into consistent, repeatable results every time.
